Camera Installation and Setup
Follow the Cavicam v3 Instructions if your cavicam looks like this:
… or Cavicam v2 Instructions if it doesn’t.
Cavicam v3 Instructions
Step 1 - Attach Ribbon/Flex Cable to Camera
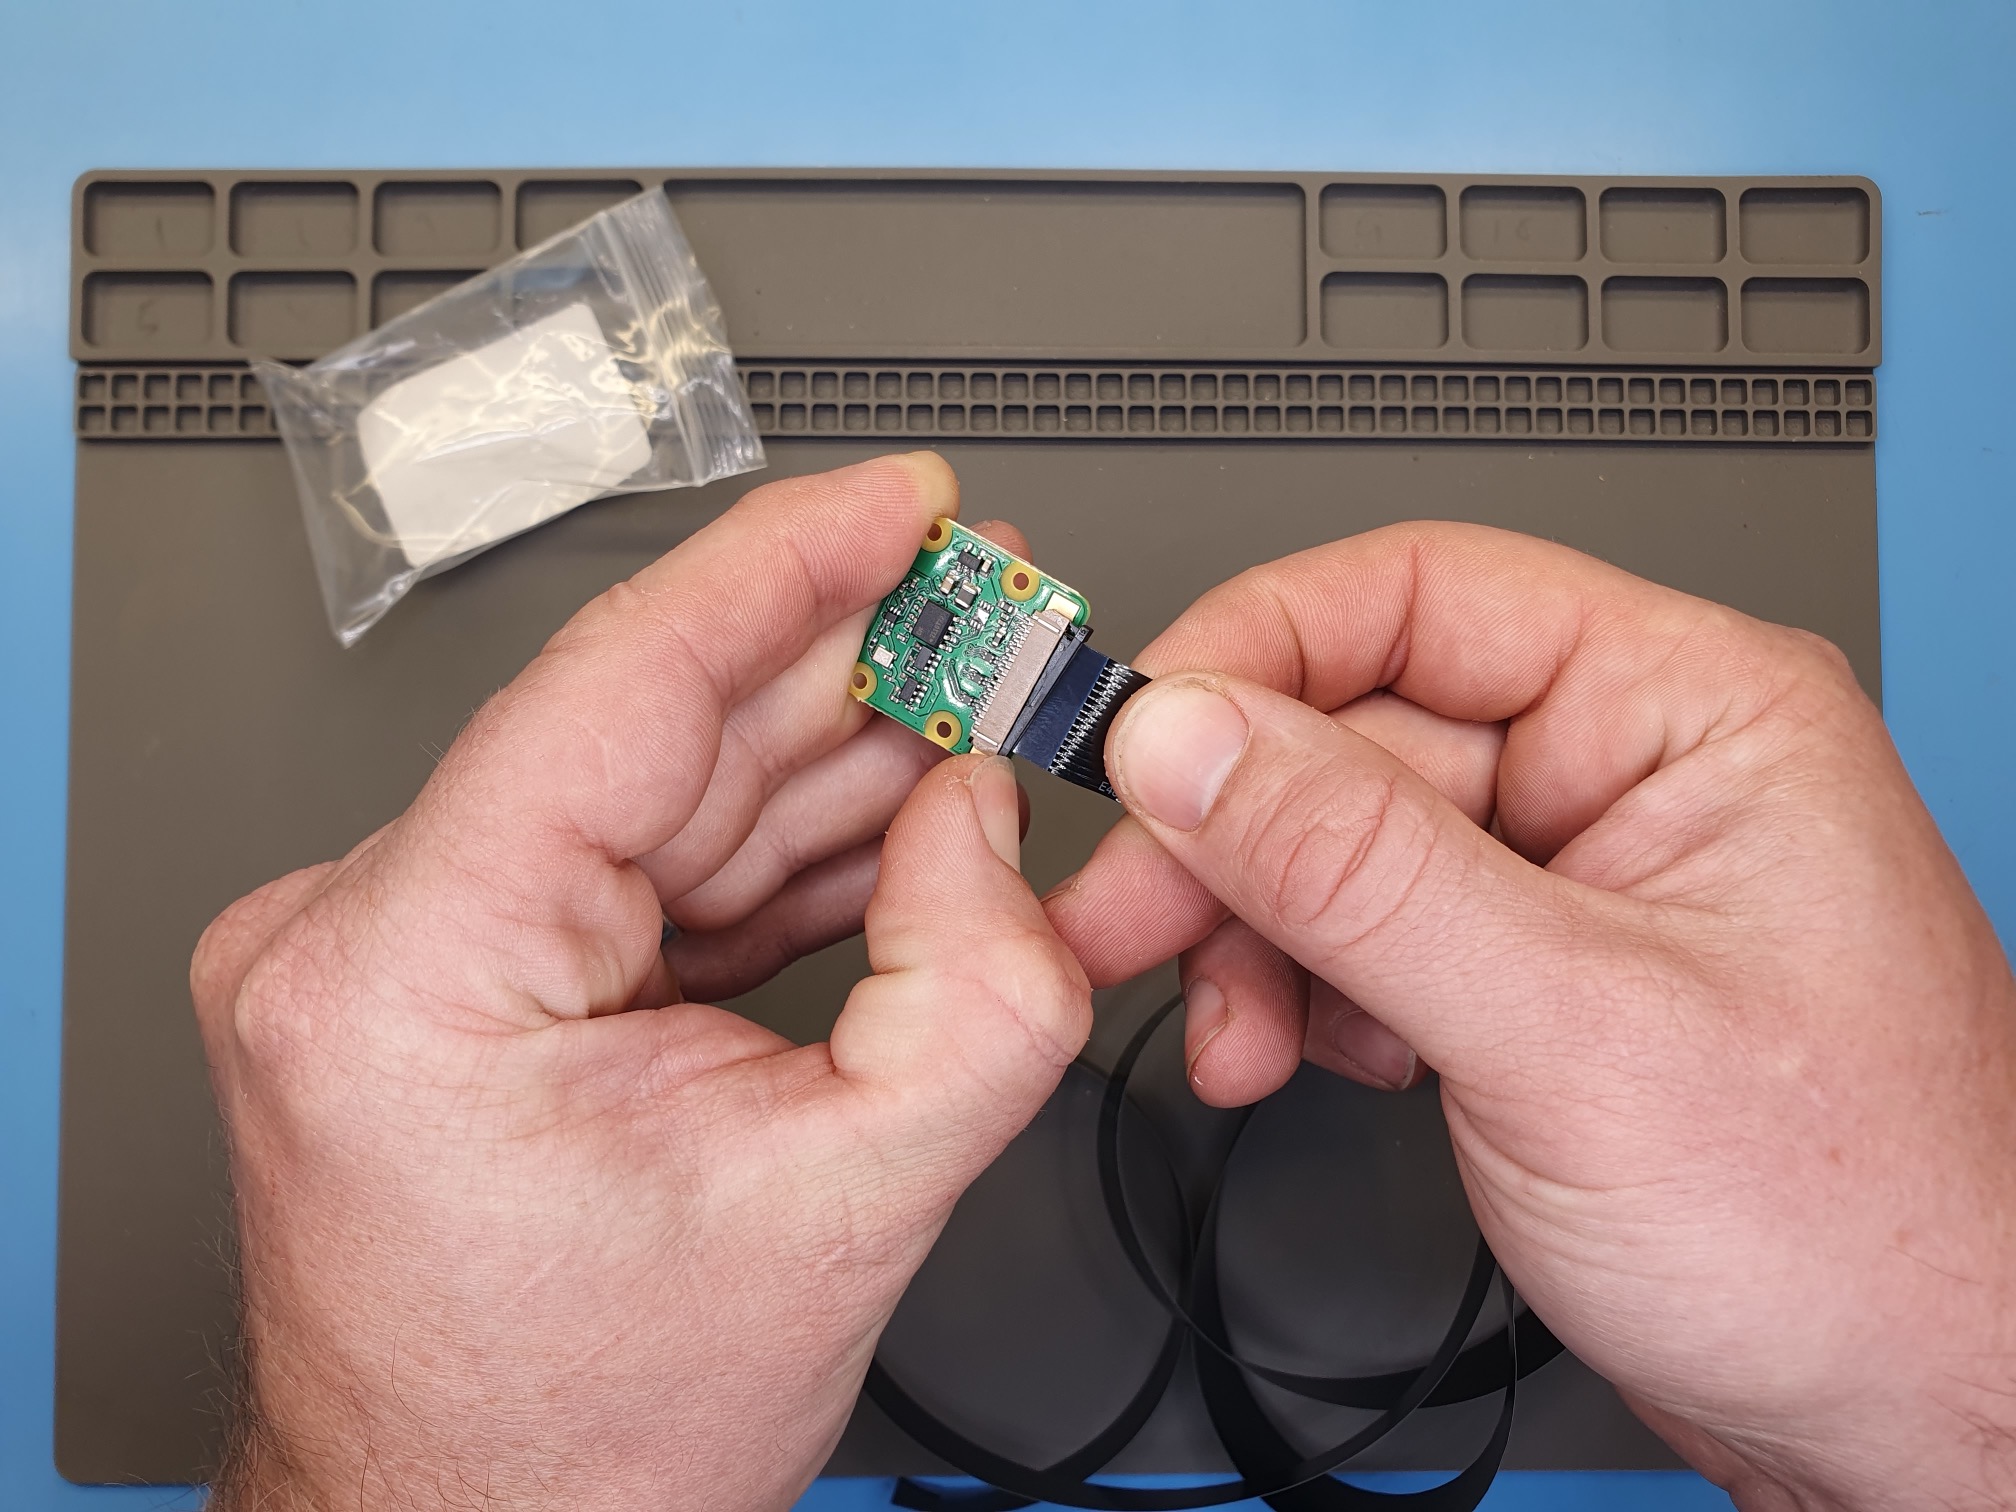
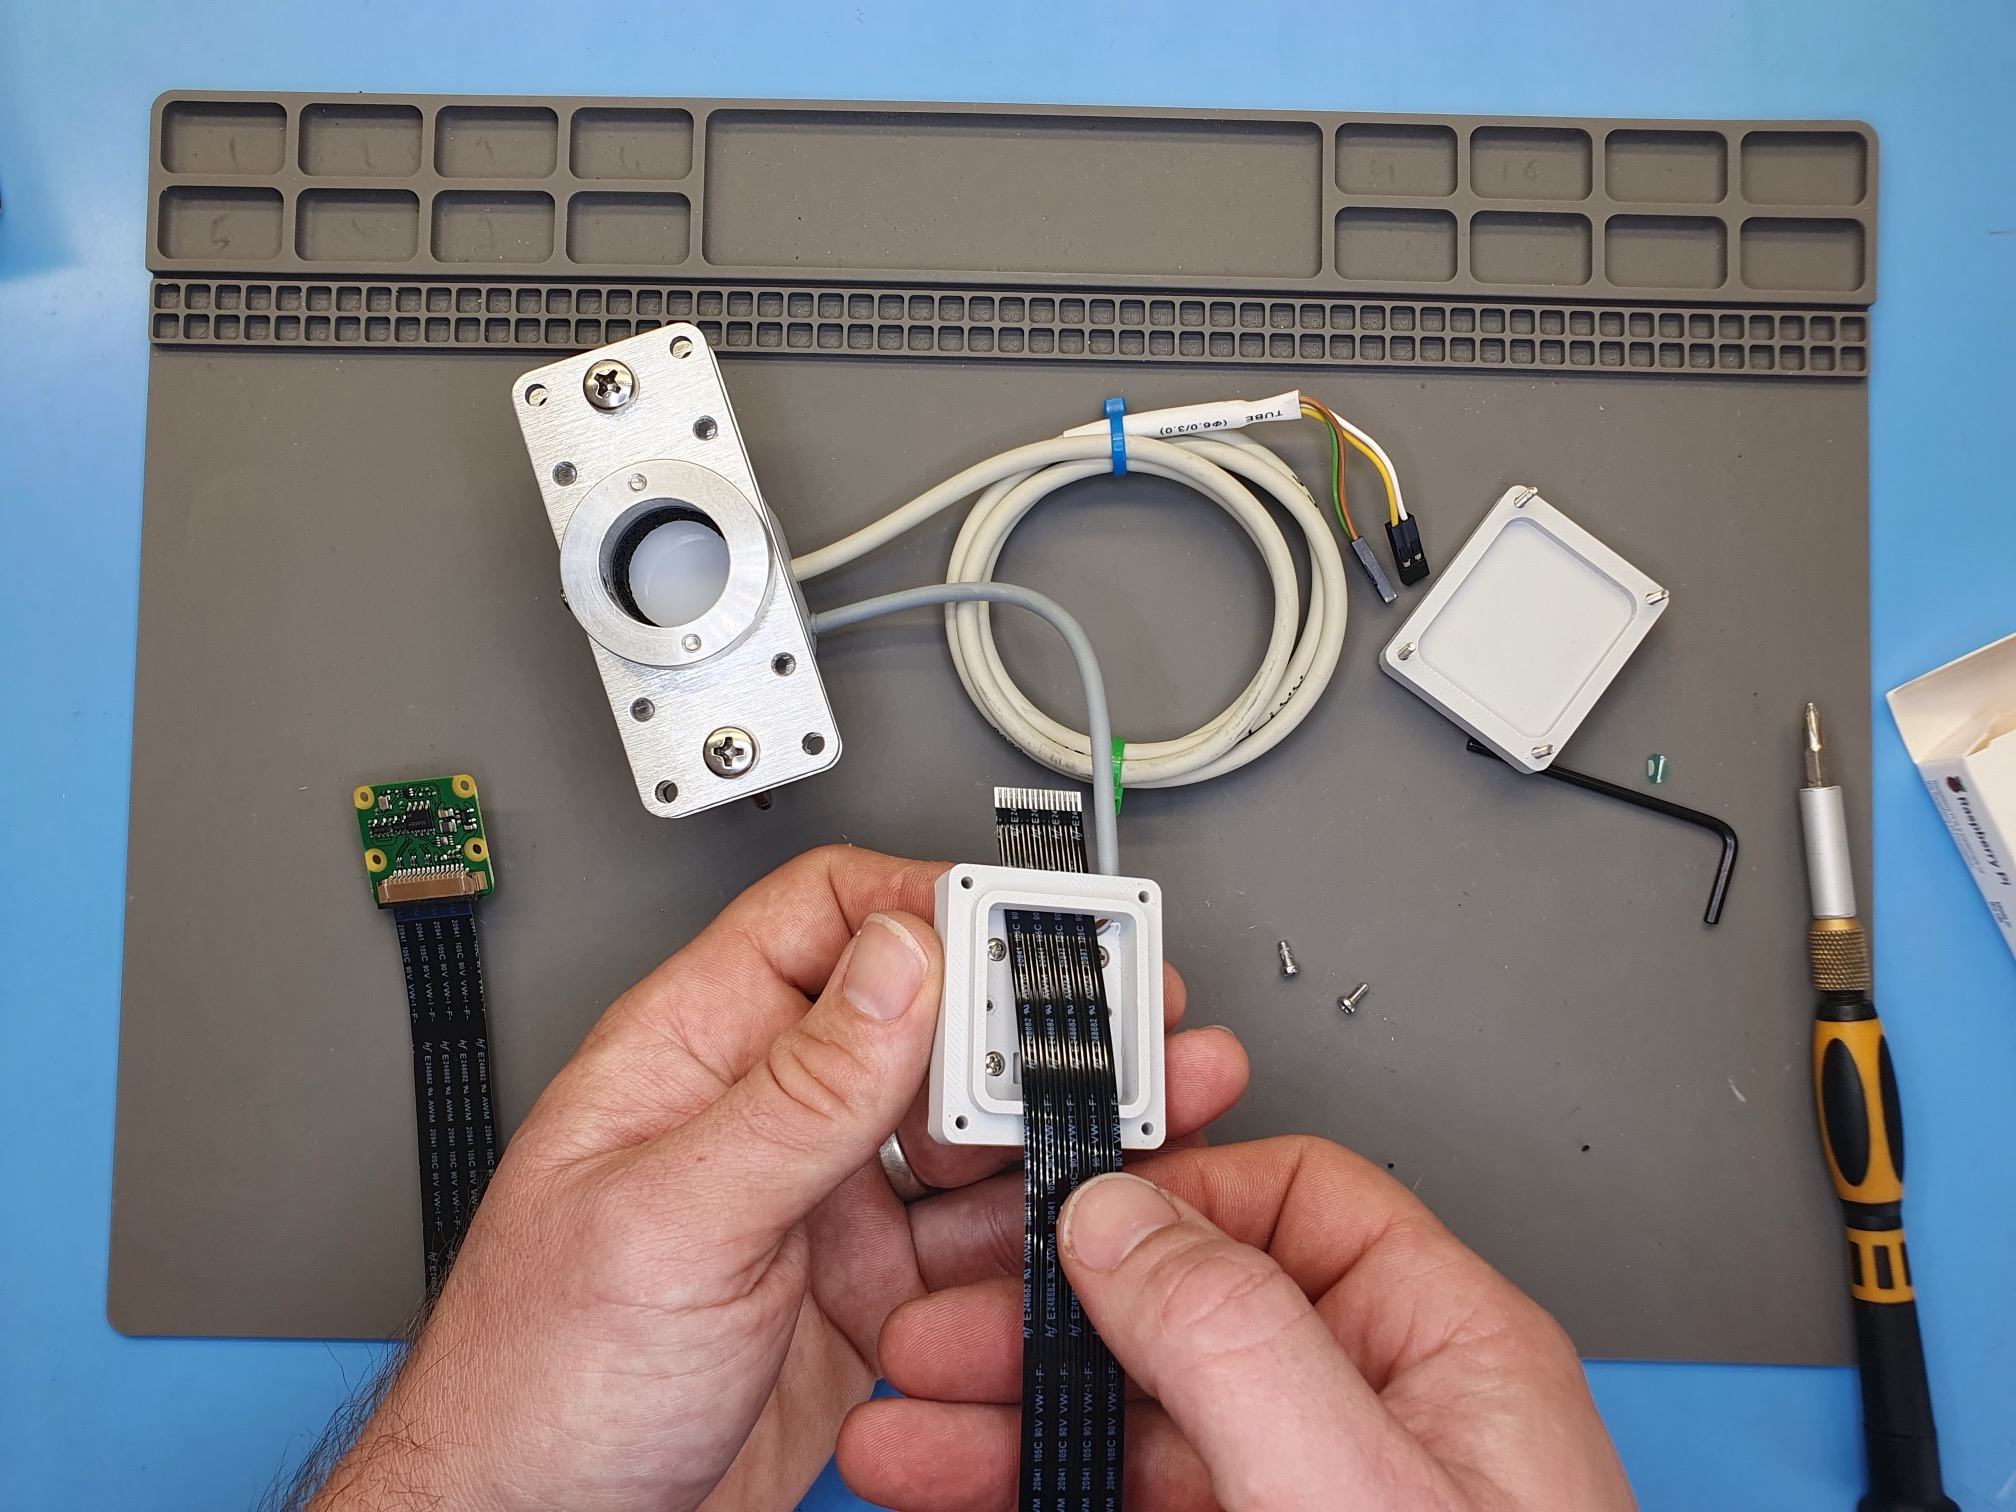
Carefully unclip the connector hinge on the camera:
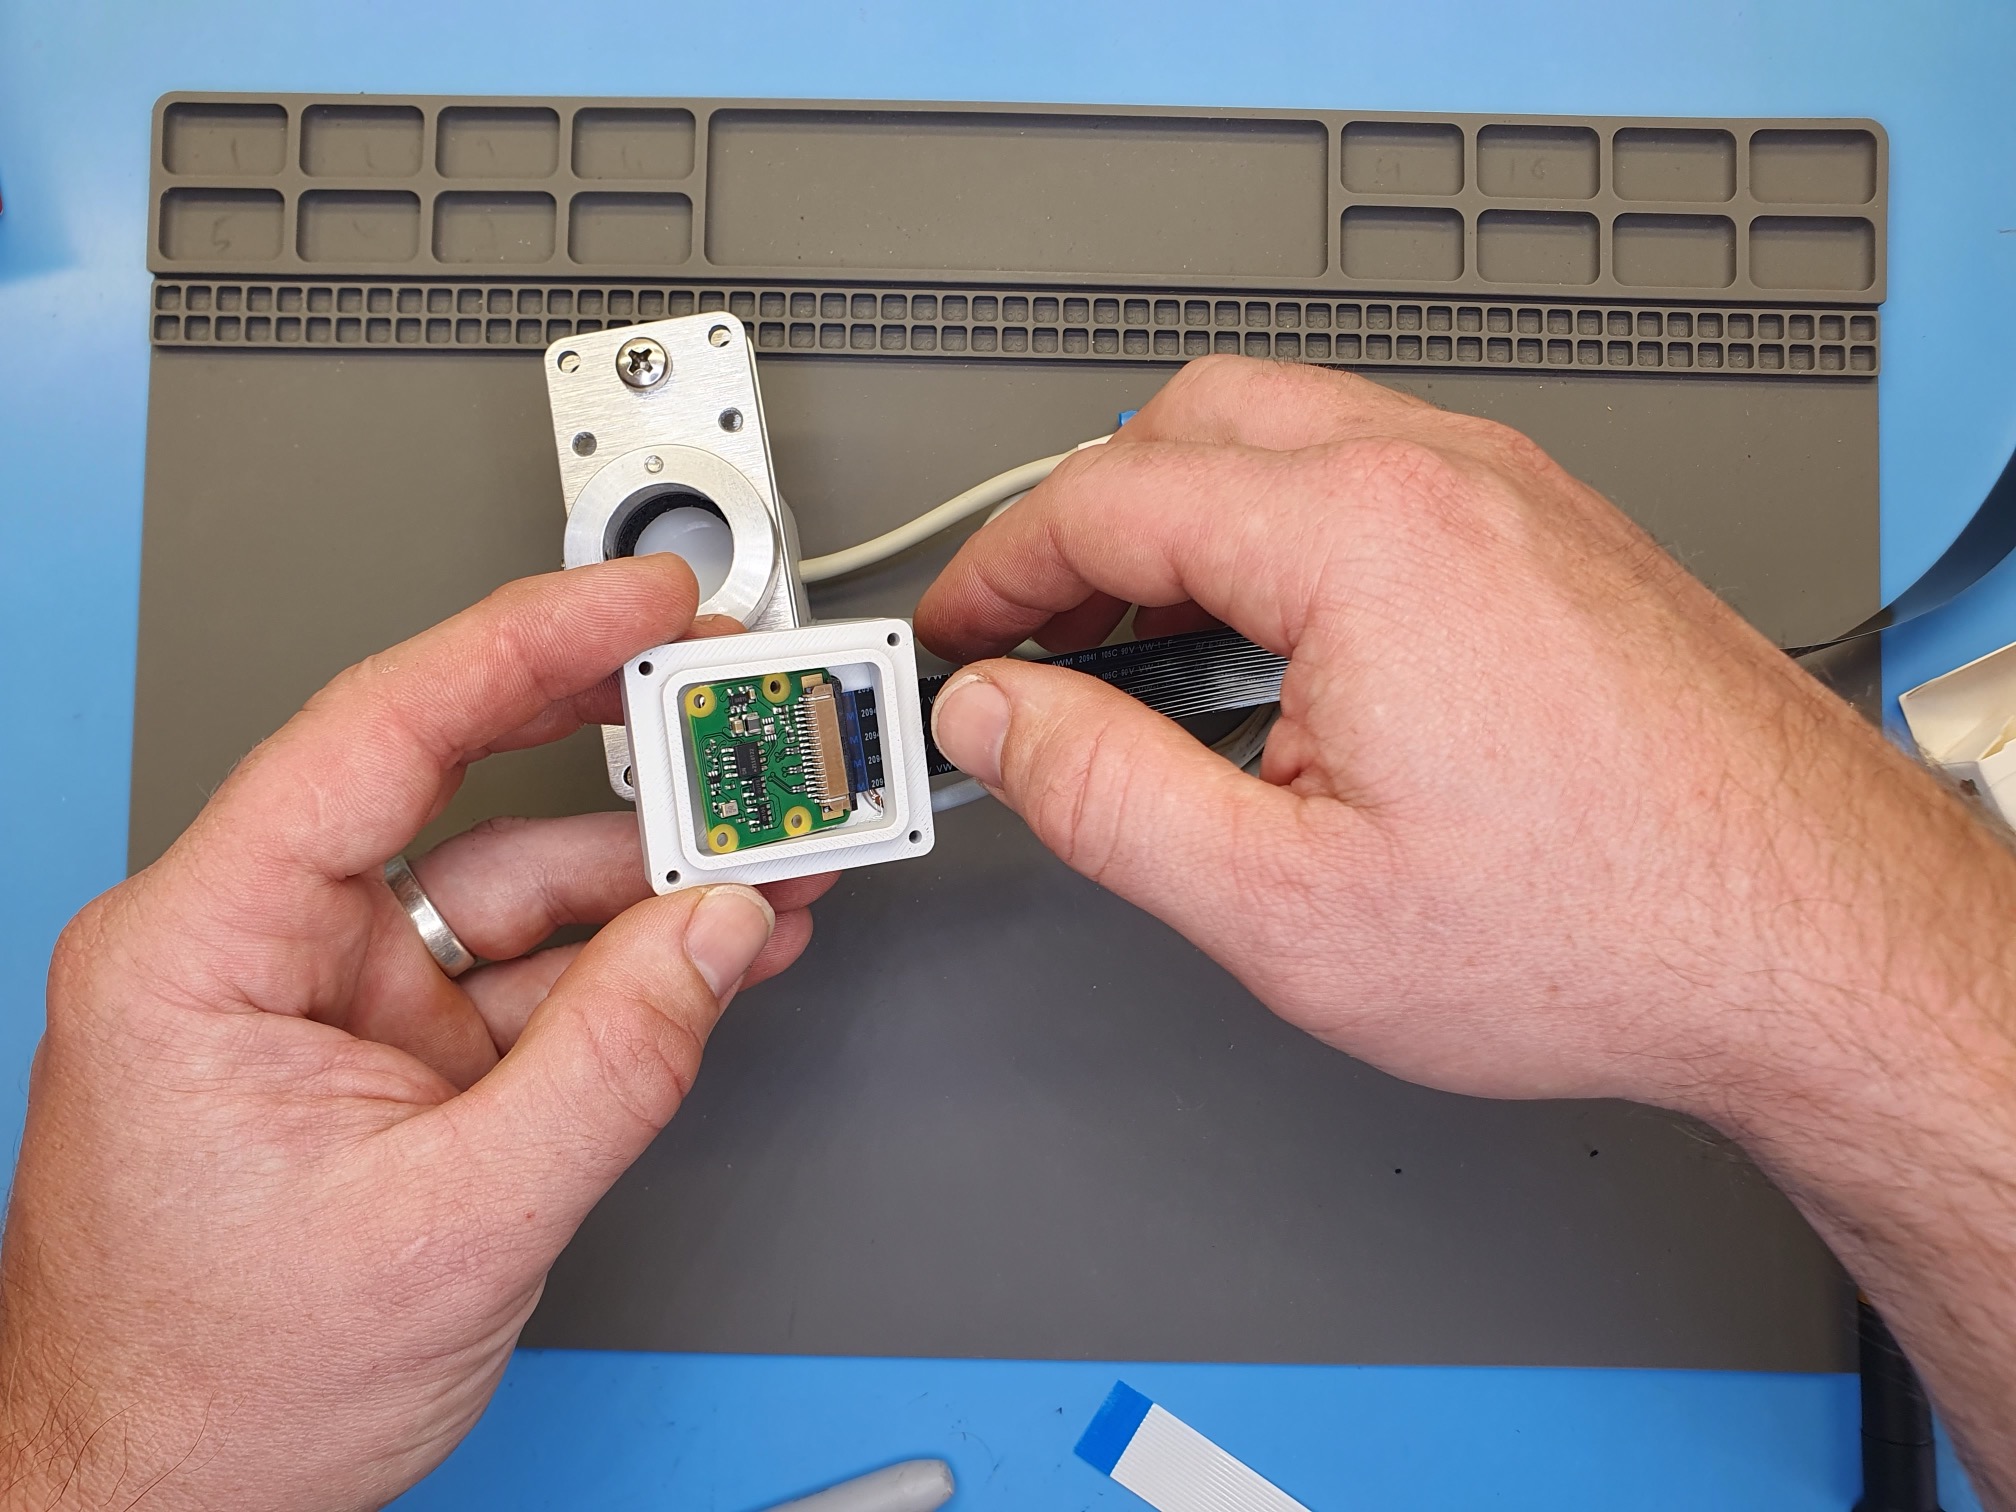
… and insert the ribbon/flex cable as shown:
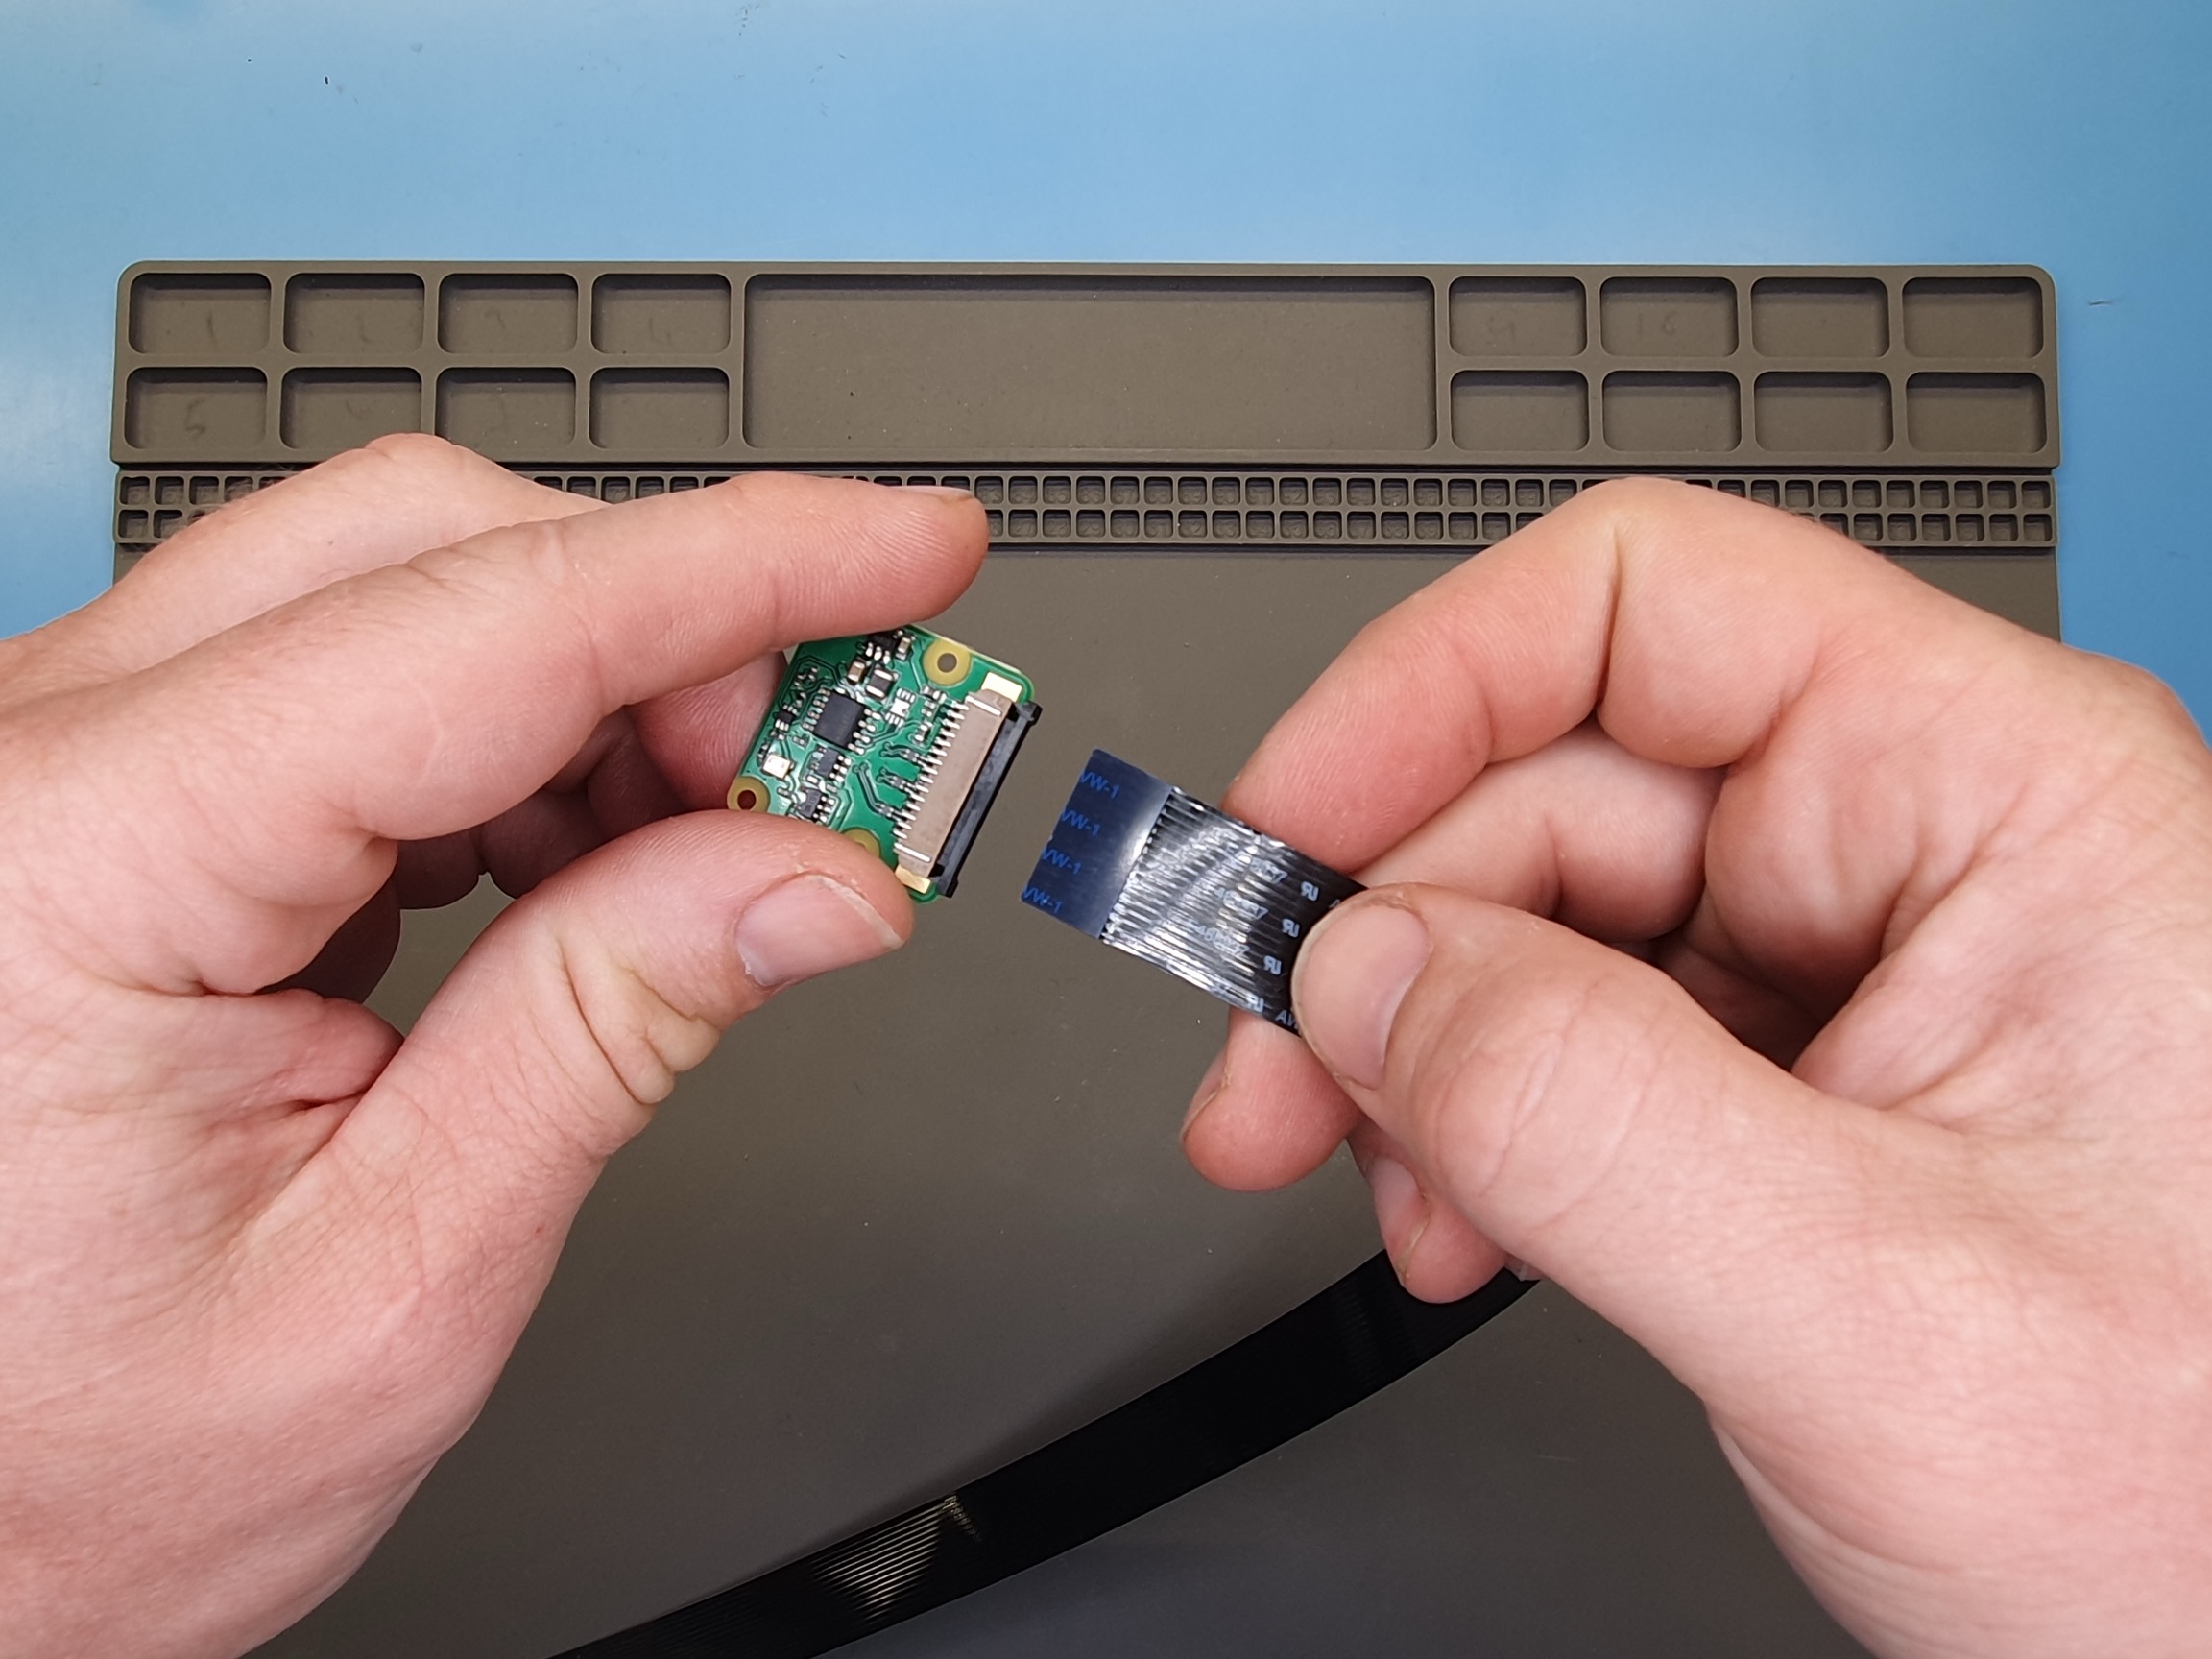
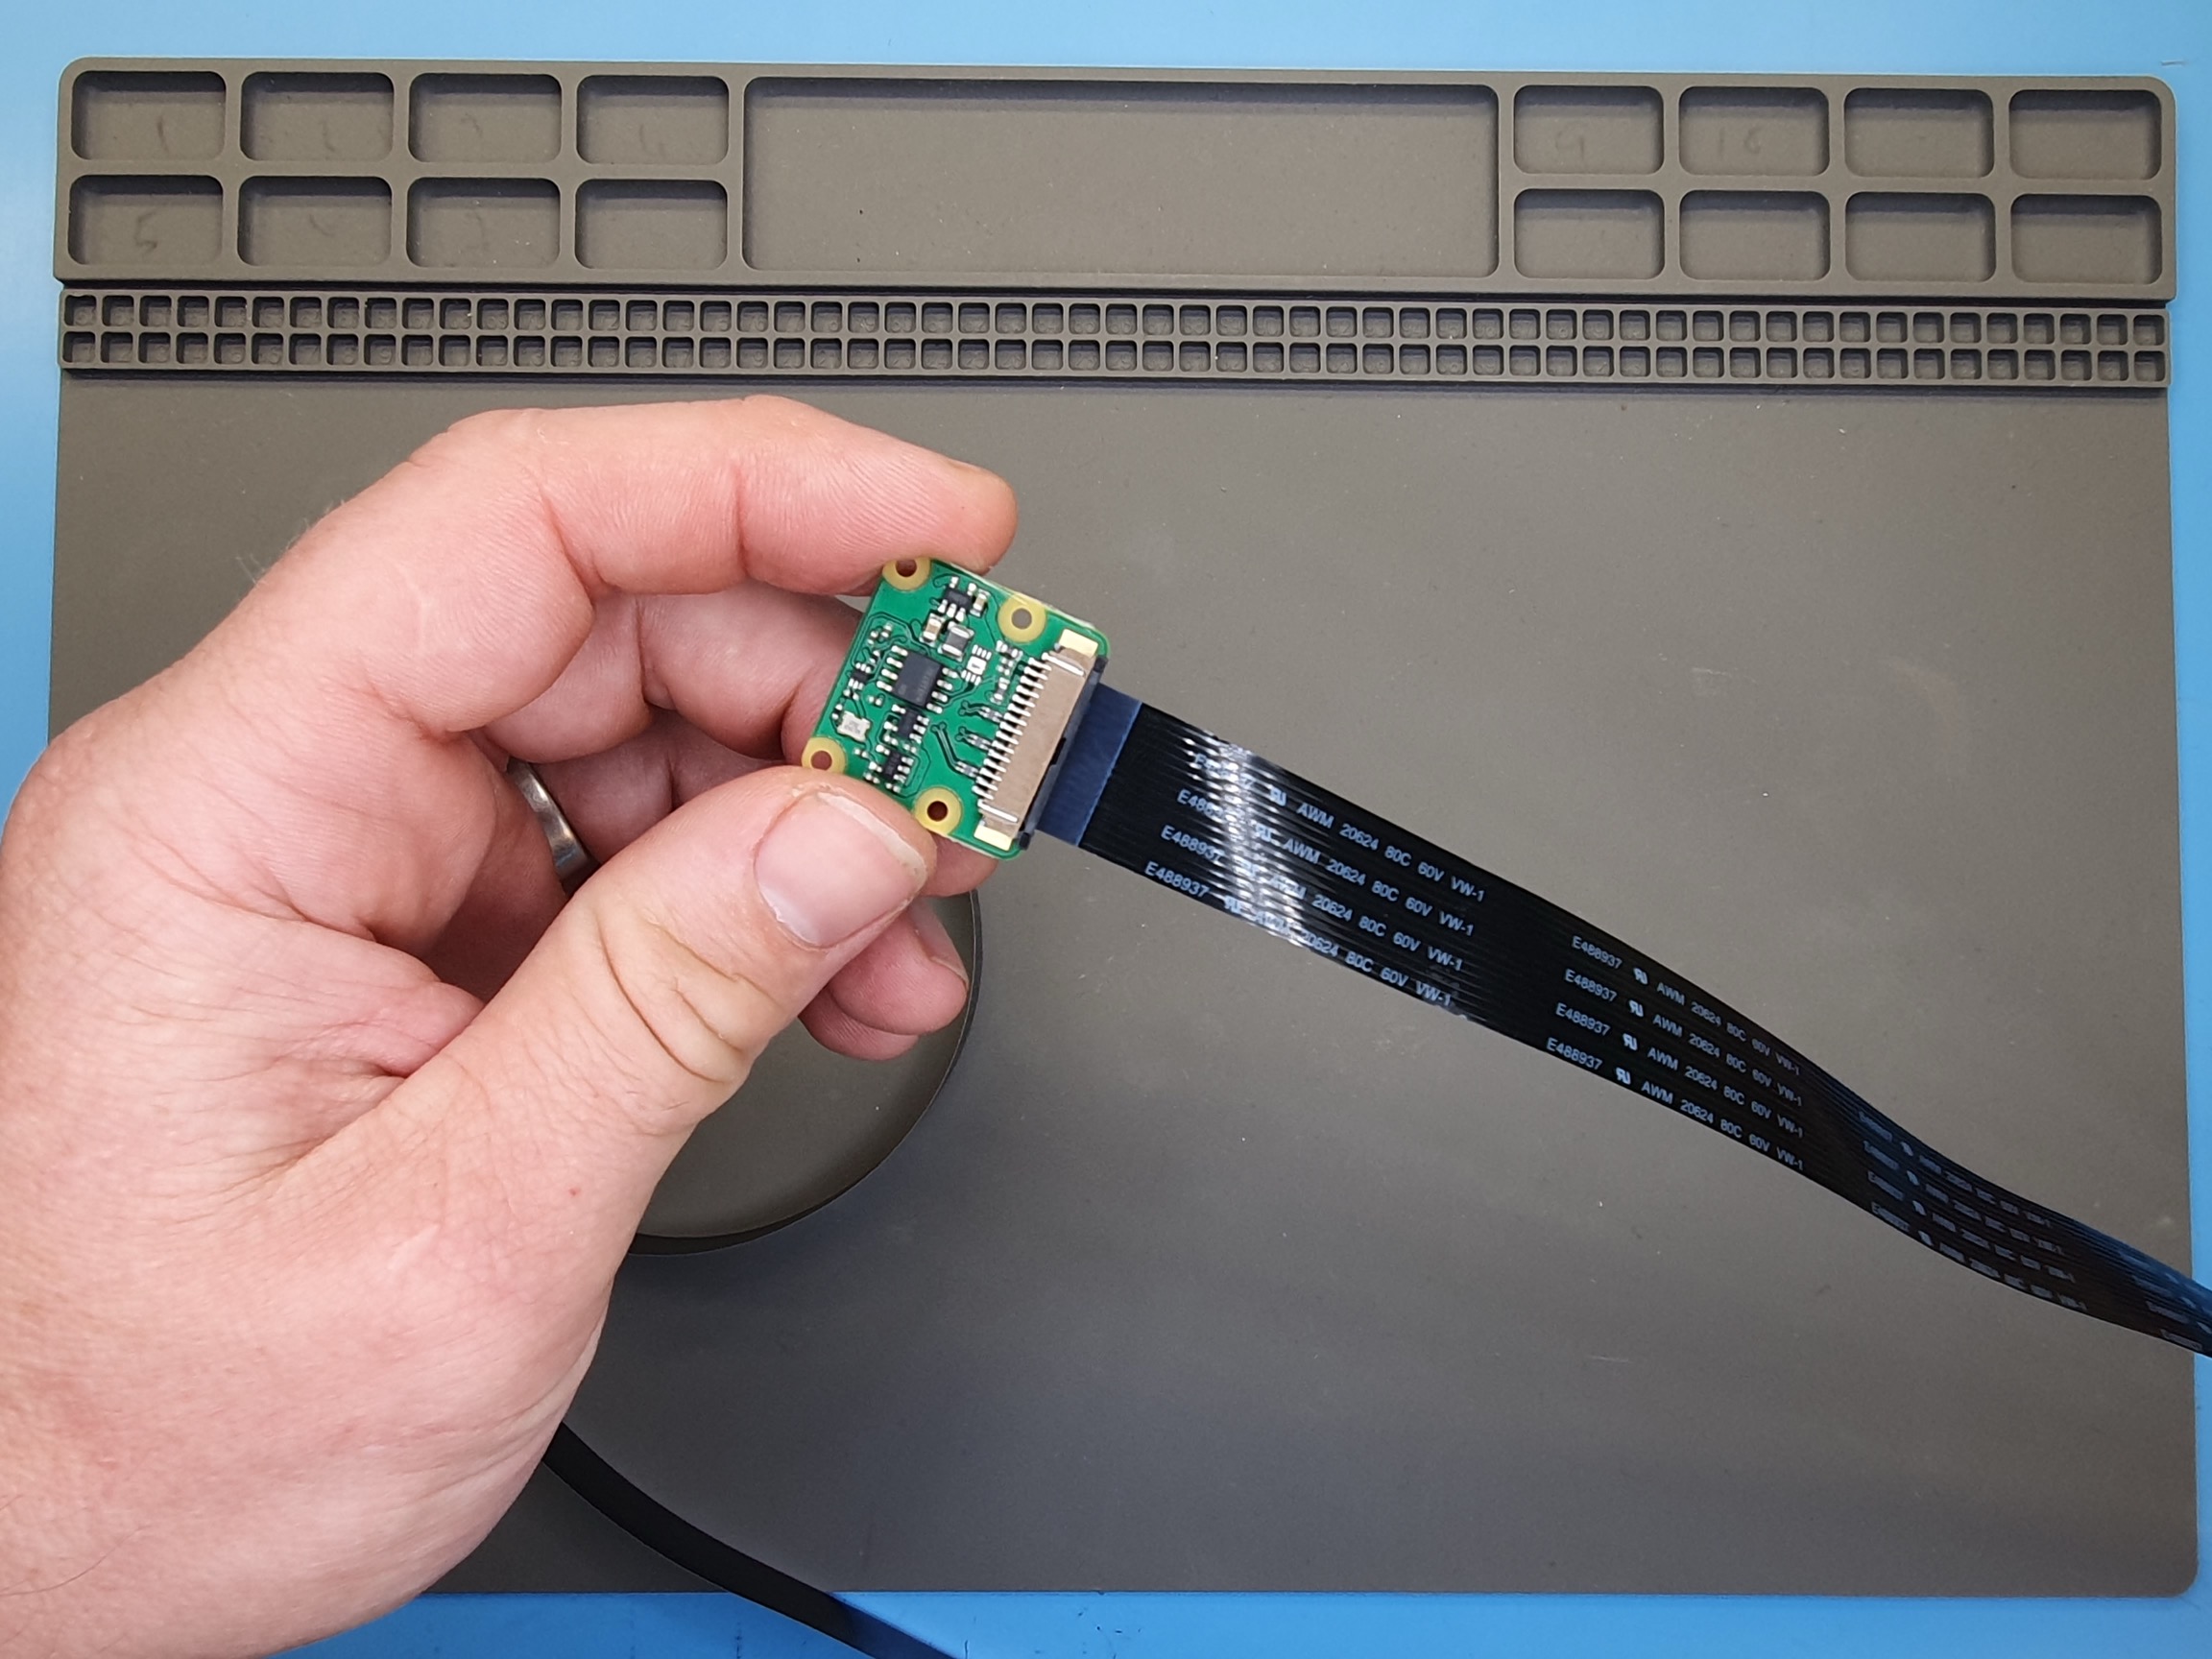
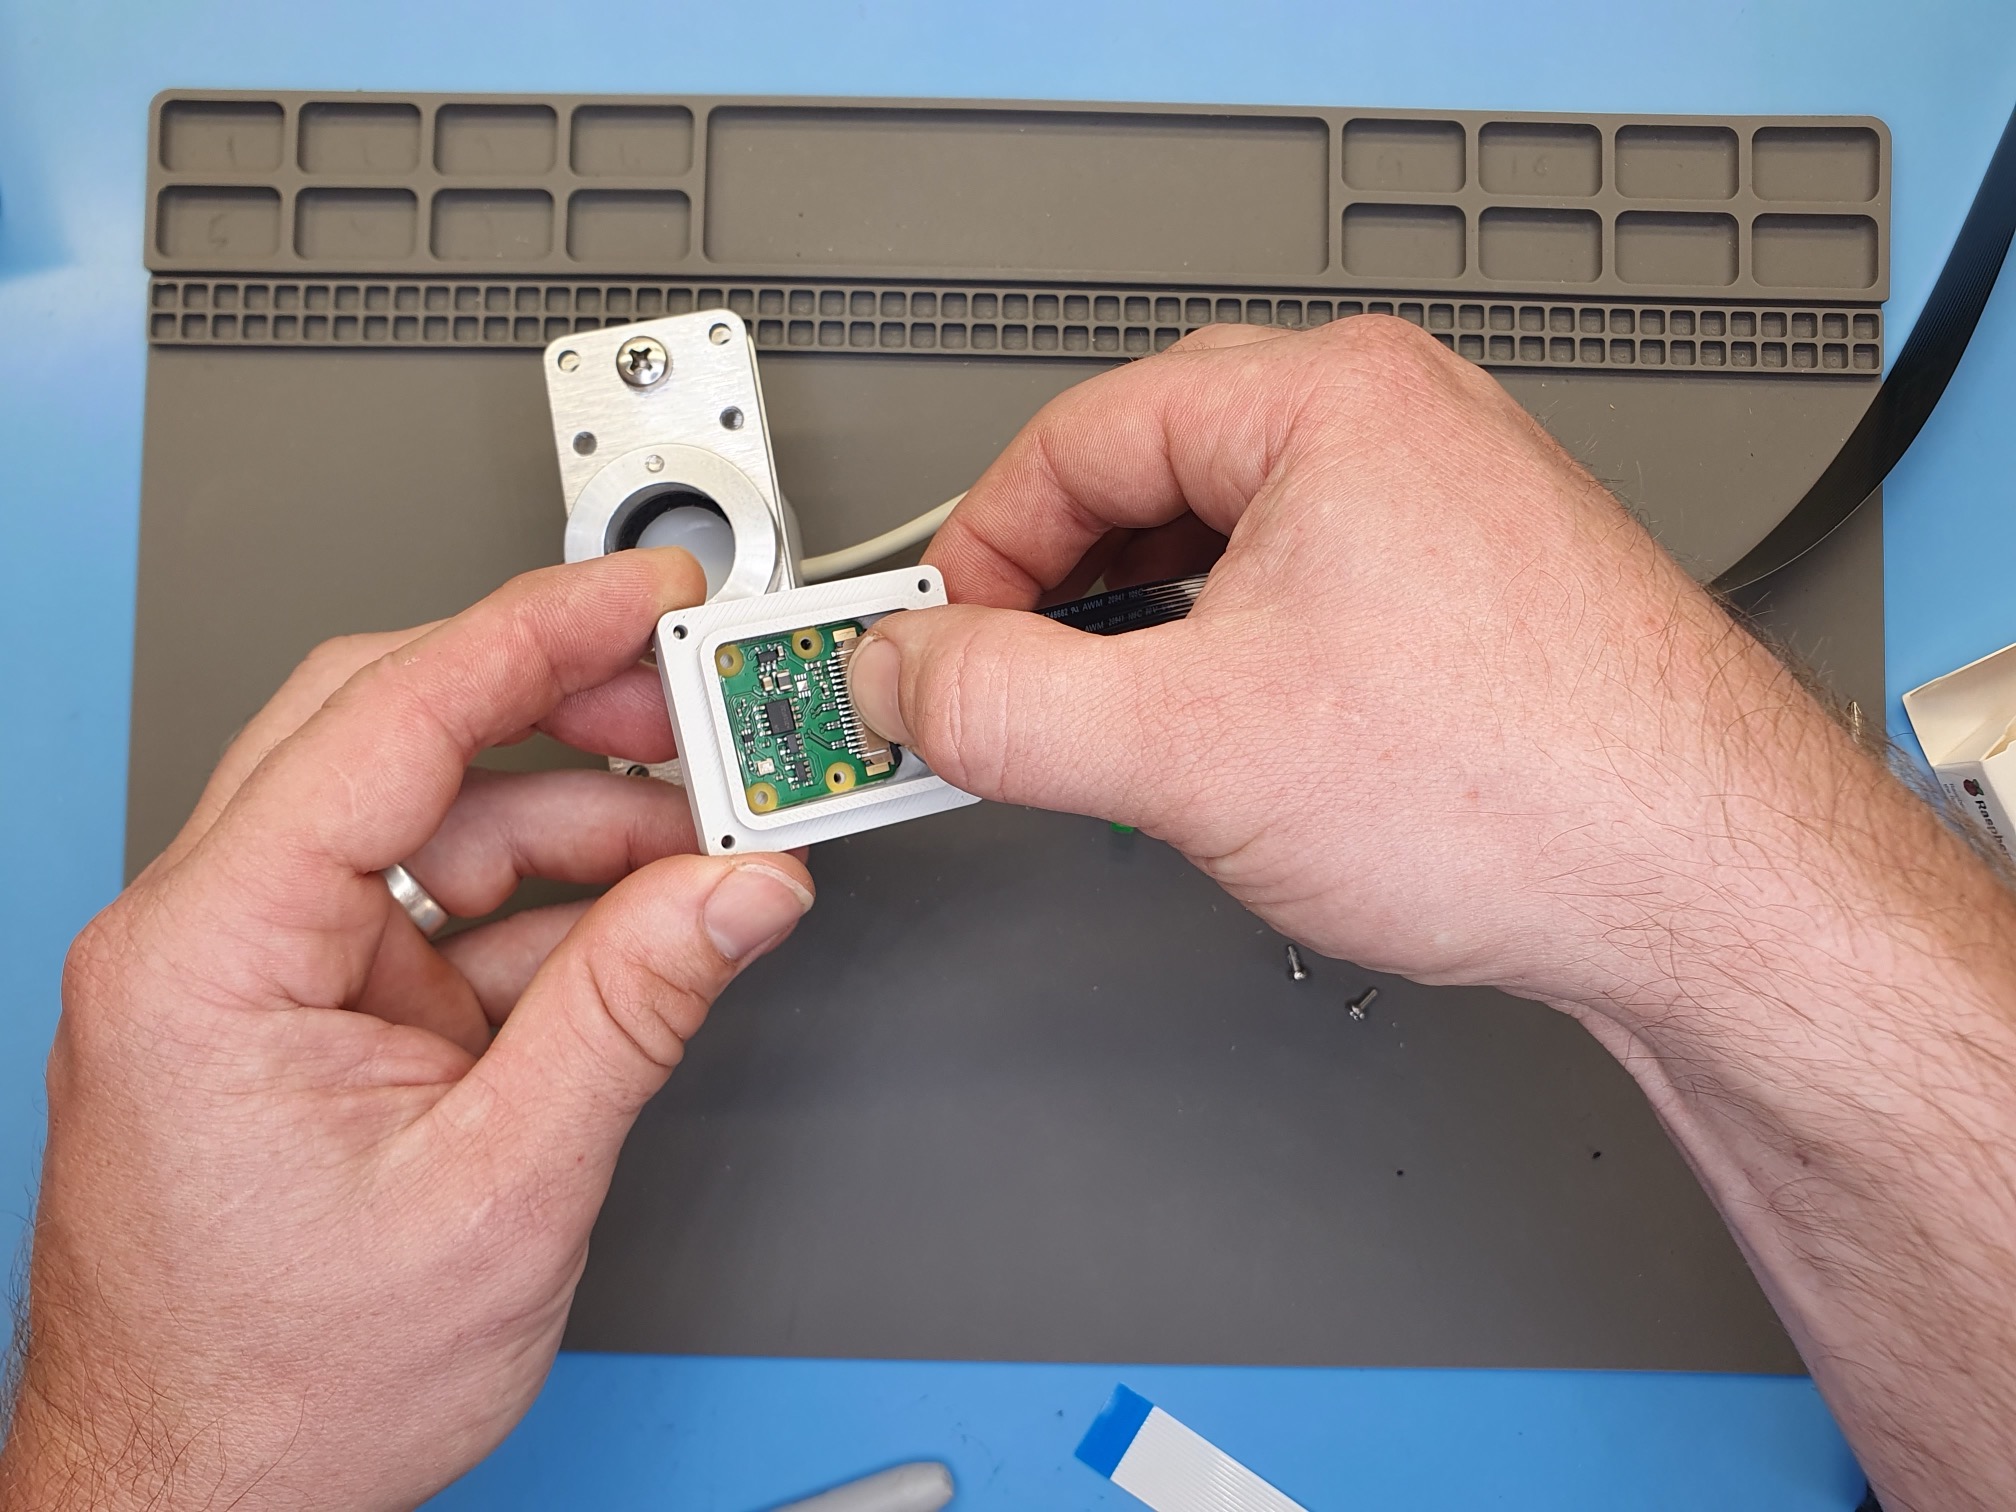
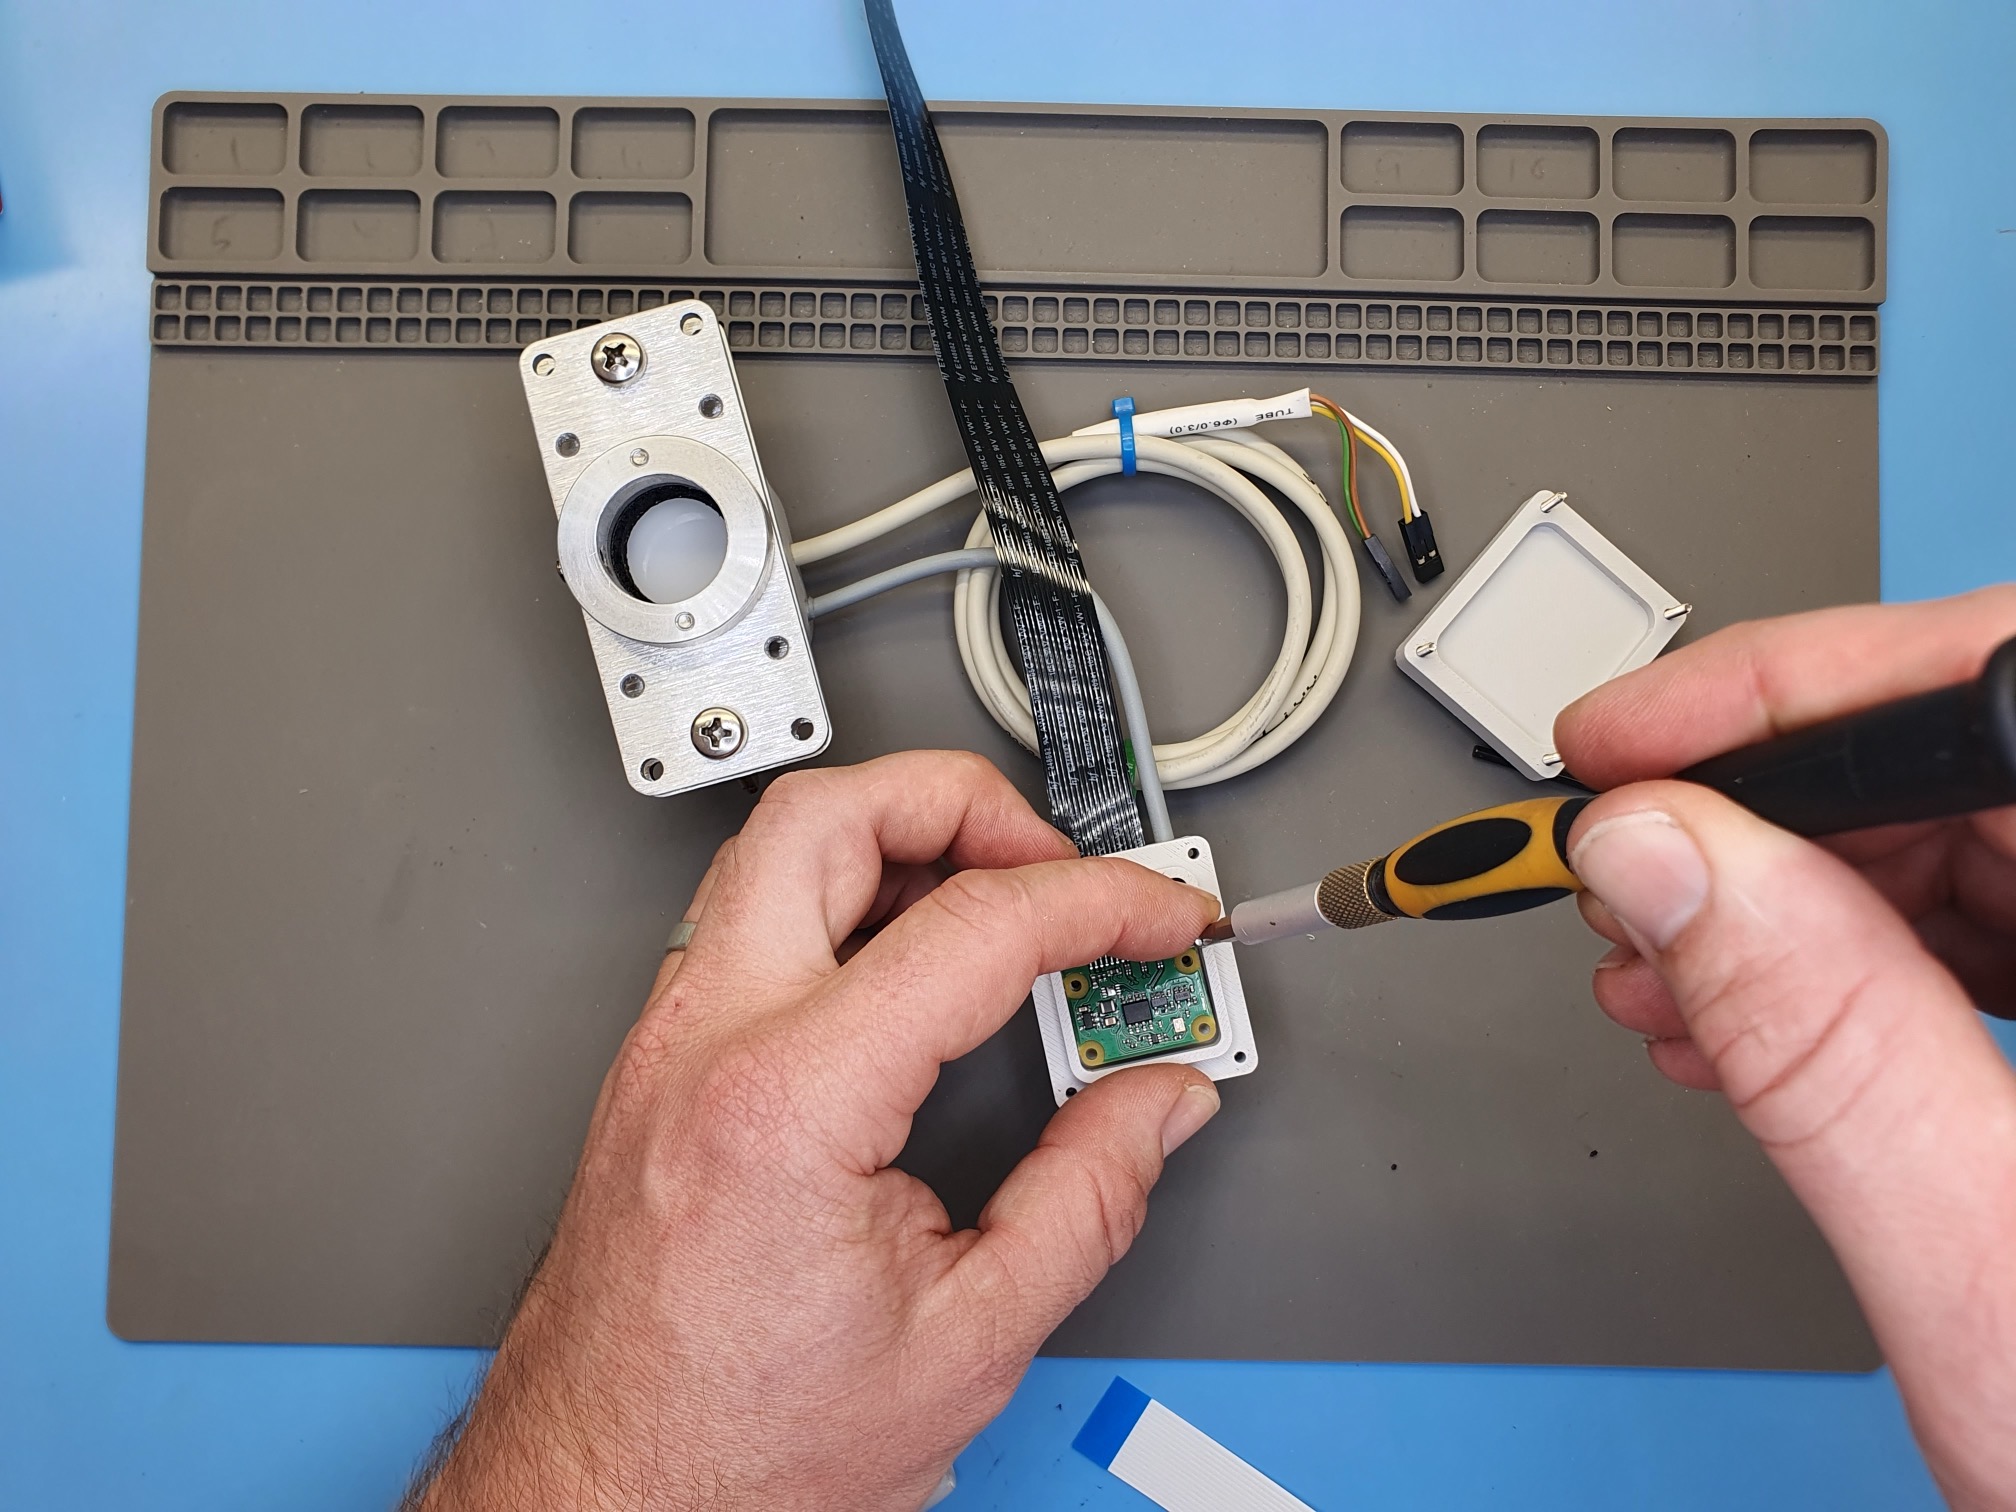
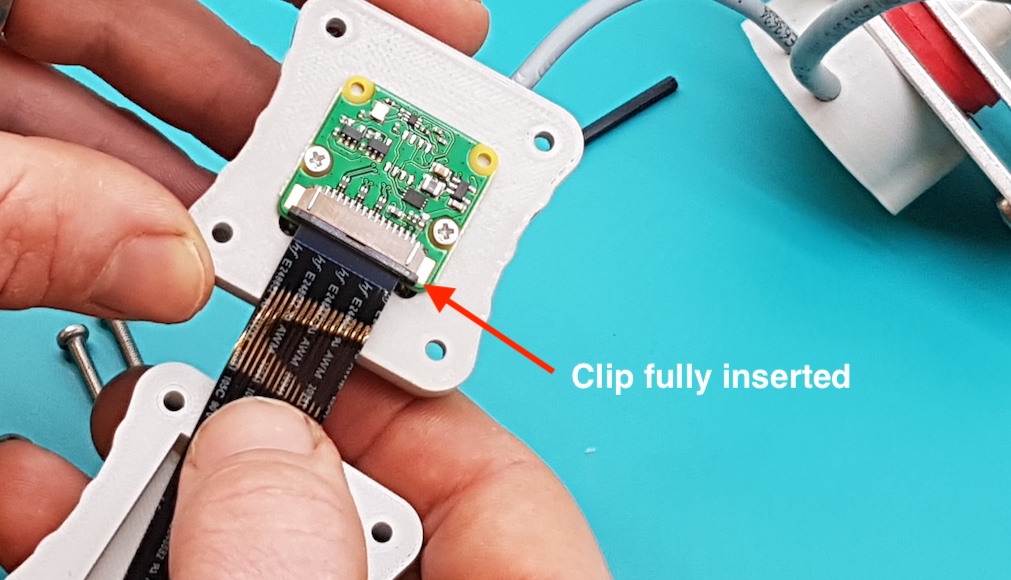
Push in the hinge, one side at a time, to lock in the cable:
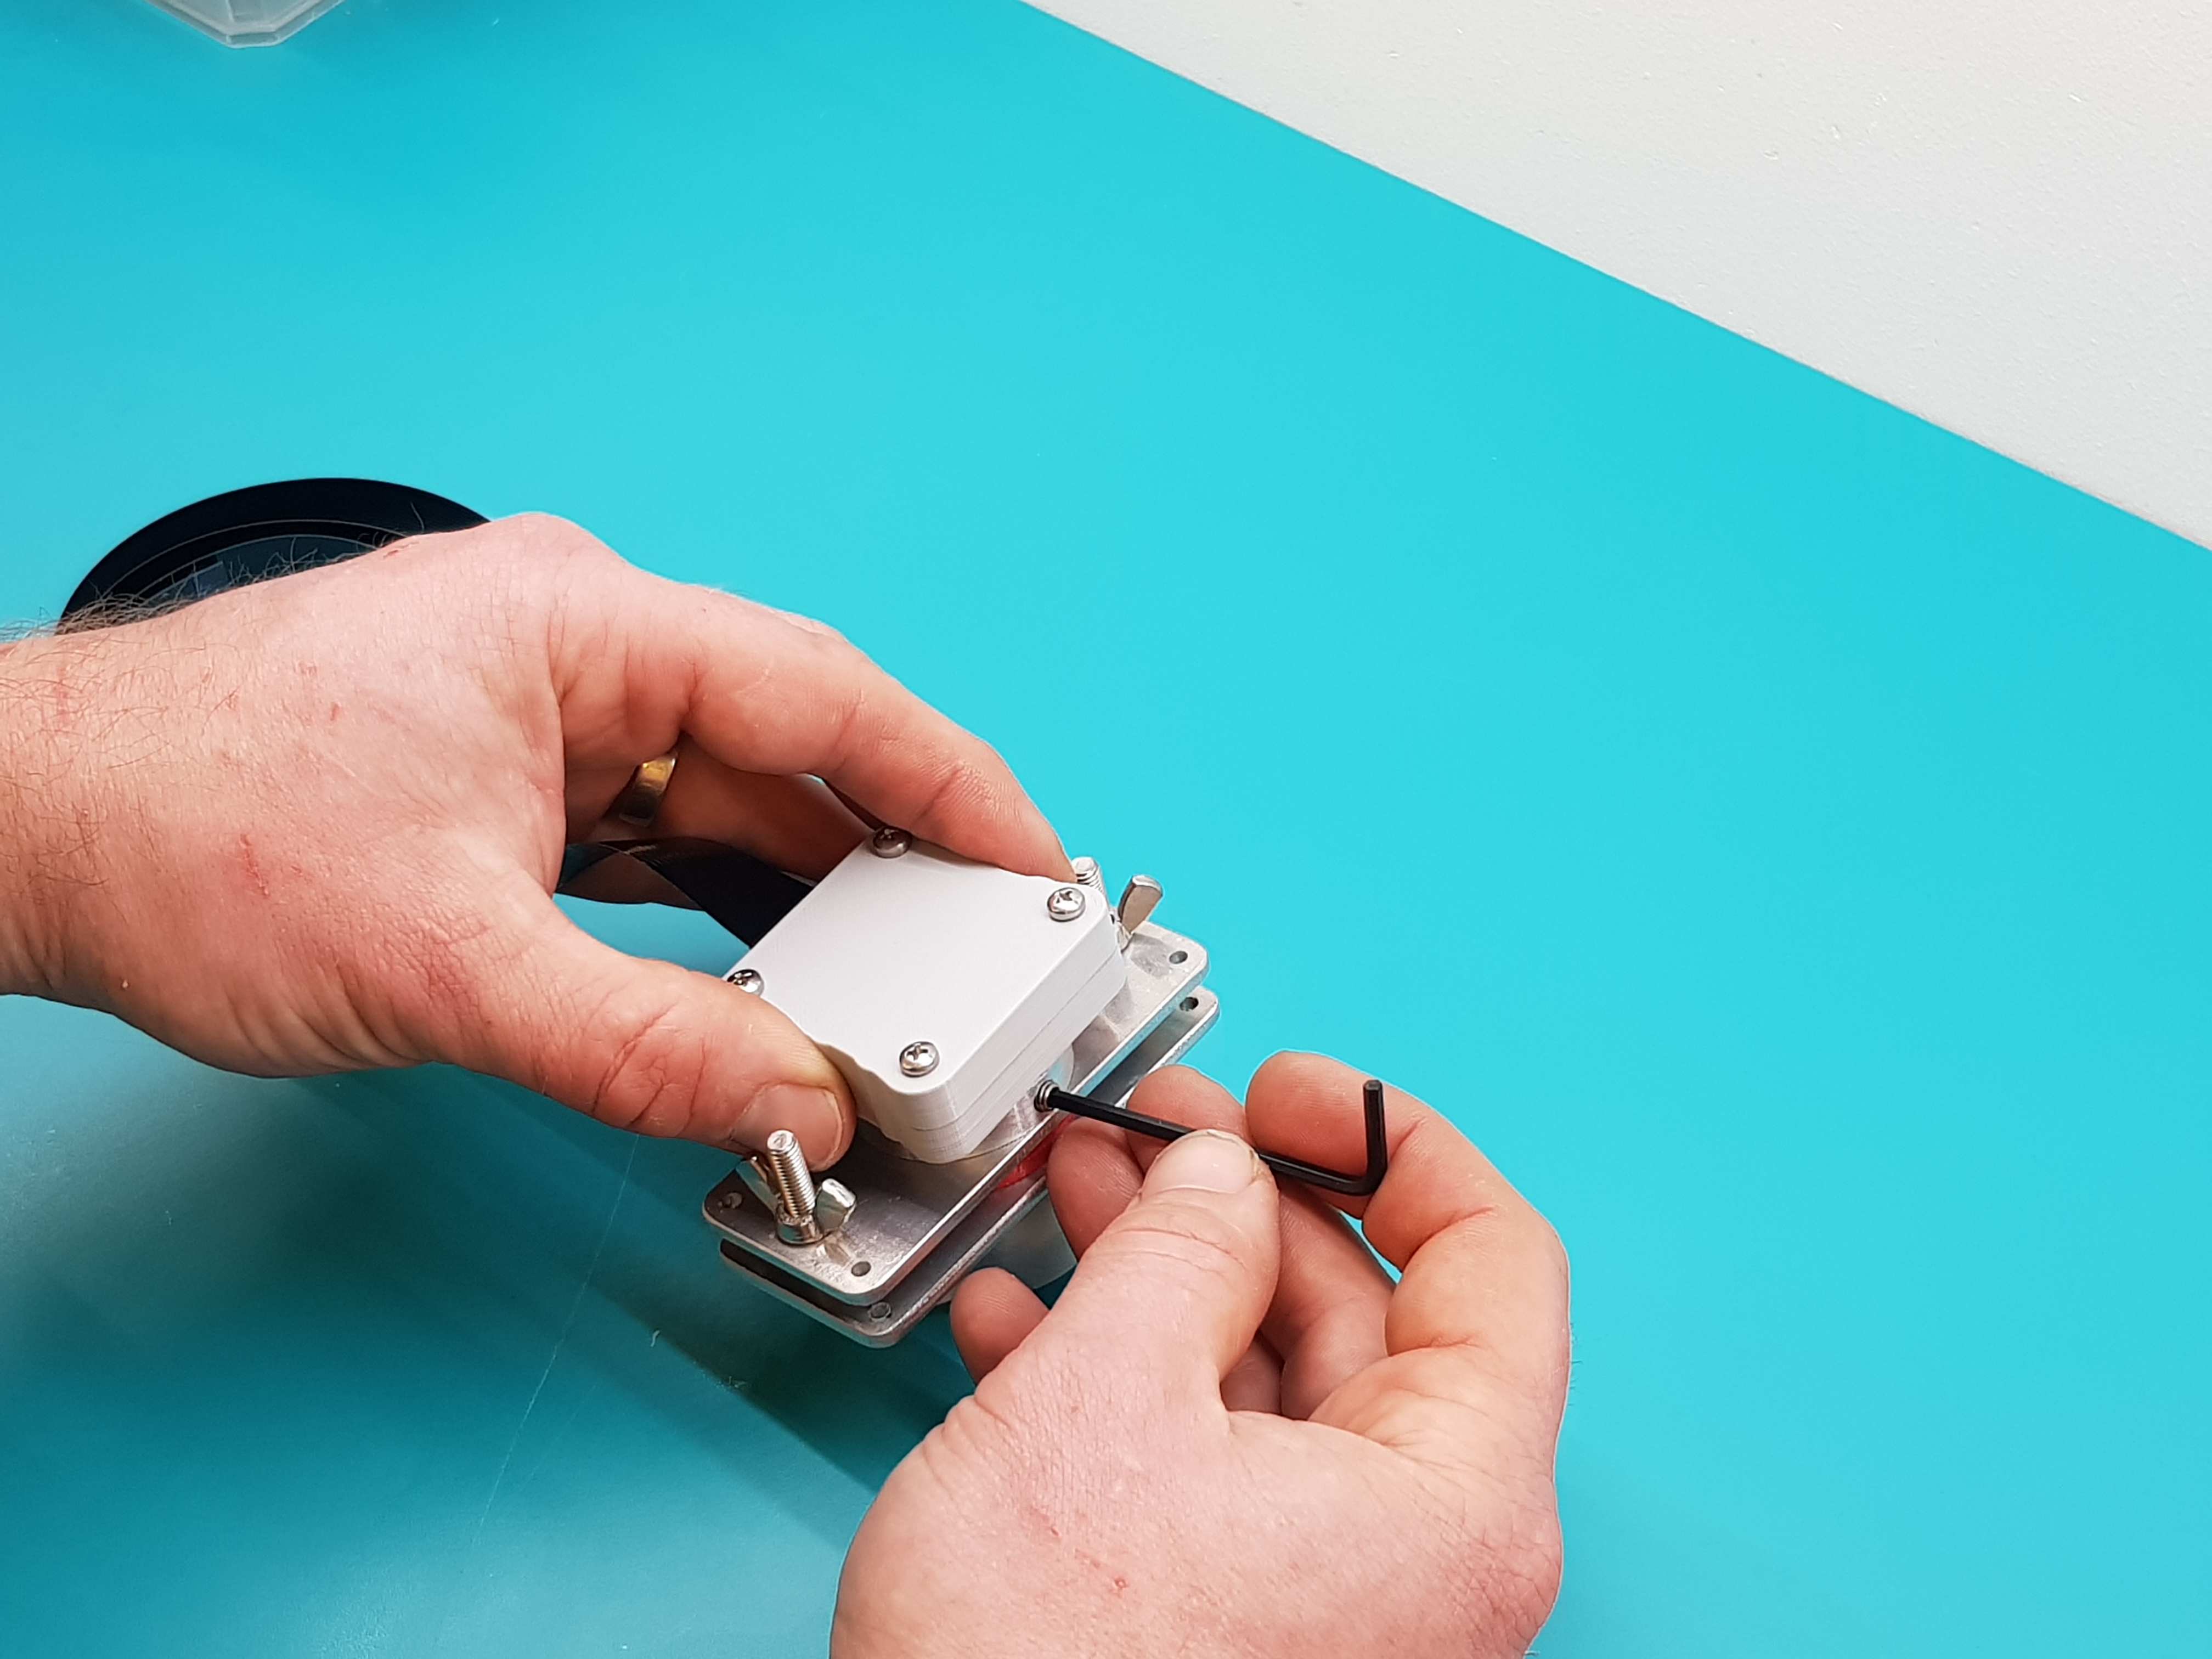
Step 2 - Release the top assembly
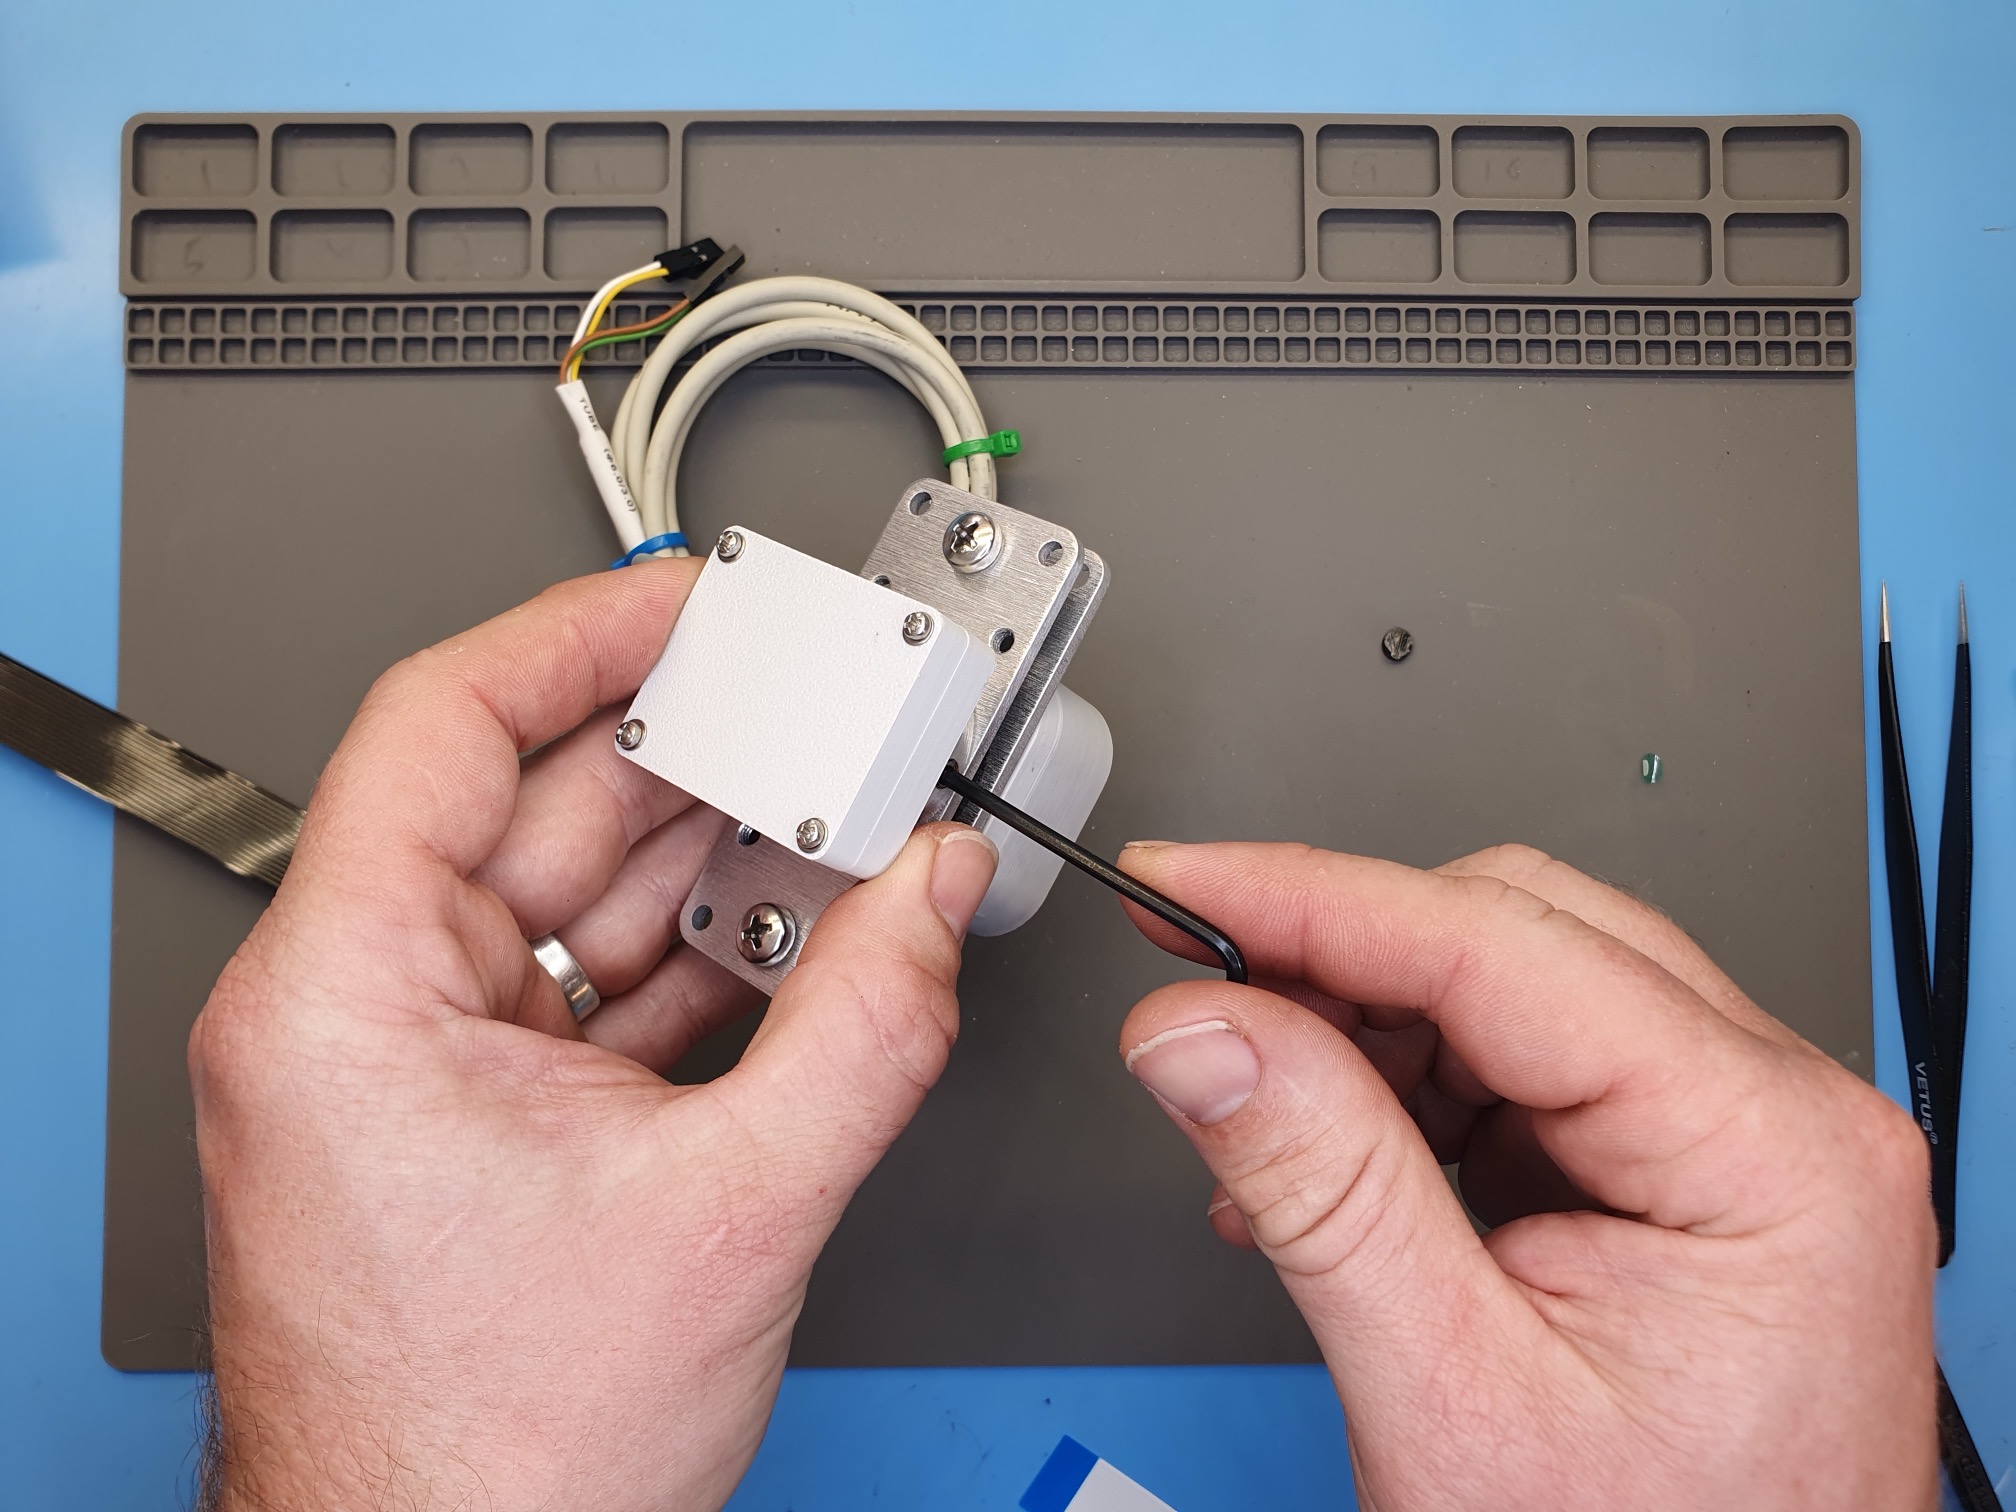
Release the top assembly by loostening the grub screw
Step 3 - Remove Cover
Unscrew and remove the four M2 screws at the top of the camera assembly. Remove and set the cover aside.
Step 3 - Unscrew Camera Mount Screws
Unscrew and remove the two M2 screws as shown.

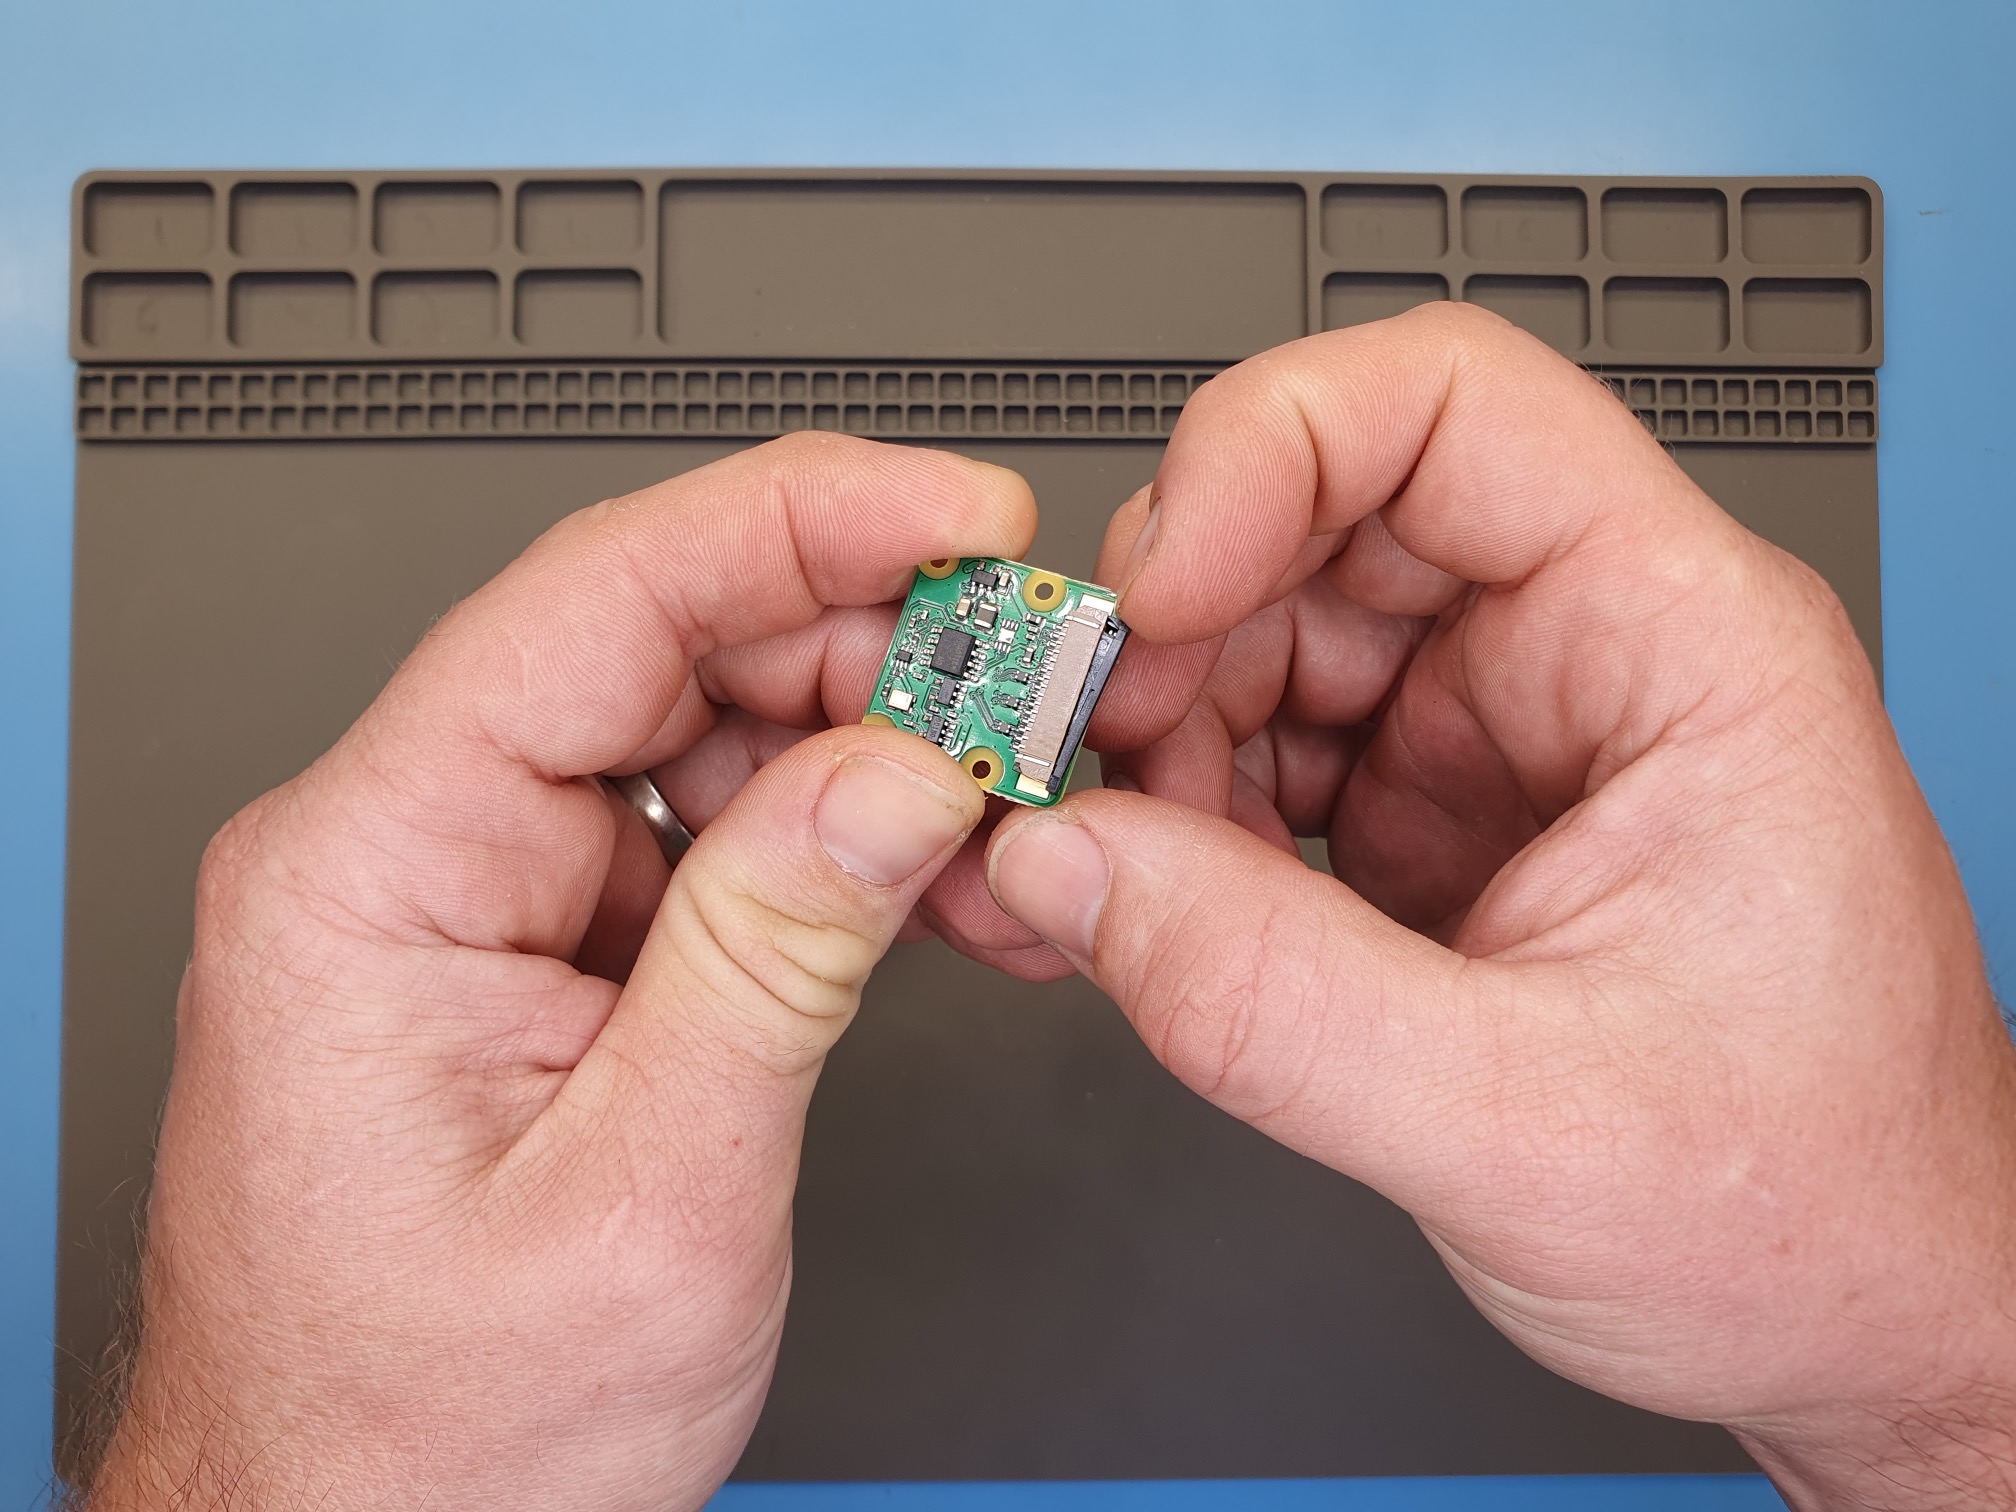
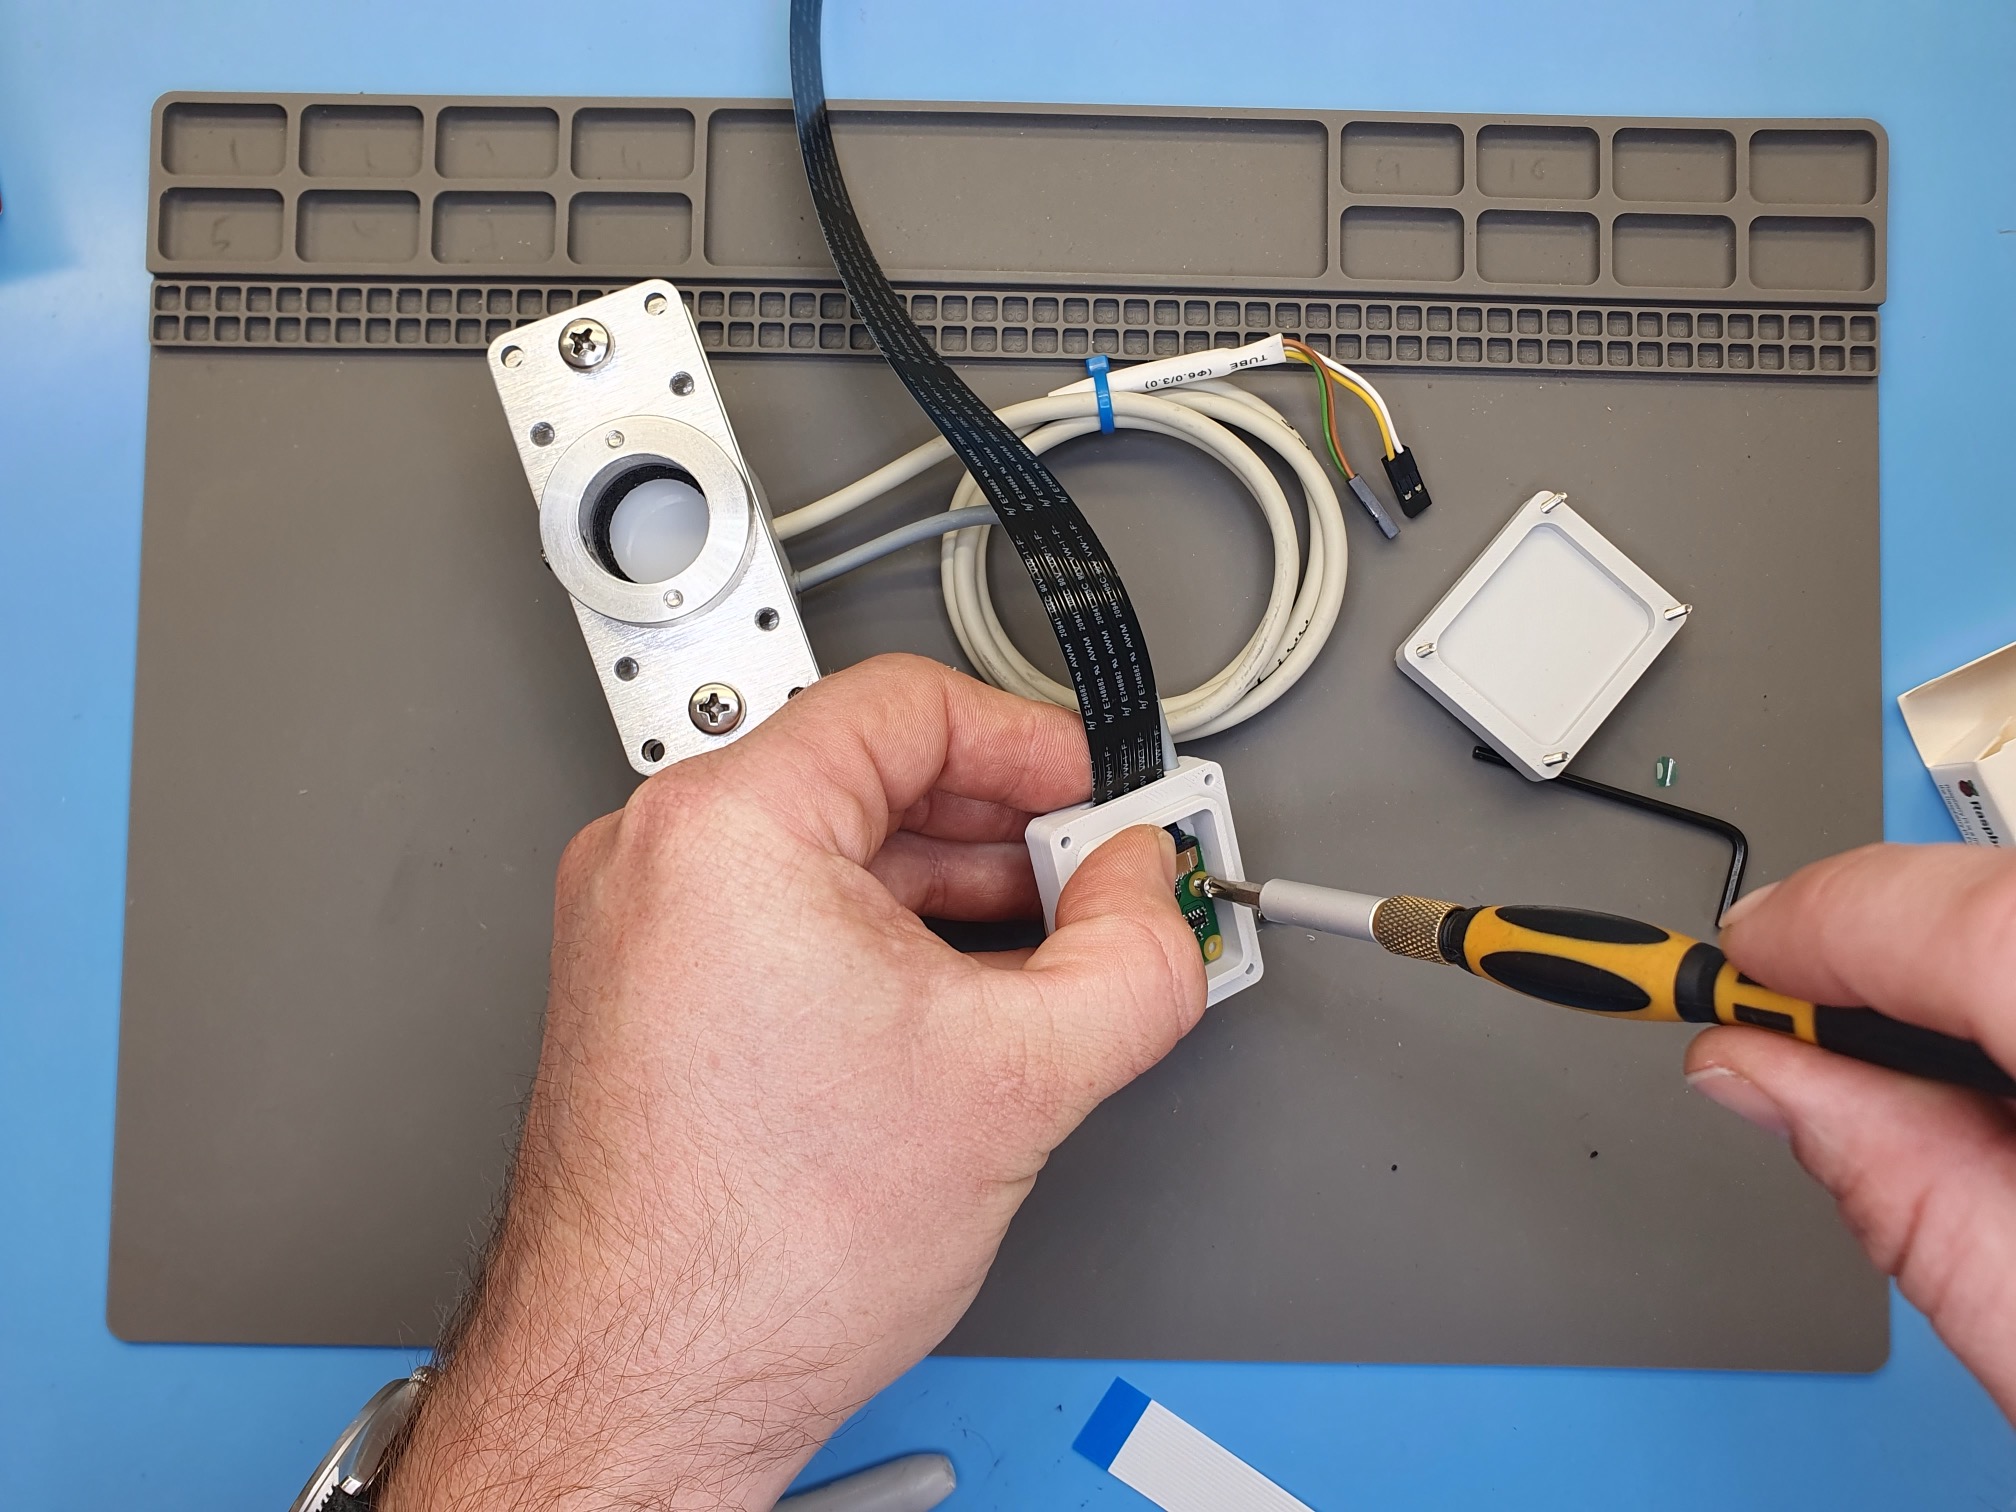
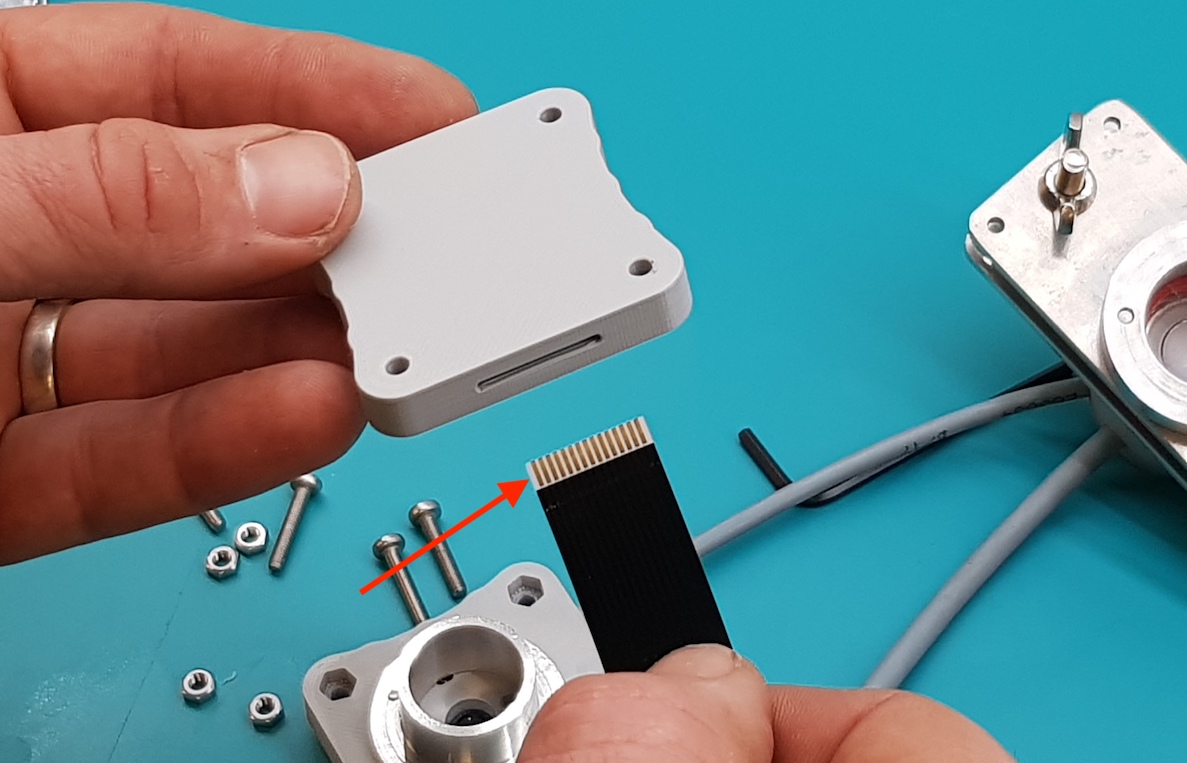
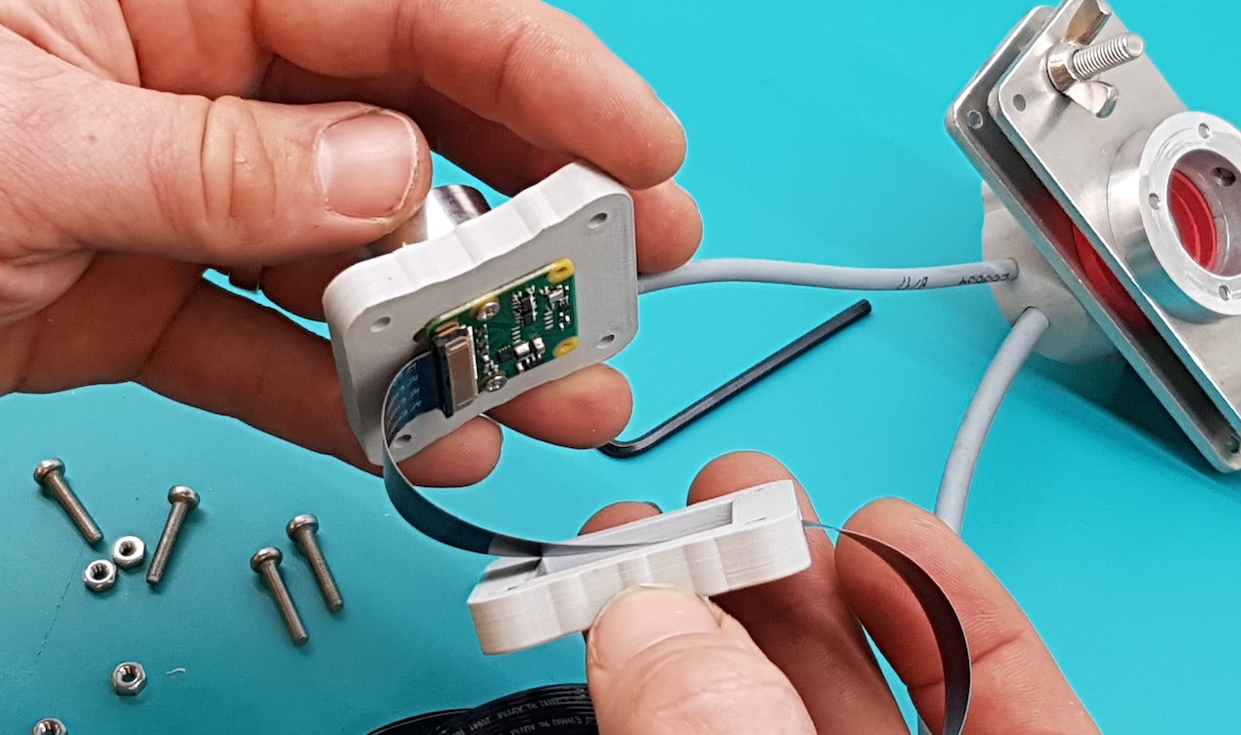
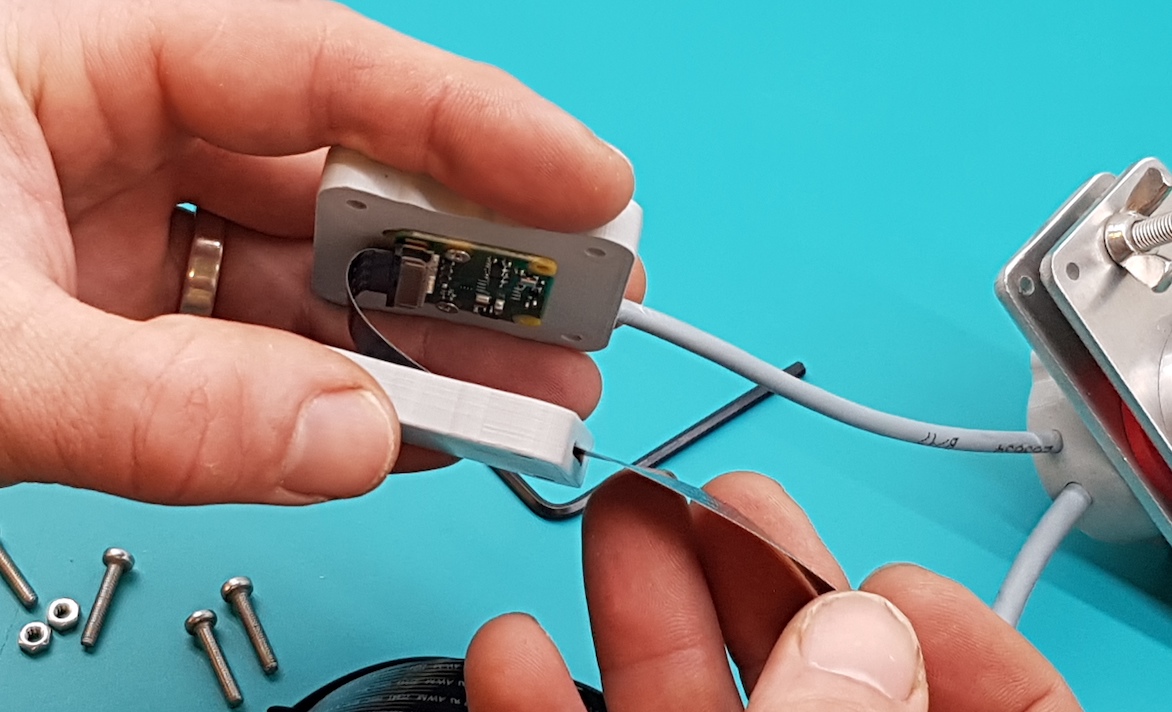
Step 4 - Insert Camera
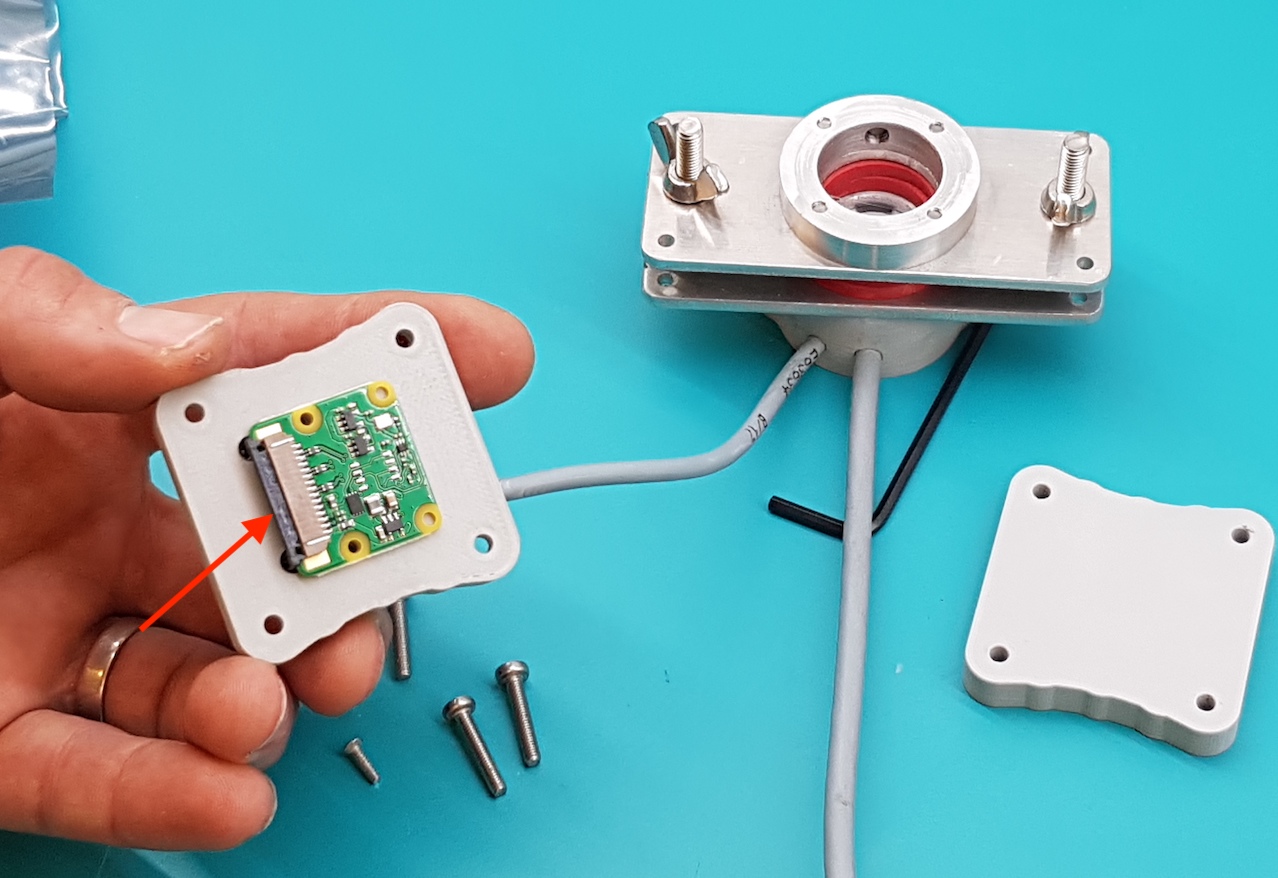
Insert the camera by feeding the ribbon/flex cable through the cable opening. Note the orientation of the silver connectors (facing upwards) at the end of the ribbon cable.
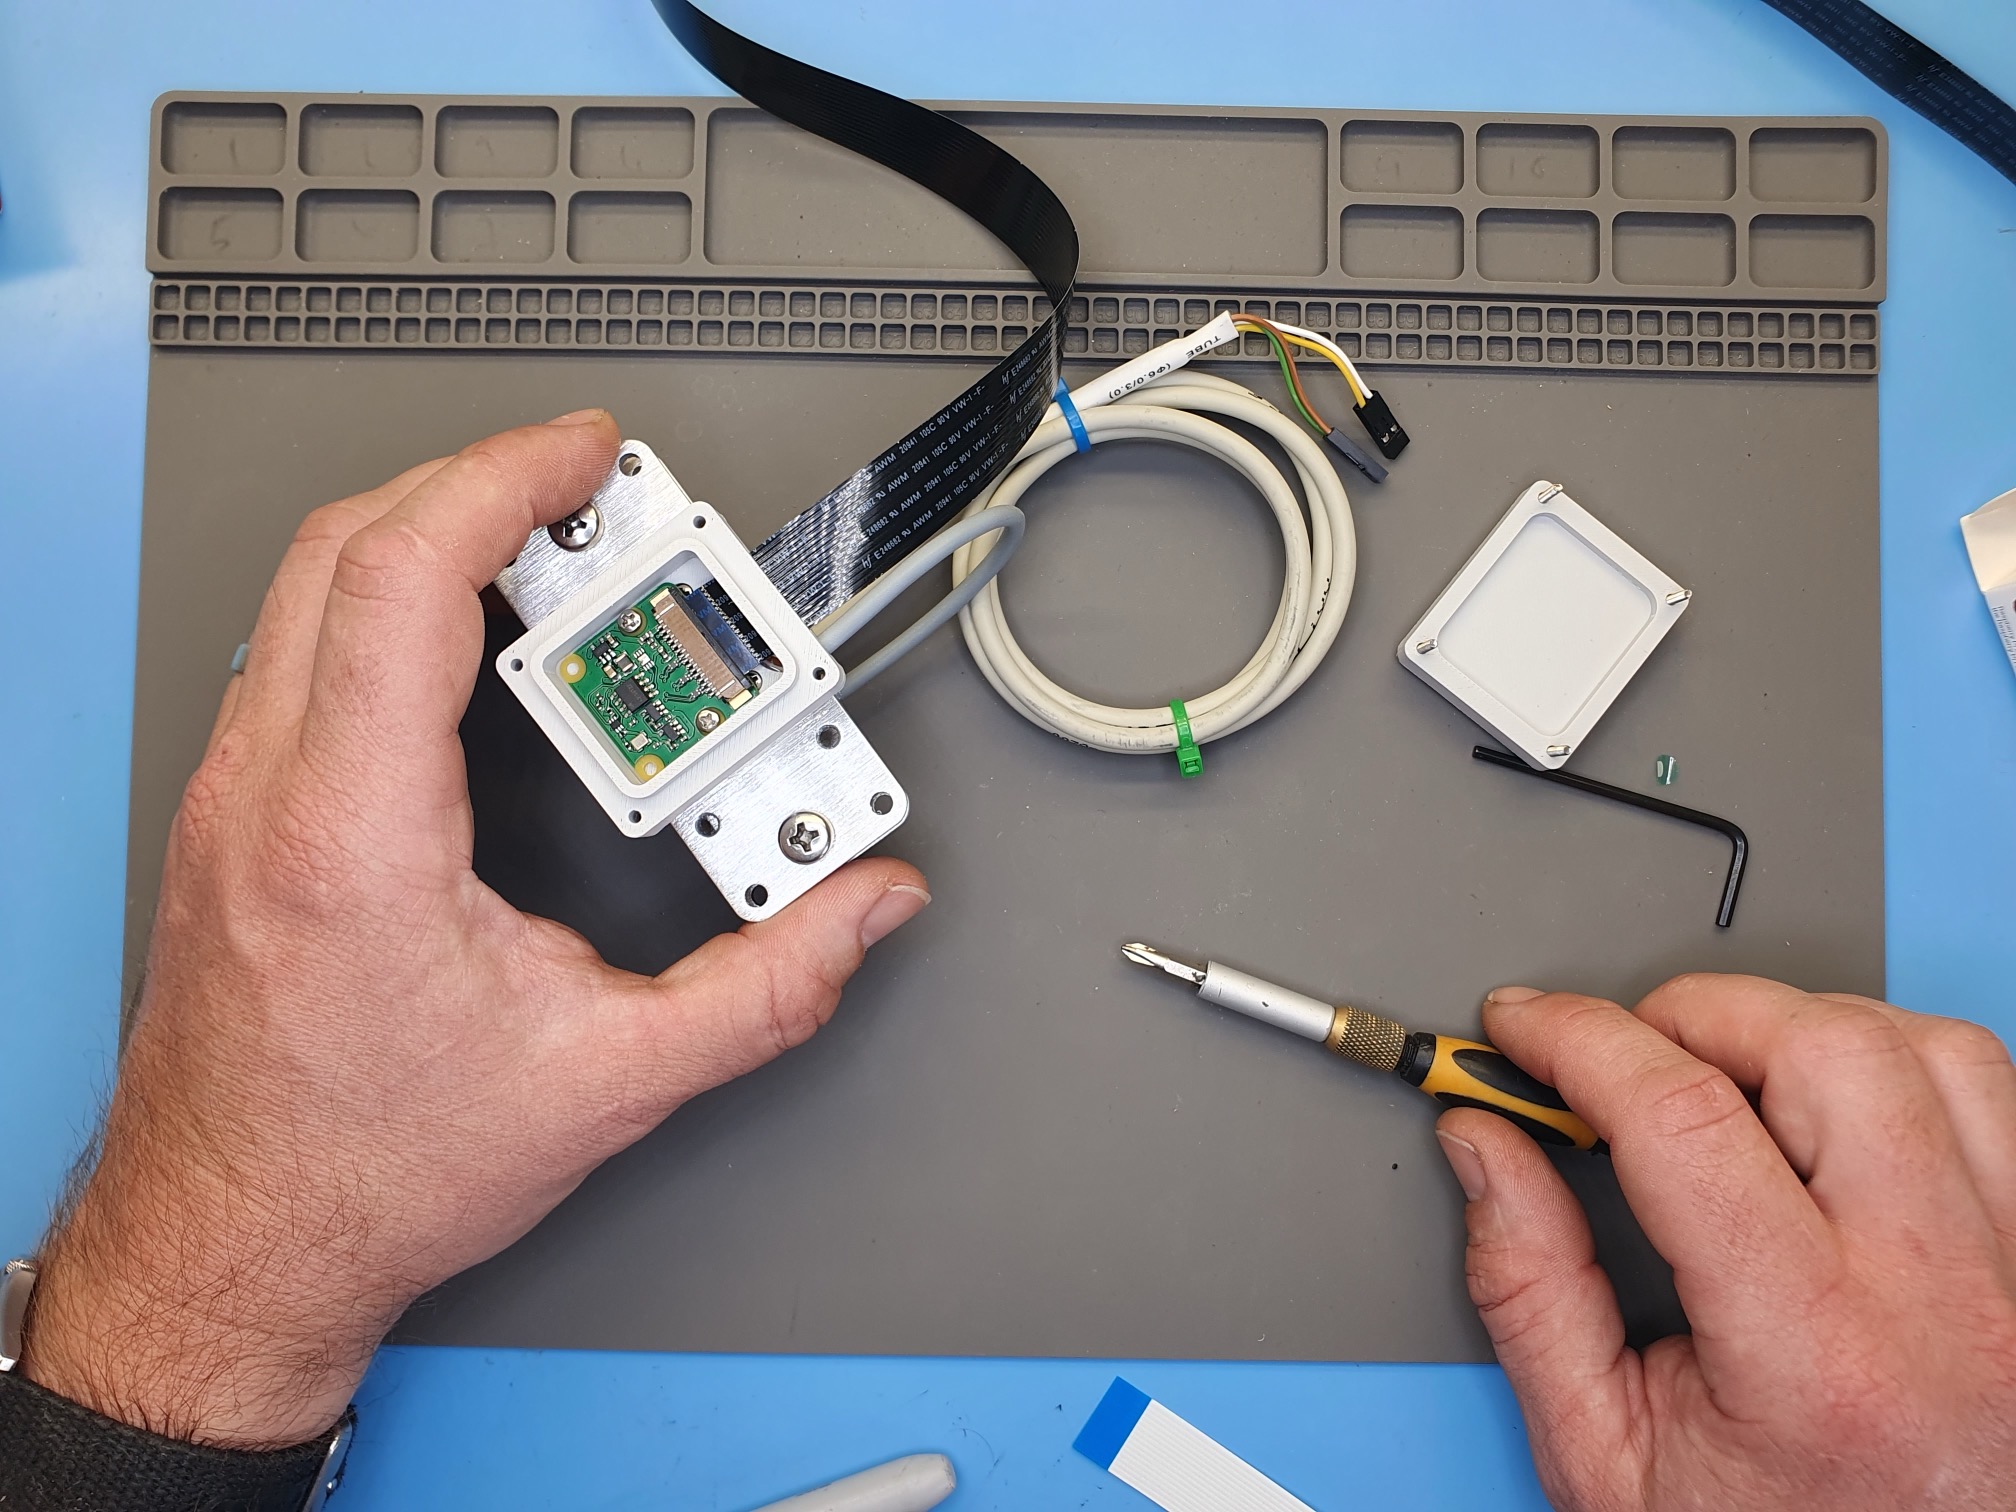
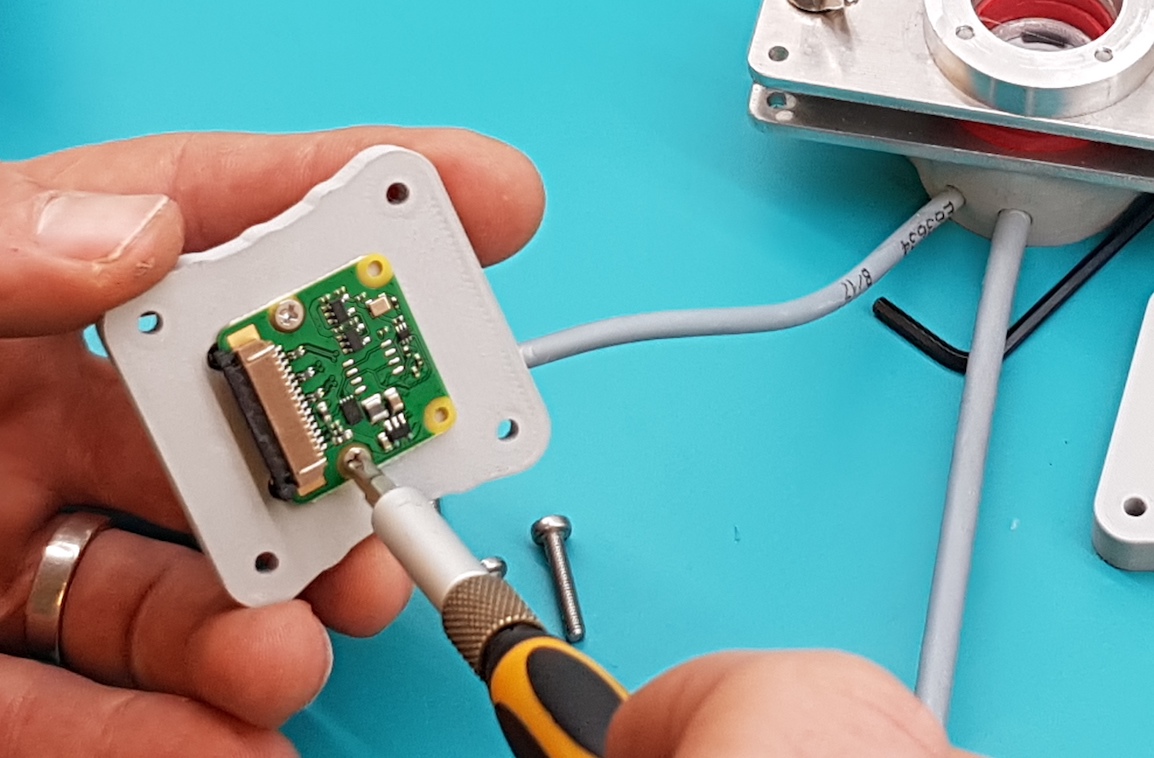
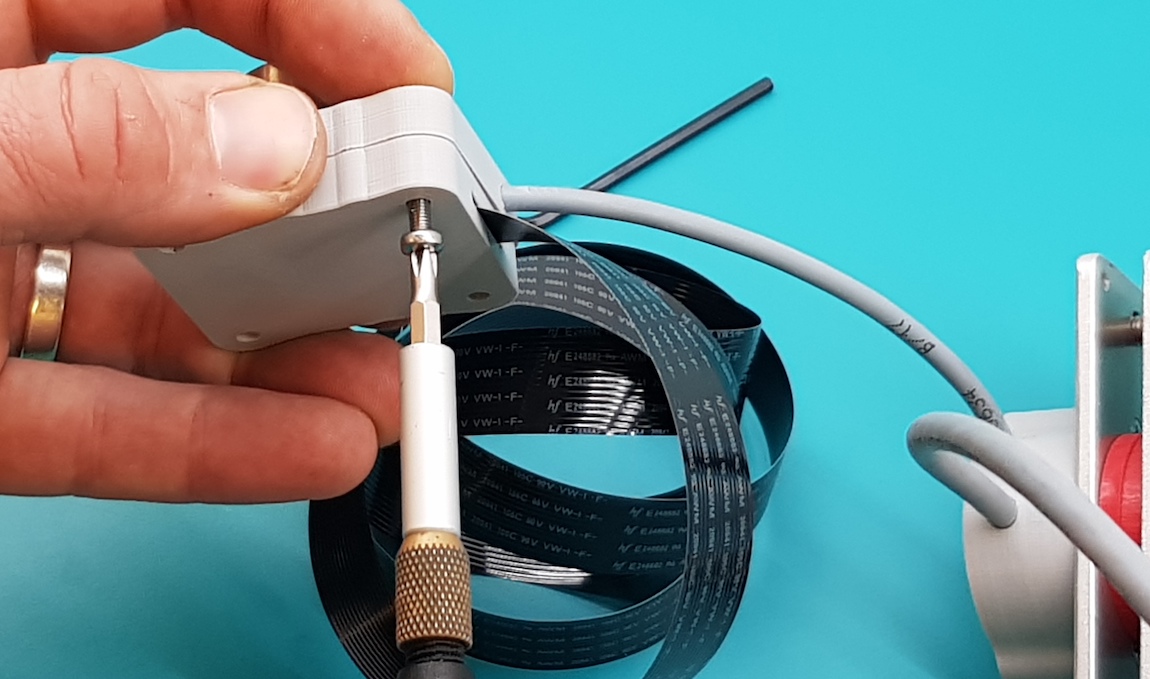
Step 5 - Attach Camera
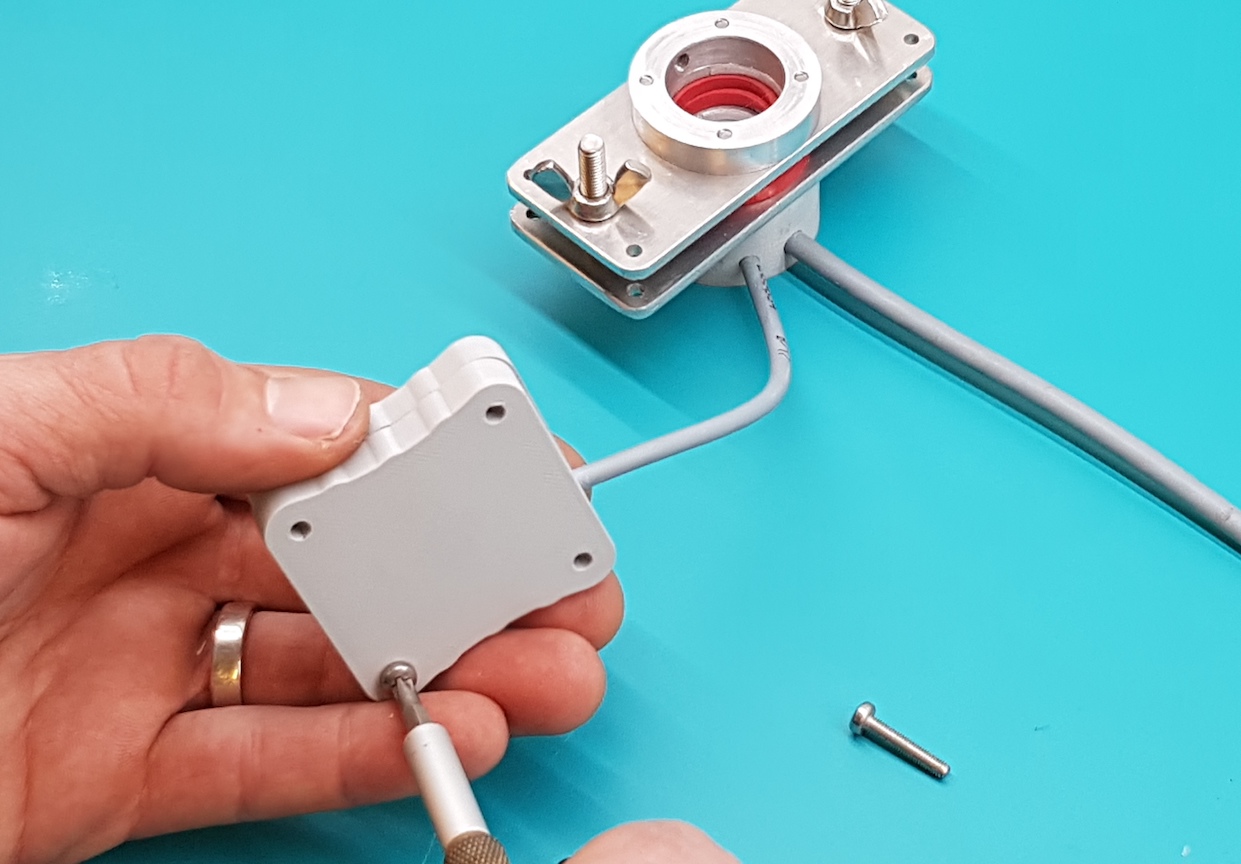
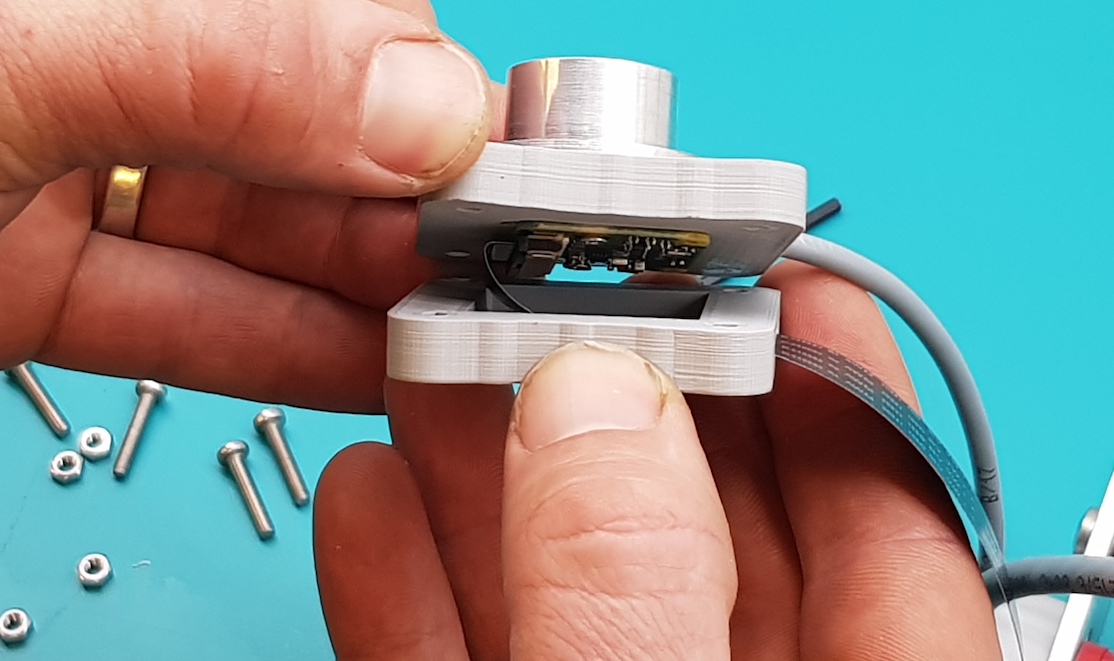
Push the camera down if it isn’t sitting flat. Attach the camera using the two M2 screws.
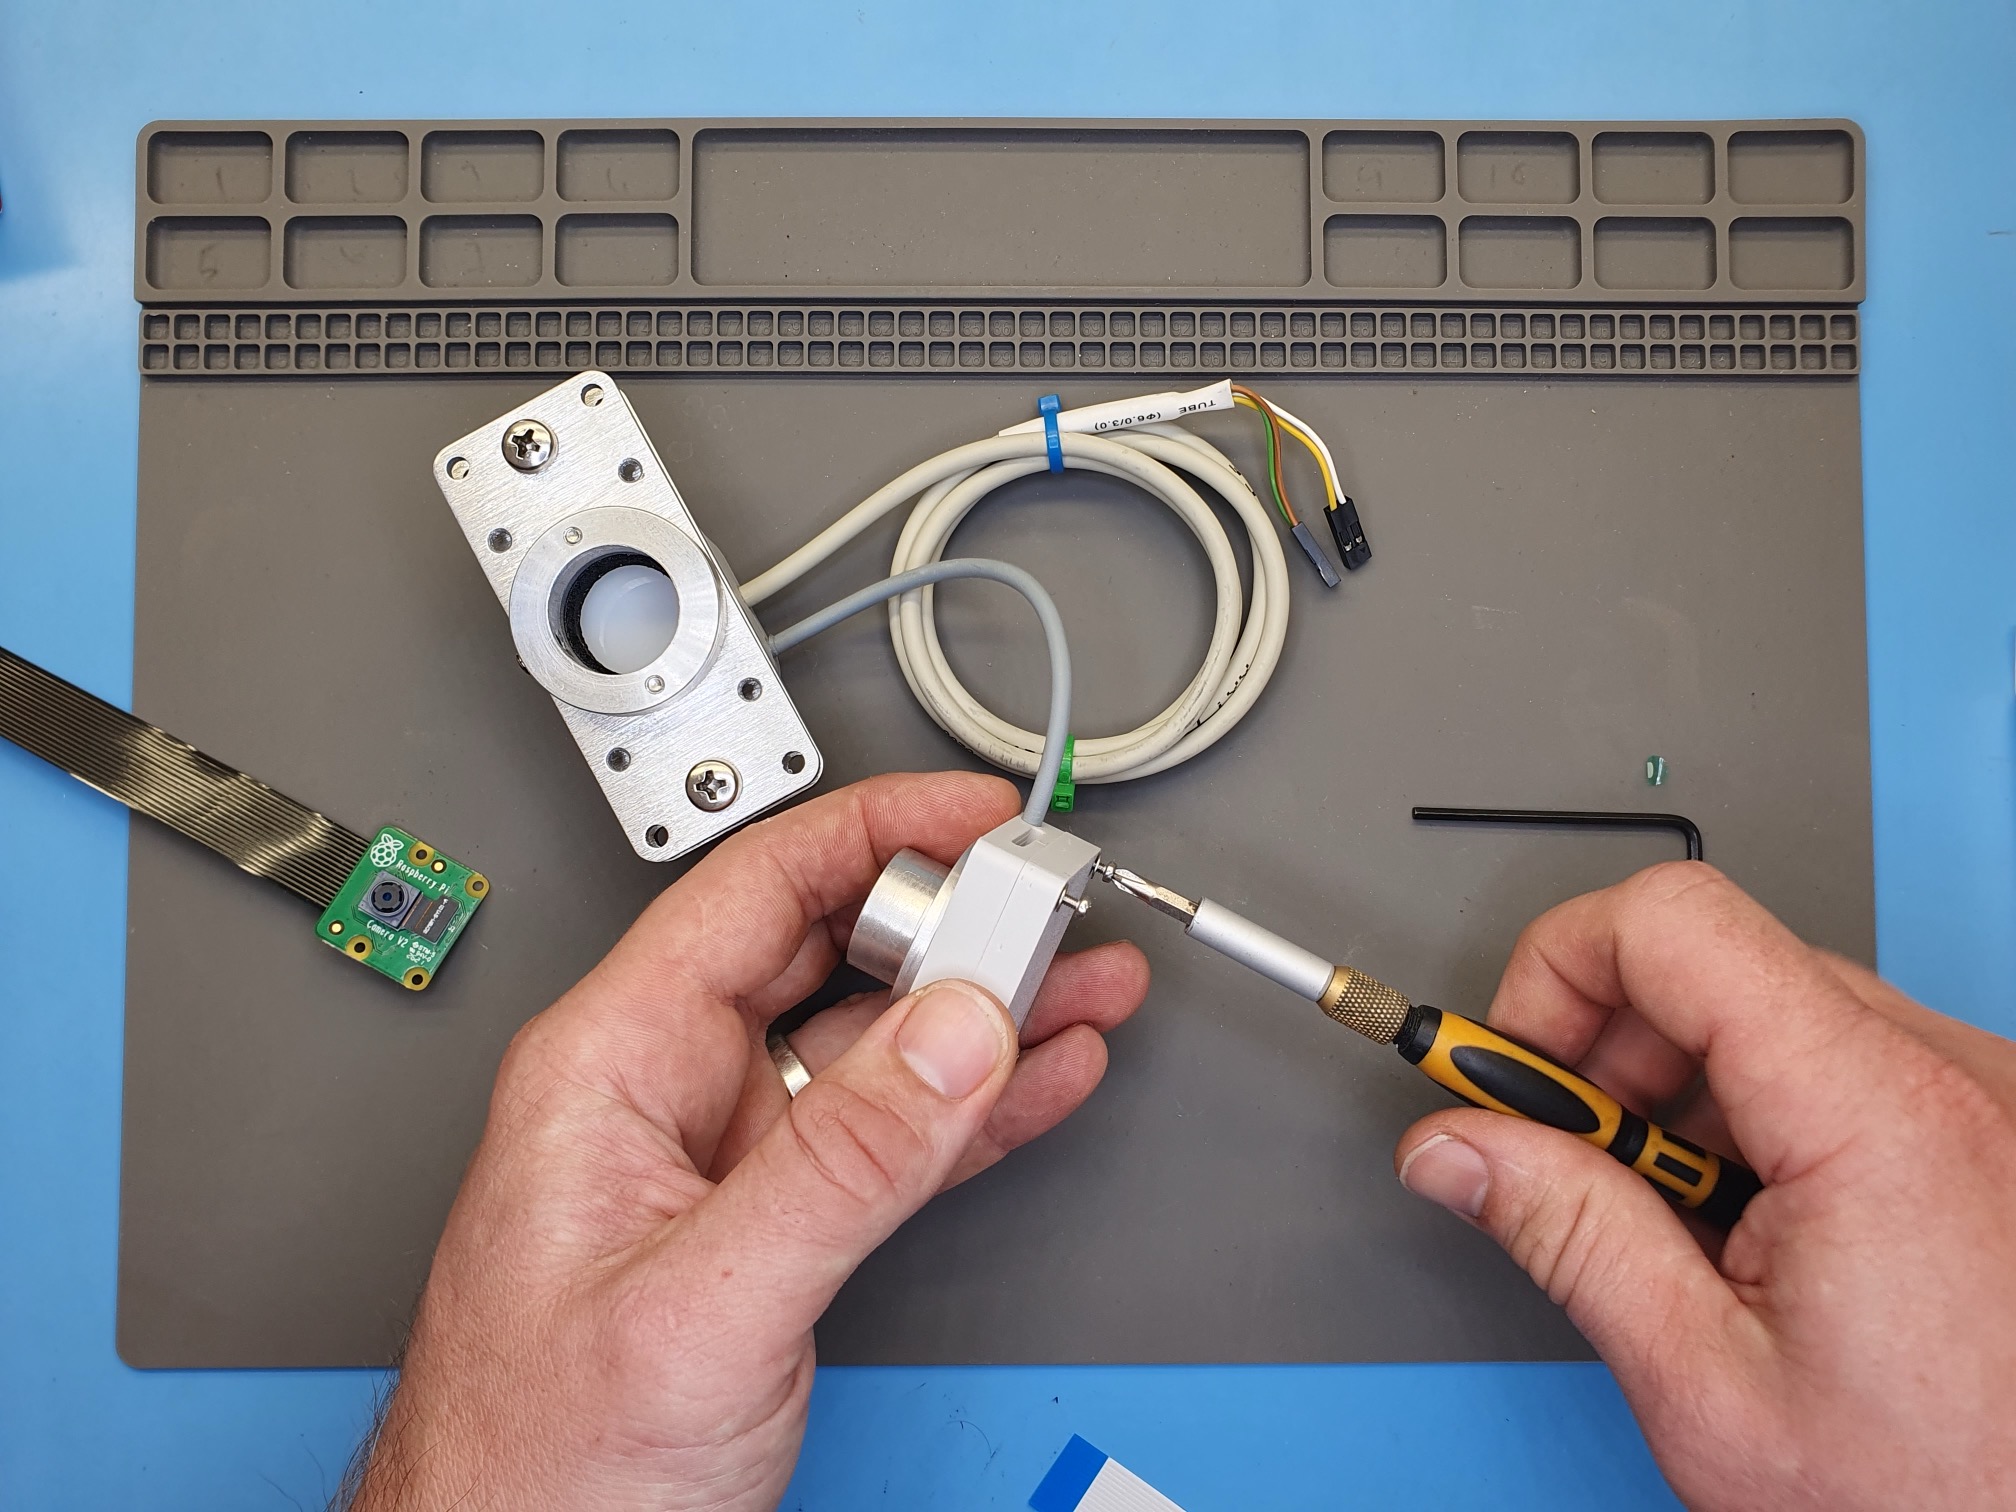
Tip: hold the screw and screwdrive against your finger to guide the screw in place:
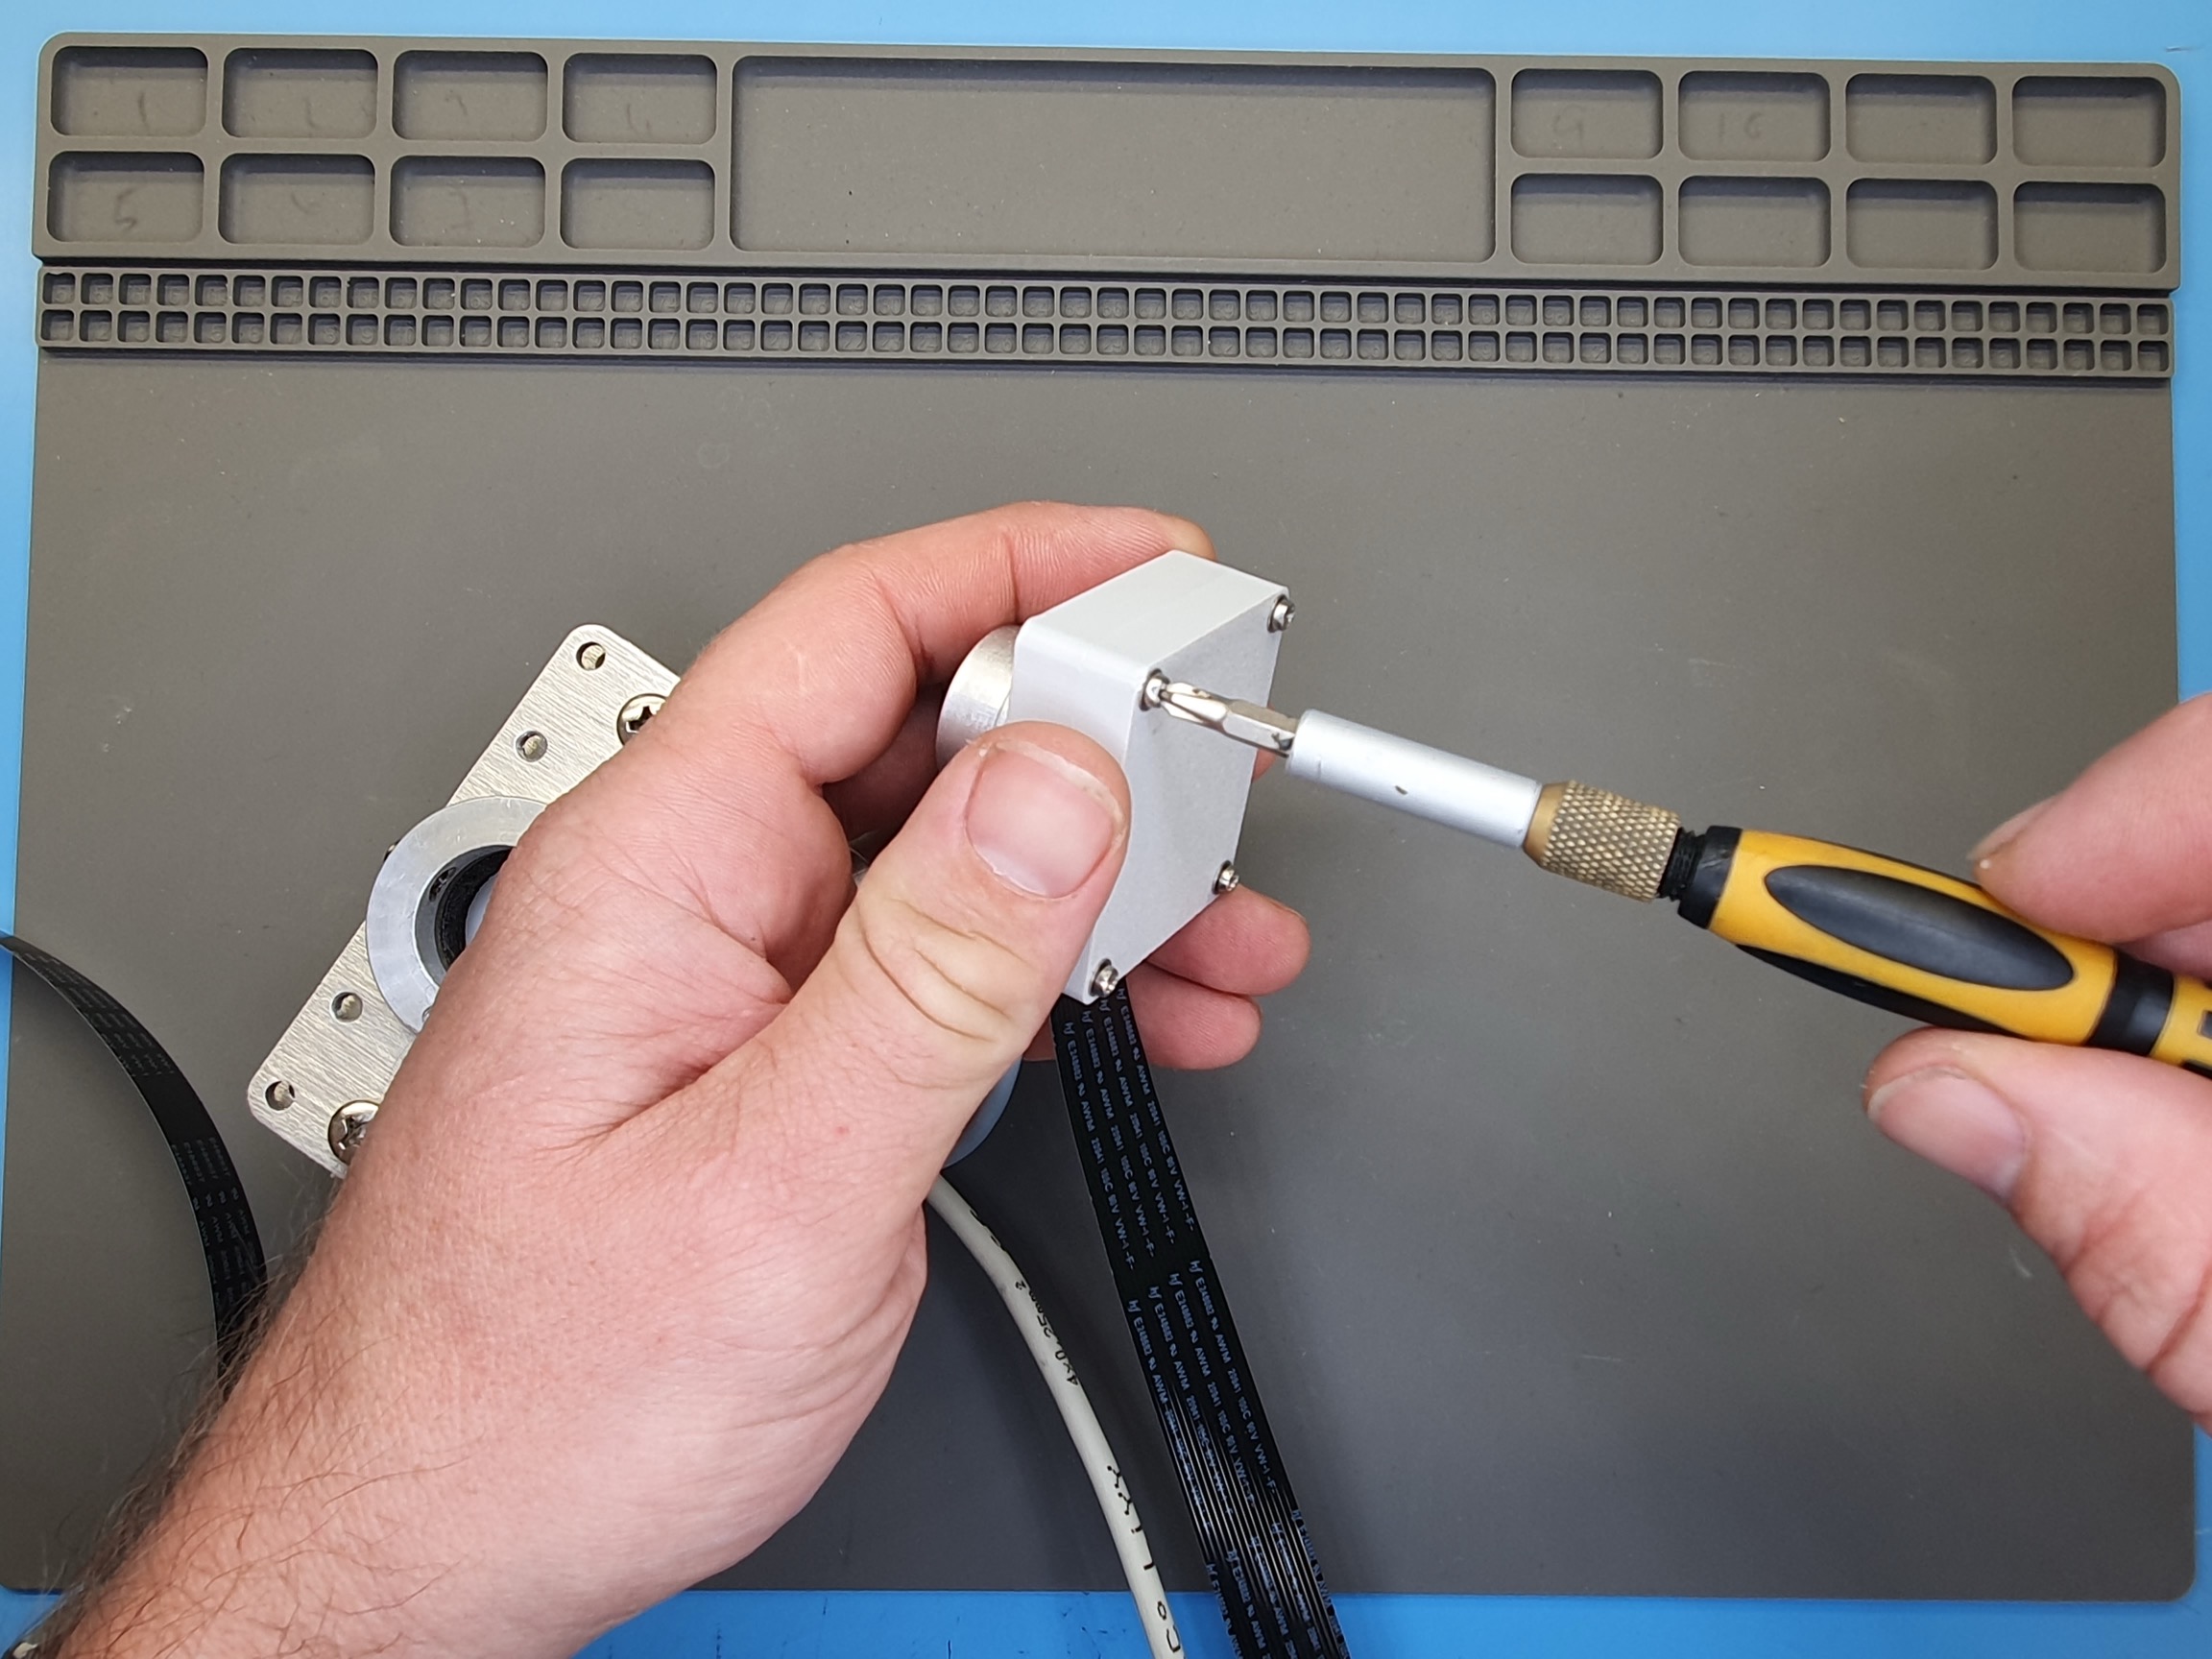
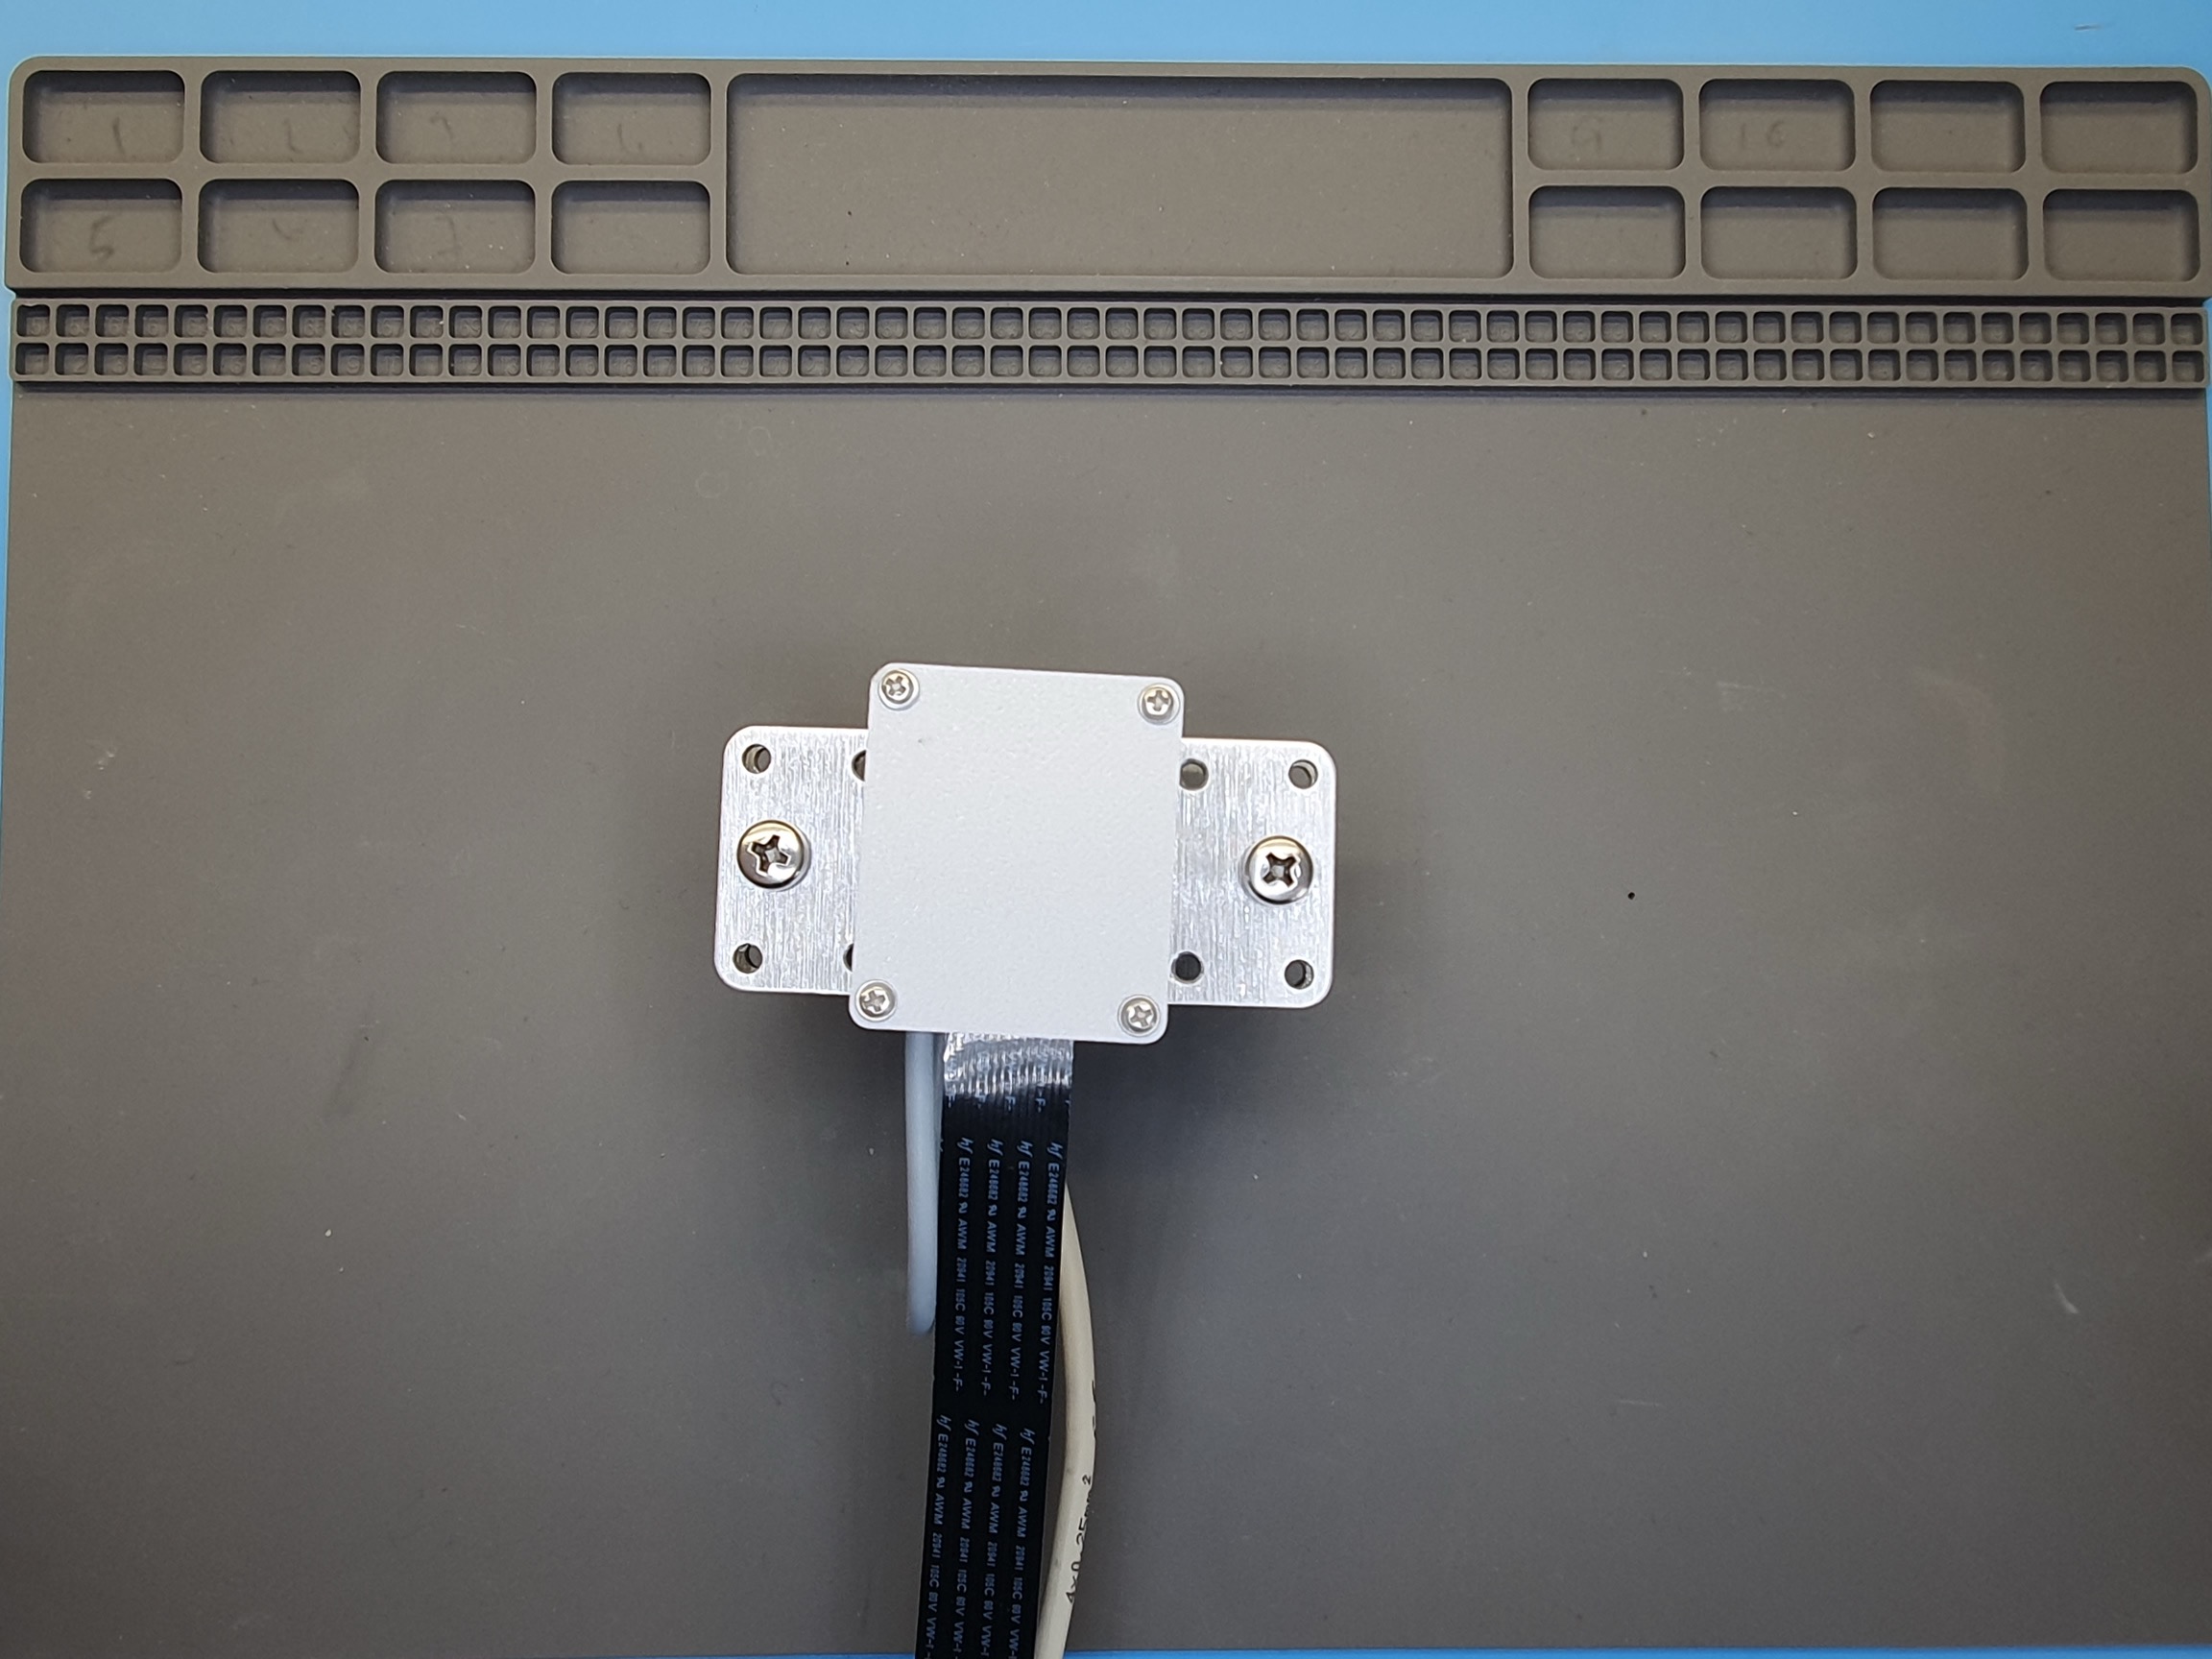
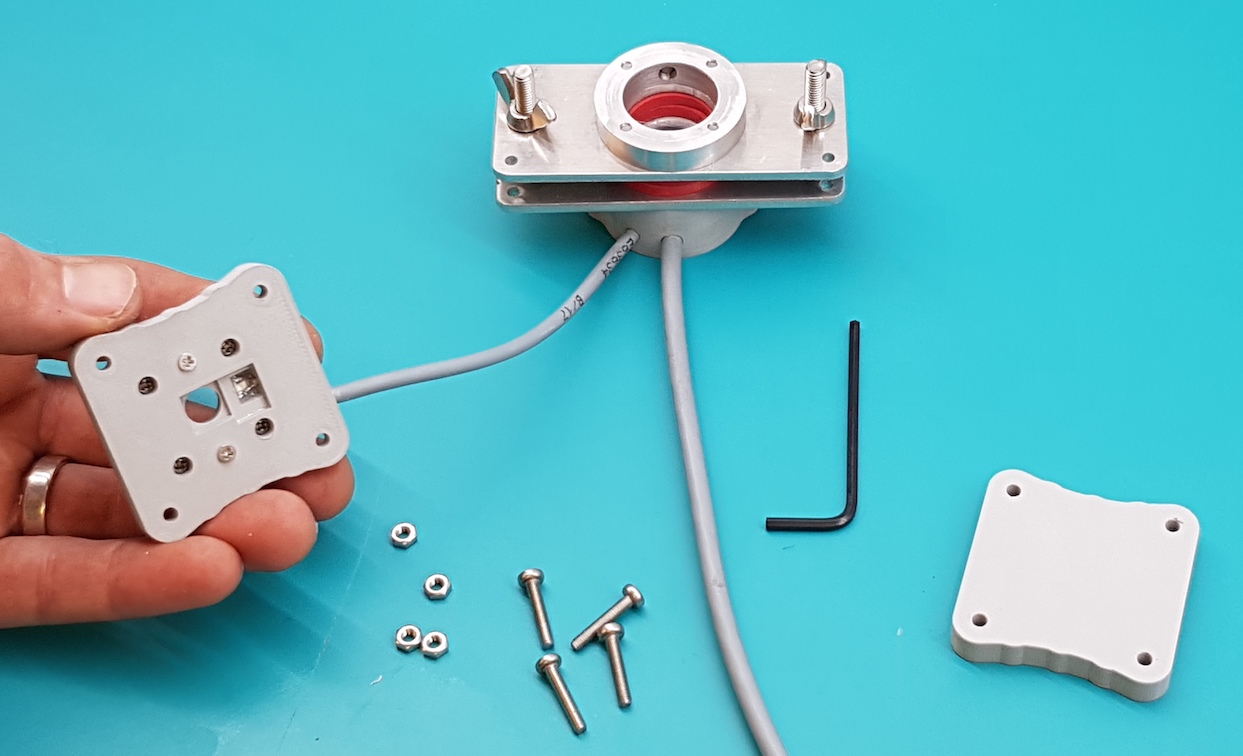
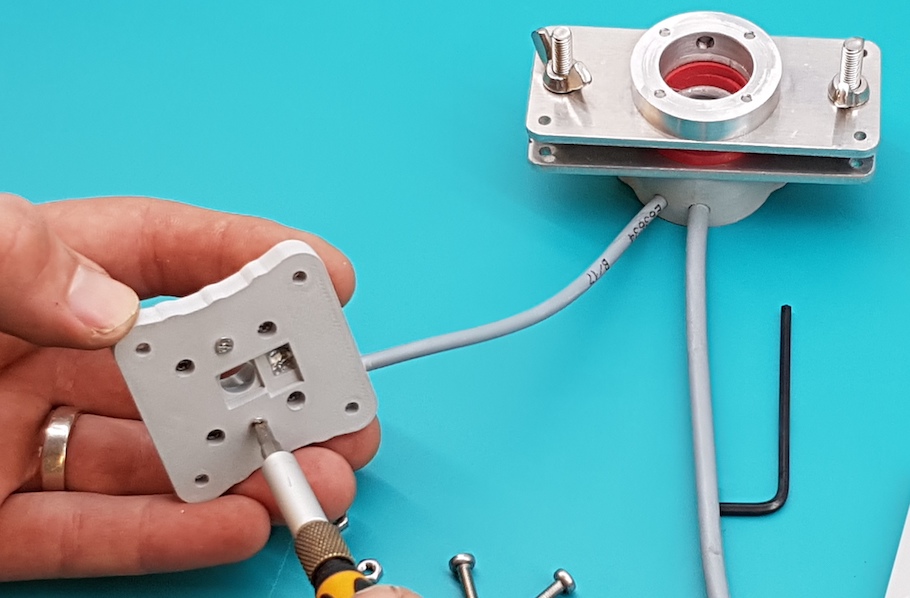
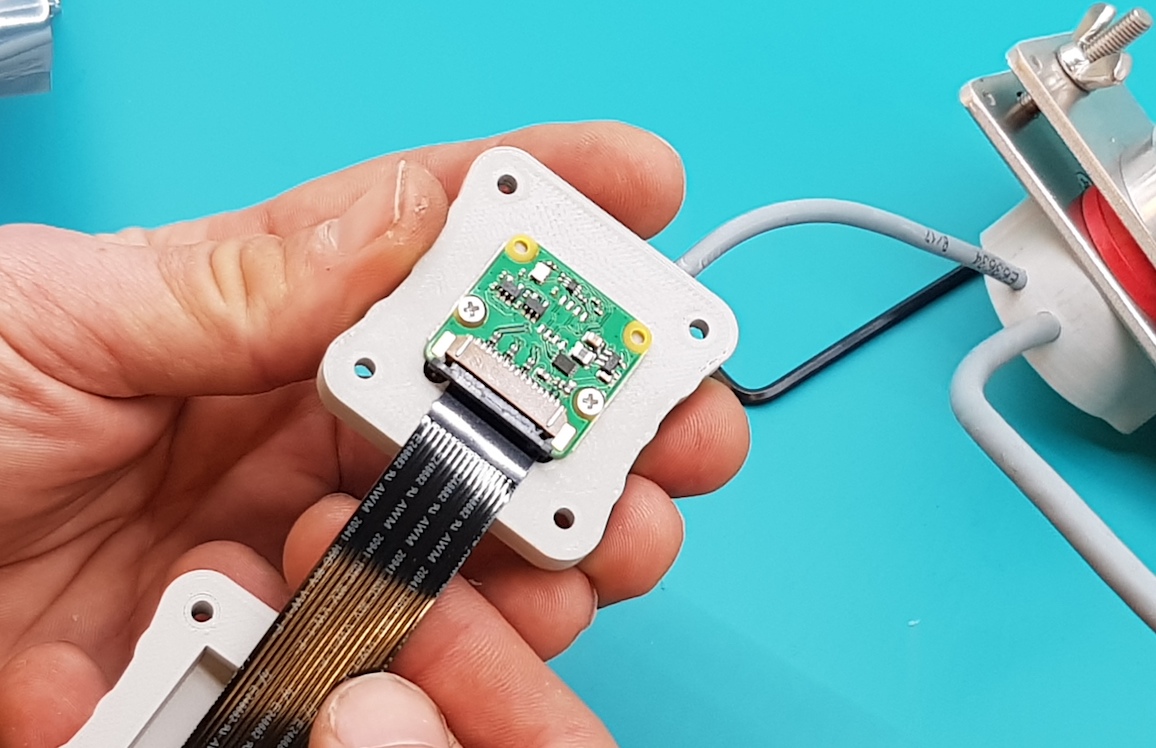
Step 6 - Re-attach Cover
Reattach the cover using the four M2 screws. You may need to re-insert the nuts at the bottom of the assembly if they have fallen out.
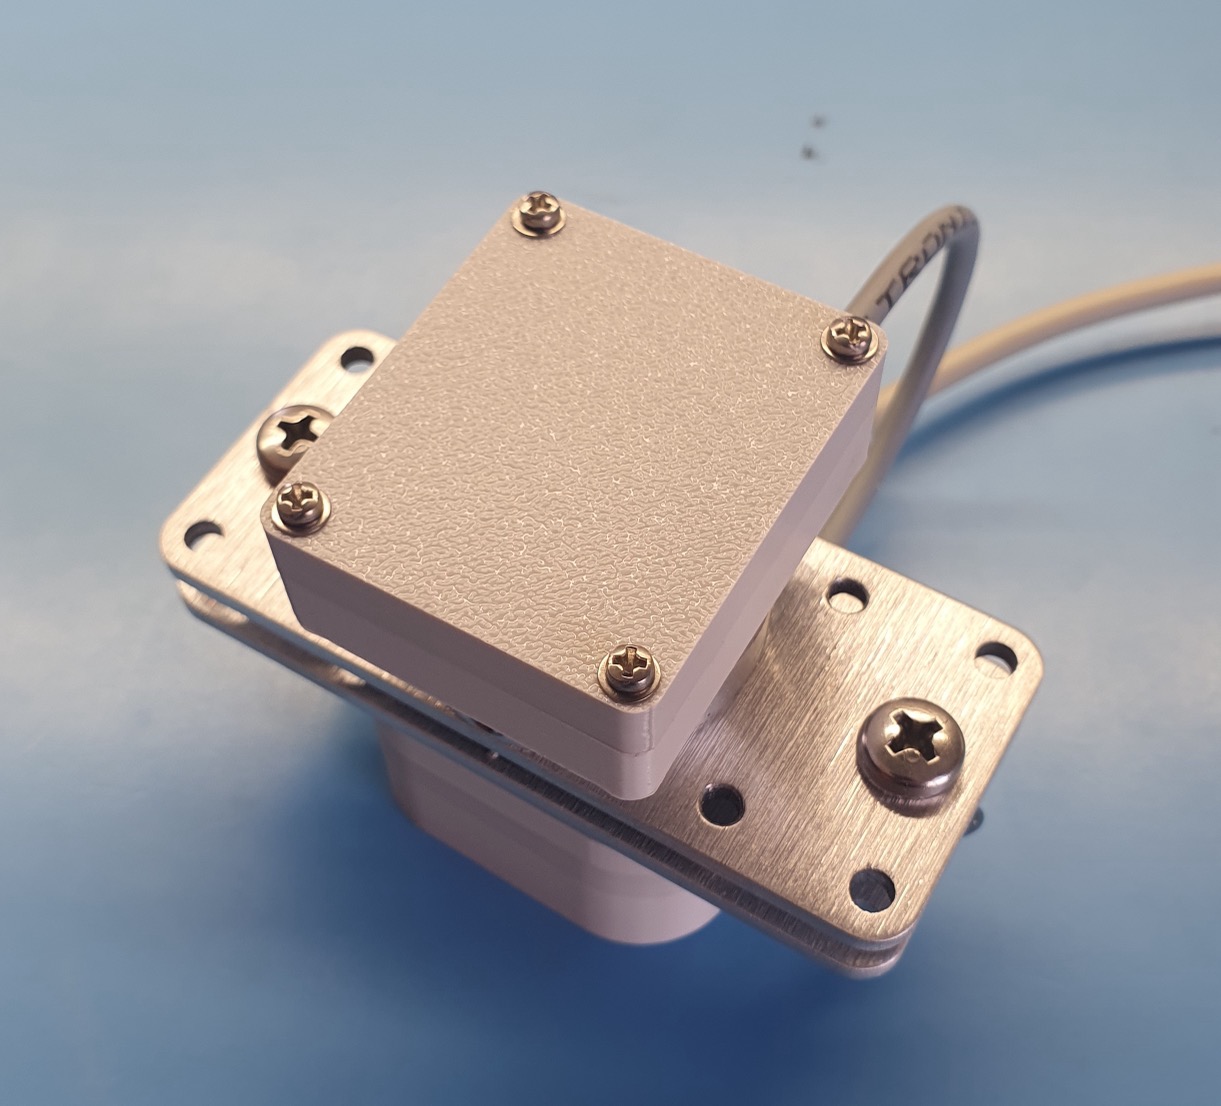
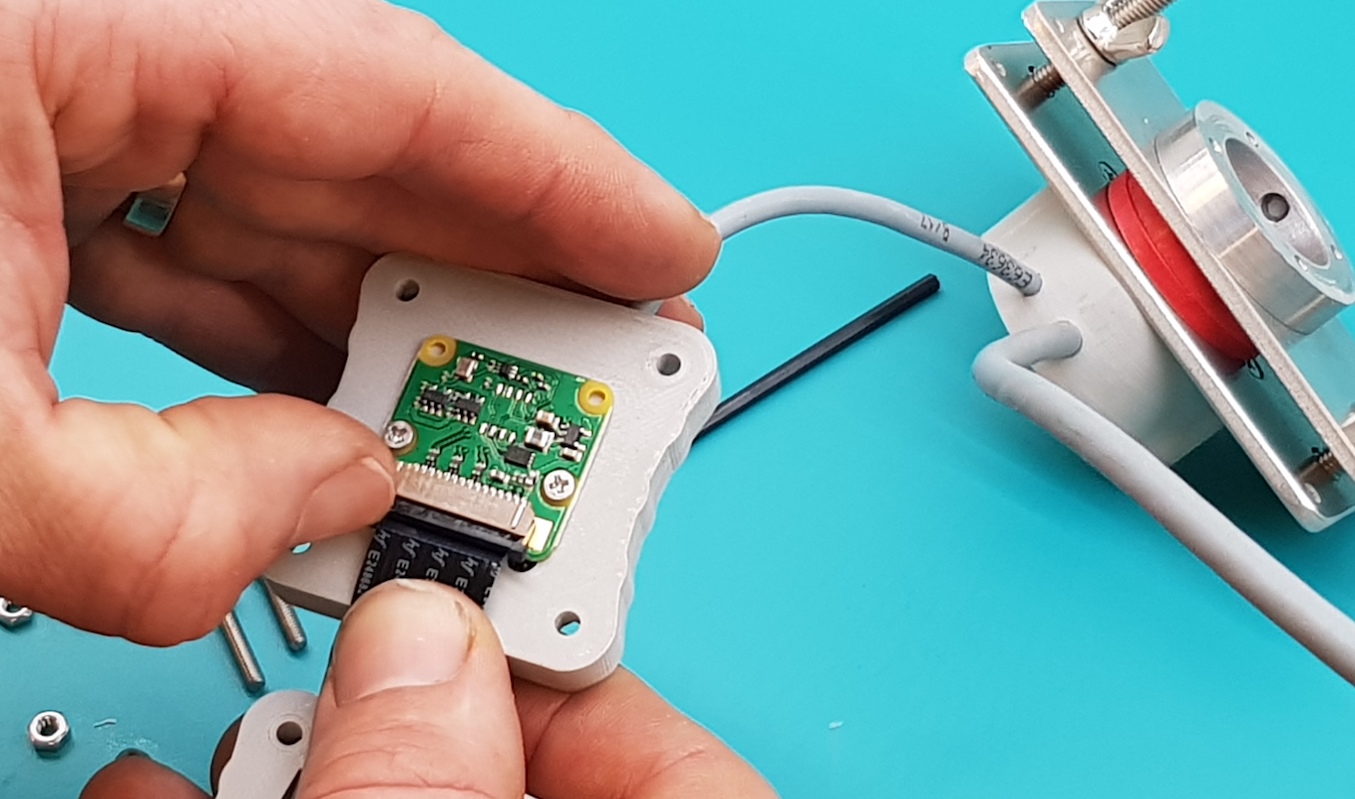
Step 10 - Re-attach Camera Assembly
Insert the camera assembly into the metal collar and secure (clockwise) with the grub screw.
Cavicam v2 Instructions
Step 2 - Remove Cover
Unscrew and remove the four M3 screws at the top of the camera assembly. Remove and set aside the cover.
Step 3 - Unscrew Camera Mount Screws
Unscrew and remove the two M2 screws as shown.
Step 4 - Insert Camera
Insert the camera as shown and carefully unclip the hinge (marked with the red arrow). The camera board should sit flat against the surface of the plastic part with the camera inserted into the square hole.
Step 5 - Attach Camera
Attach the camera using the two M2 screws. Keep screwing until the screws engage with the embedded nuts. If they don’t tighten, turn the assembly over and give it a little shake and try again.
Step 6 - Insert Camera Ribbon Cable into Cover
Insert the camera ribbon cable through the slot in the cover. Note the correct orientation of the silver connectors (marked with the red arrow).
Silver connectors
Try to keep the silver connectors on the camera ribbon cable as clean as possible - don’t touch them with greasy fingers!
Step 7 - Attach Camera Ribbon Cable
Insert the camera ribbon cable into the camera as shown. The silver connectors are inserted face downwards into the camera. Note that the orientation of the cover is upside down. Re-attach the clip by carefully pushing it into the connector from the sides (fingernail works well), locking the camera cable in position.
Step 8 - Position Cover
Flip the cover over, bending the ribbon cable as shown.
Step 9 - Re-attach Cover
Reattach the four M3 screws by inserting the nut in the recess on the underside of the camera mount (hold it in place with a finger) and insert and screw in the M3 screw from the top. Ensure the ribbon cable isn’t pinched between the cover and the camera mount. Slightly pull on the ribbon cable to make space.

Step 10 - Re-attach Camera Assembly
Insert the camera assembly into the metal collar and secure (clockwise) with the grub screw.