Software Download and Setup
You will need
Cavicam OS image file (more details below)
Raspberry Pi Imager (more details below)
MicroSD card (more details below)
Cavicam OS Image File
Download the Cavicam OS image file from https://io.cavicams.com/downloads/os/3.0/latest.img.zip using the username and password sent to your email address. If you have not received this information, get in touch use the contact form at https://cavicams.com/contact/ or email cavicam.support[at]utas.edu.au.
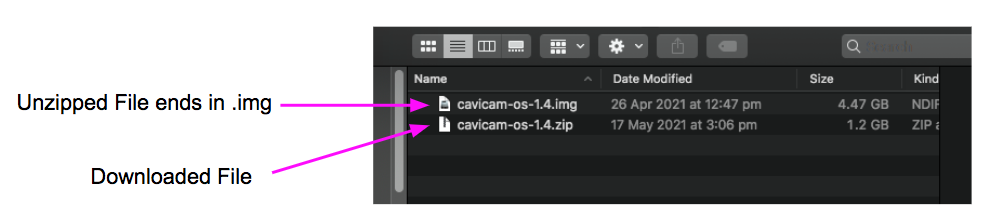
Once downloaded, unzip the file and this should extract to a file ending “.img”. Make a note of where the file is on the file system.
Raspberry Pi Imager
The Raspberry Pi Imager is software for uploading (also called “flashing”) an operating system to a microSD card for use with Raspberry Pies. Download the software and follow the instructions for install at https://www.raspberrypi.org/software/.
MicroSD Card
At least 32GB MicroSD card is required. Use High Endurance type SD cards to reduce file corruption.
Step 1
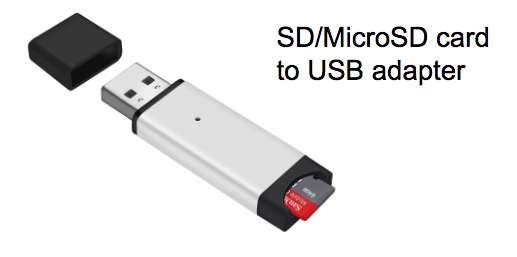
Insert the MicroSD card into your computer. If your computer doesn’t have an inbuilt card reader, use a MicroSD card to USB adapter.
Step 2
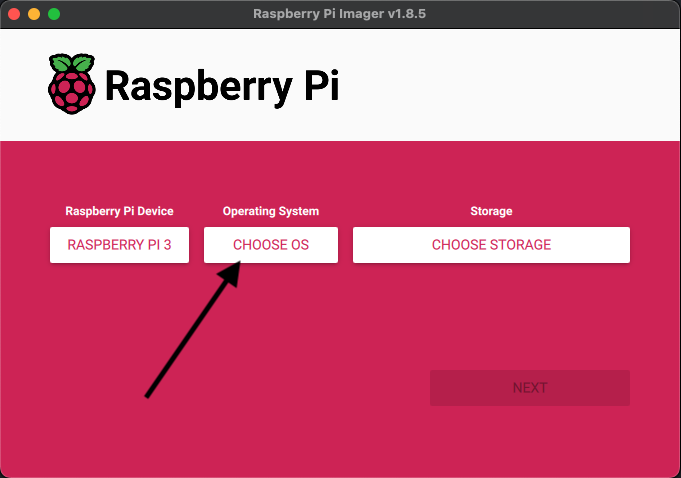
Open the Raspberry Pi Imager software.
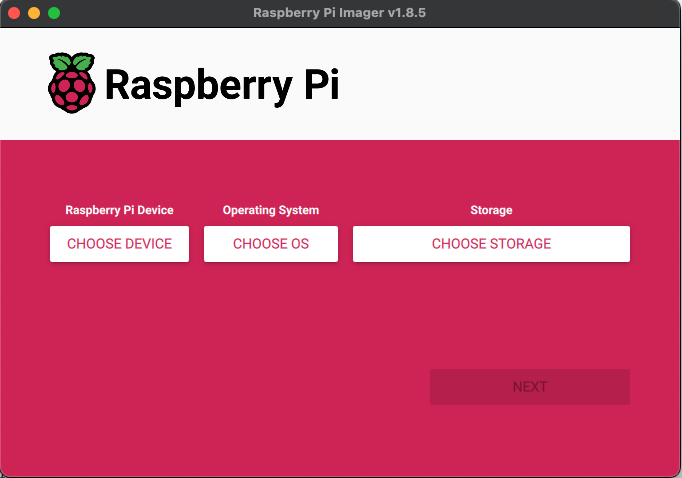
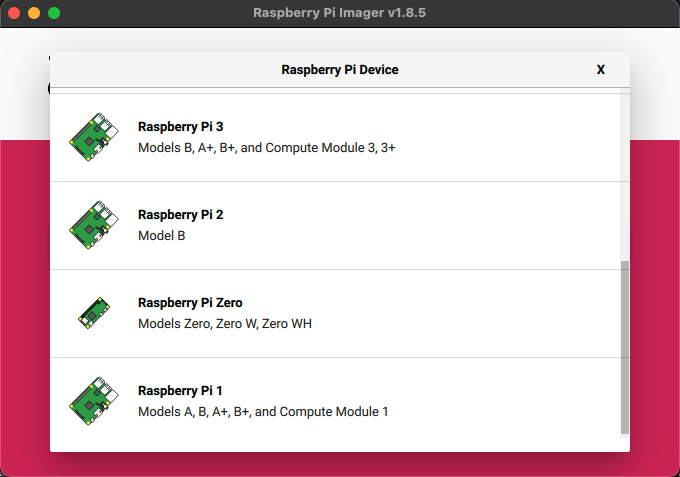
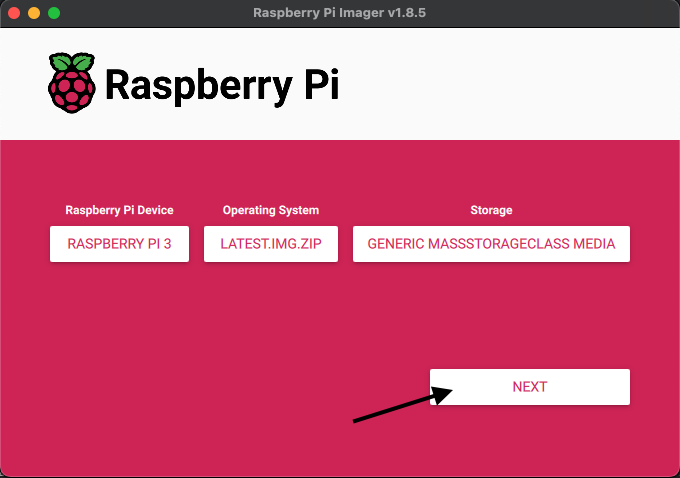
Select the relevant raspberry pi version (typically the 3A+) from the first menu.

From the Operating System menu choose “Custom”
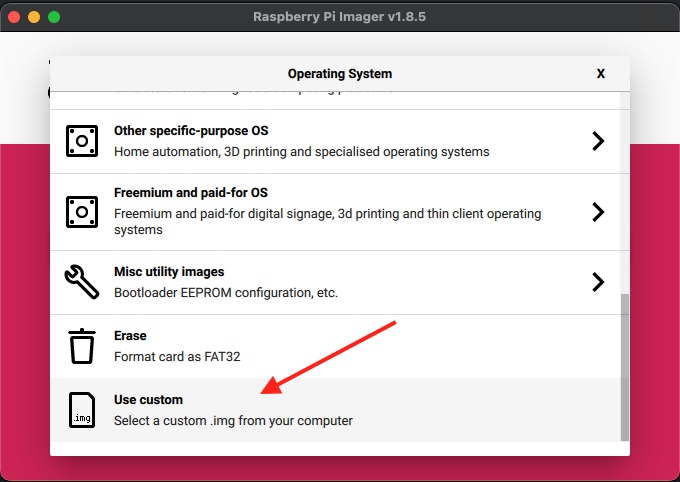
Select the downloaded latest.img.zip file.

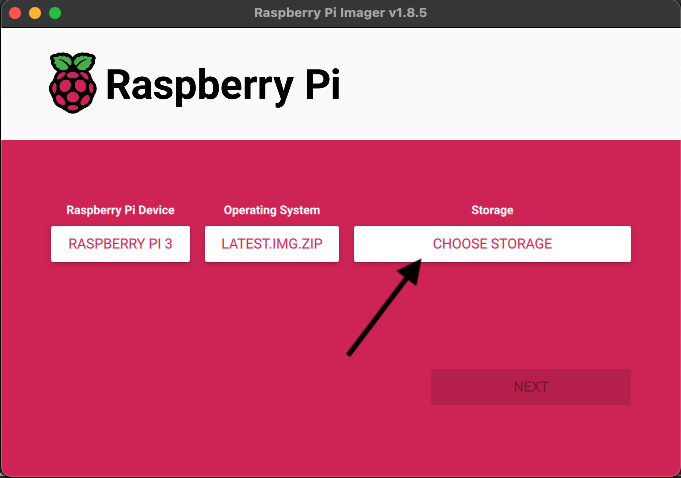
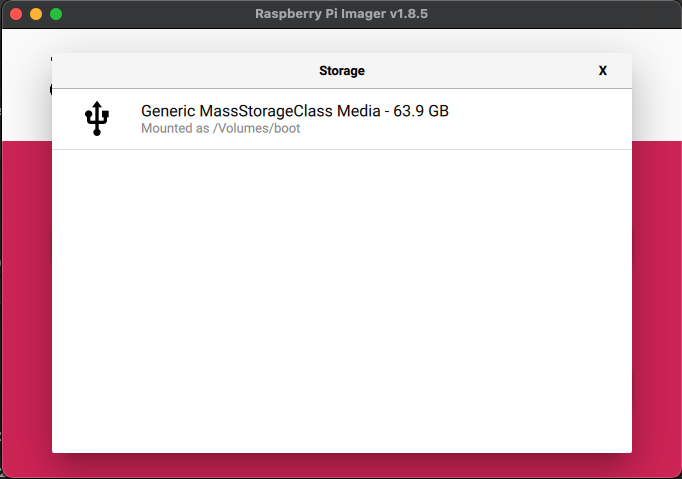
From the Storage menu, select your SD card. Your SD card might have a different name than appears here.
Click Next
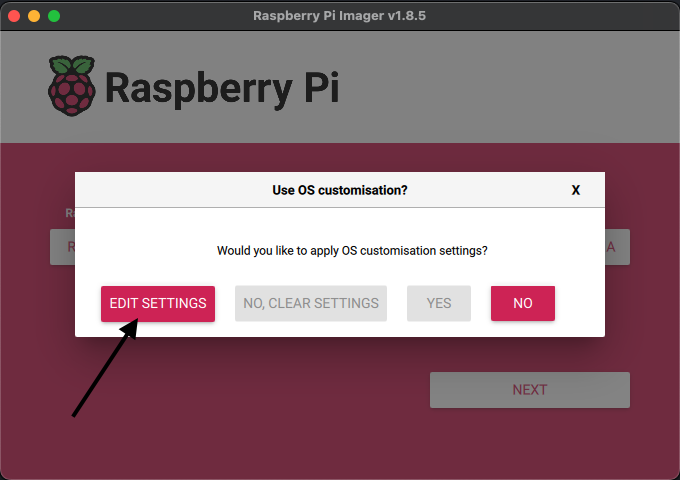
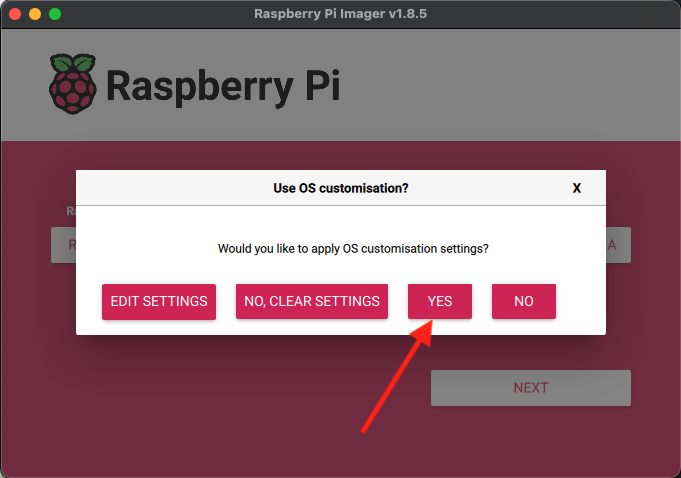
At the prompt about setting custom settings, select ‘Edit Settings’
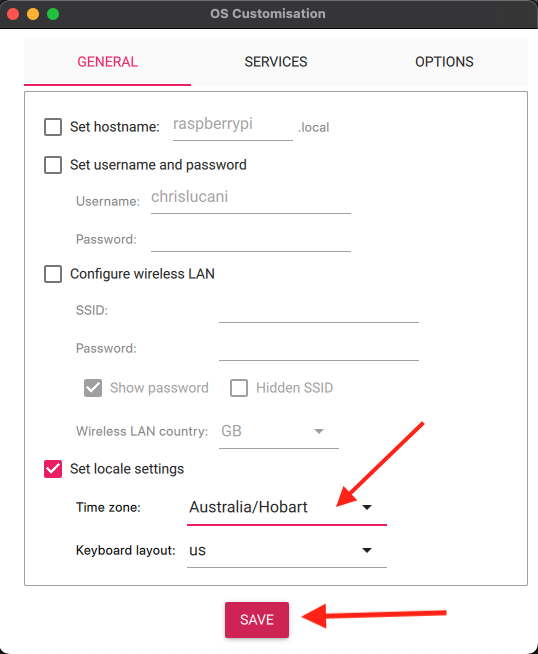
Check the “Set locale settings” checkbox

Select the relevant timezone for your location and click “Save”
Click Yes when asked if you want to use the settings
And Yes to erasing


Remove the SD card once finished.
Step 4
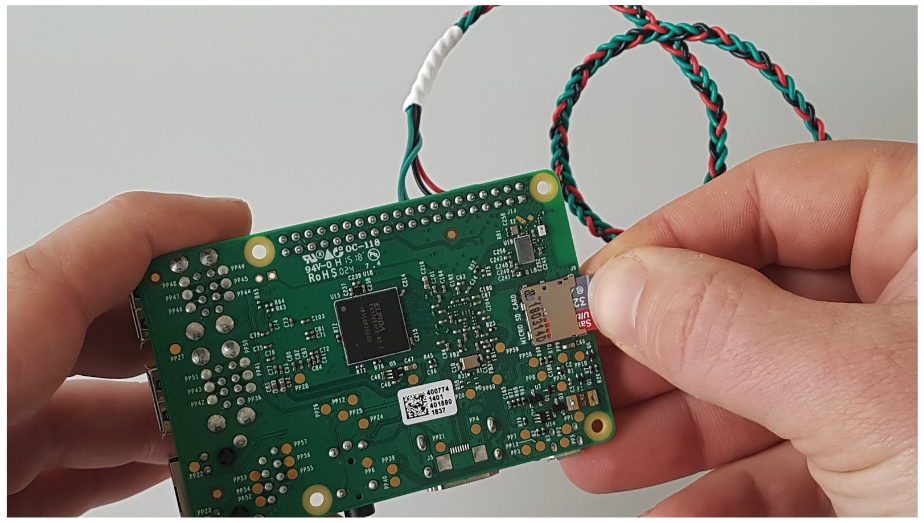
Insert the MicroSD card into the slot on the underside of the Raspberry Pi.