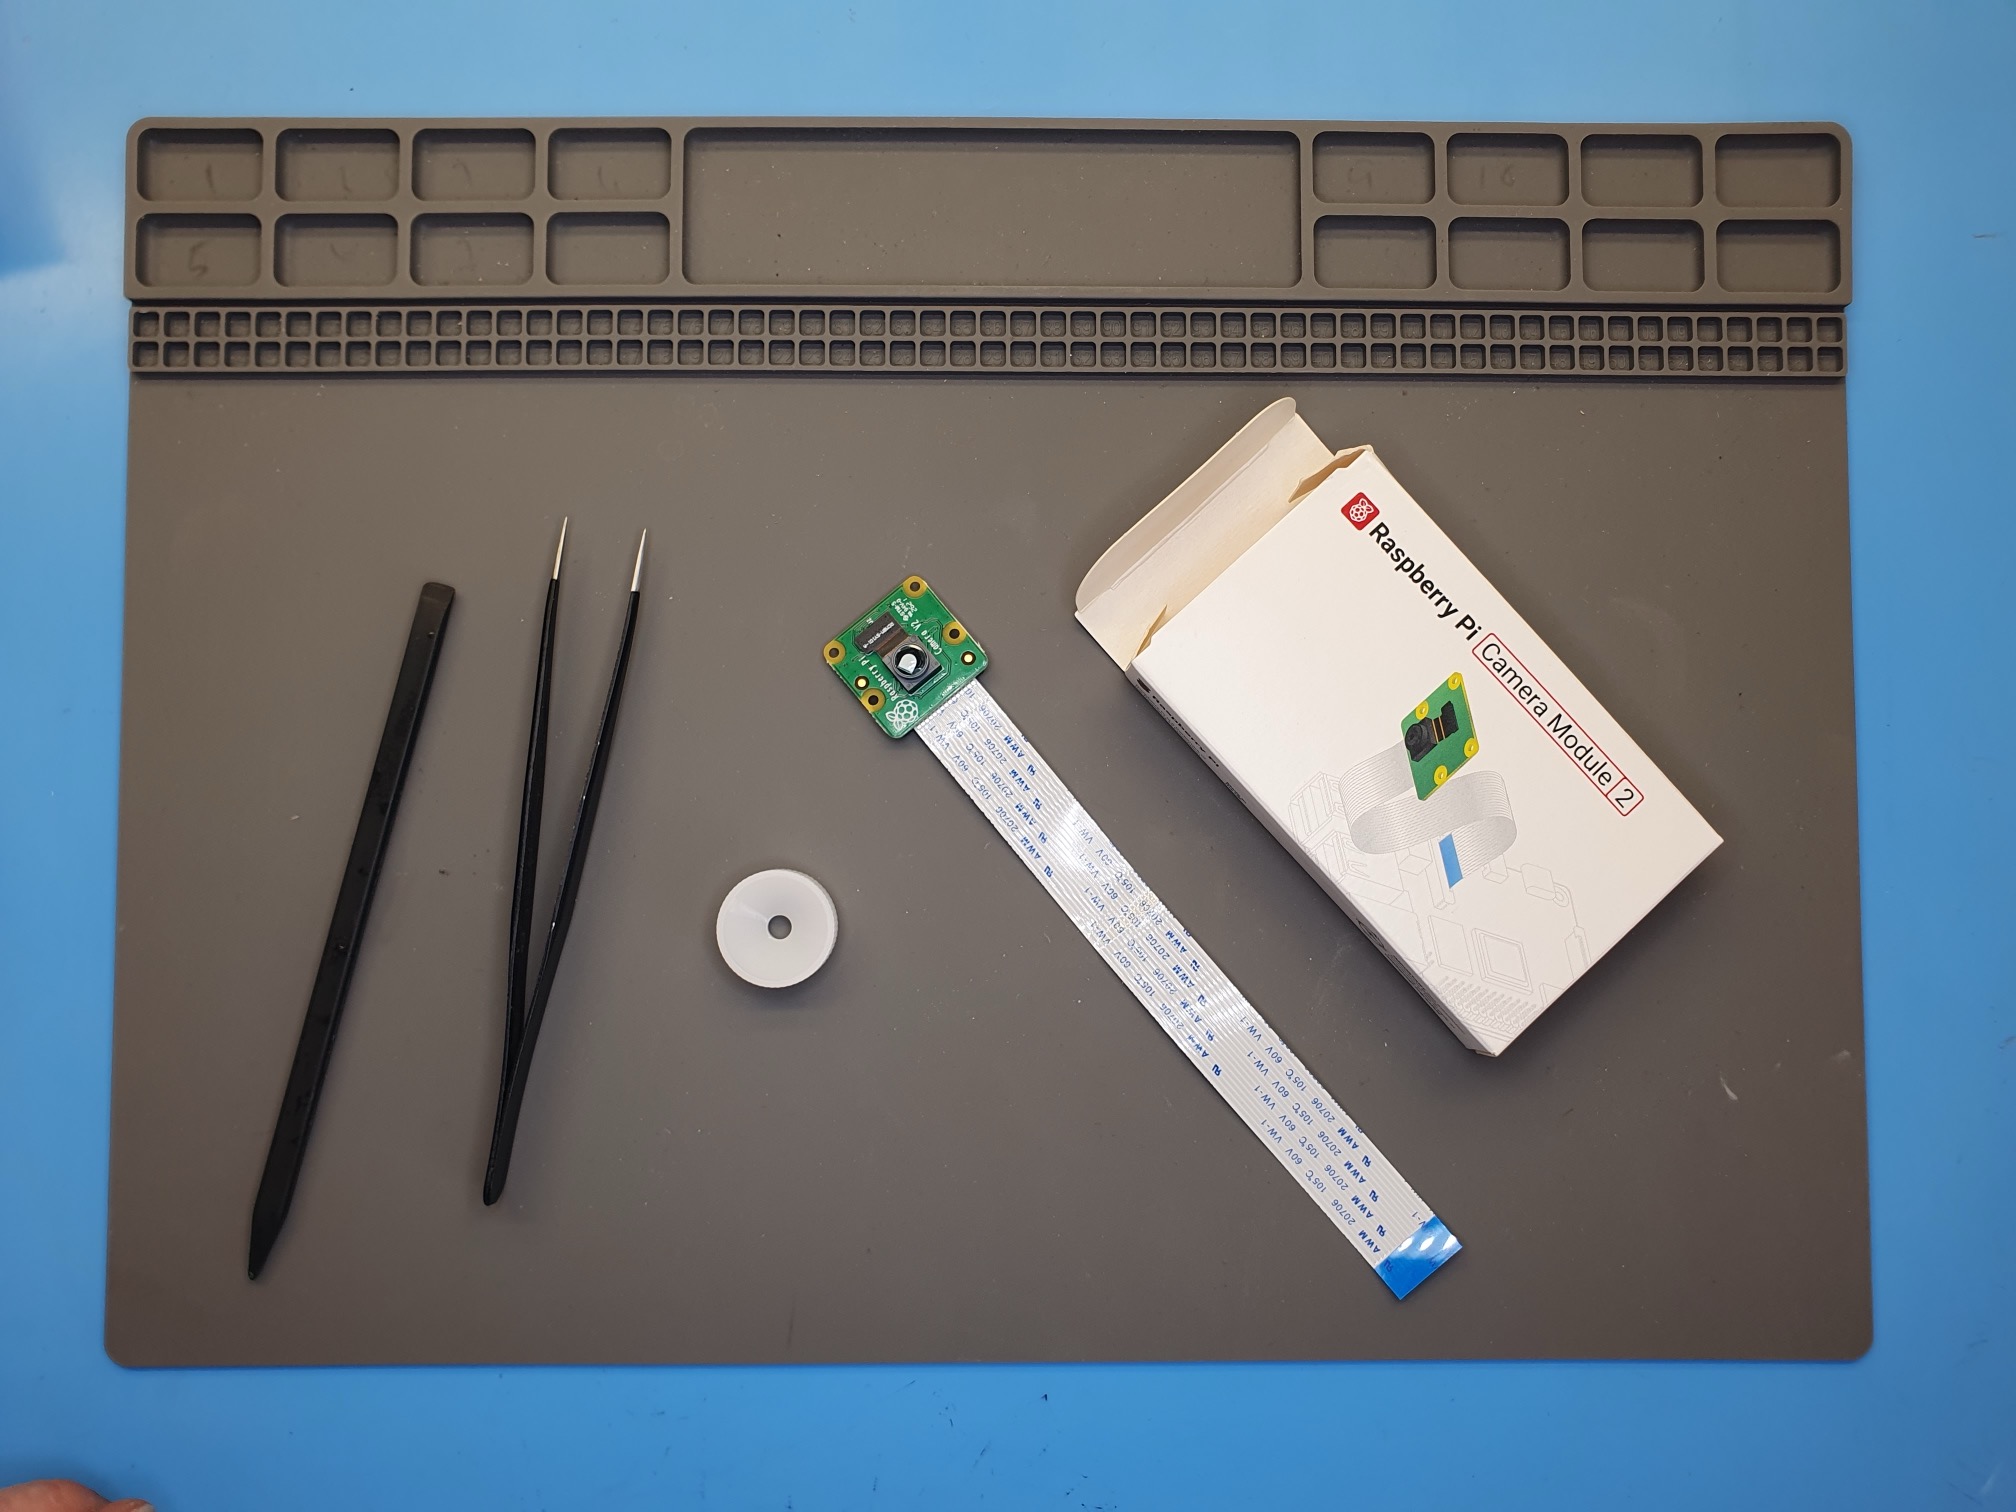
Camera Preparation
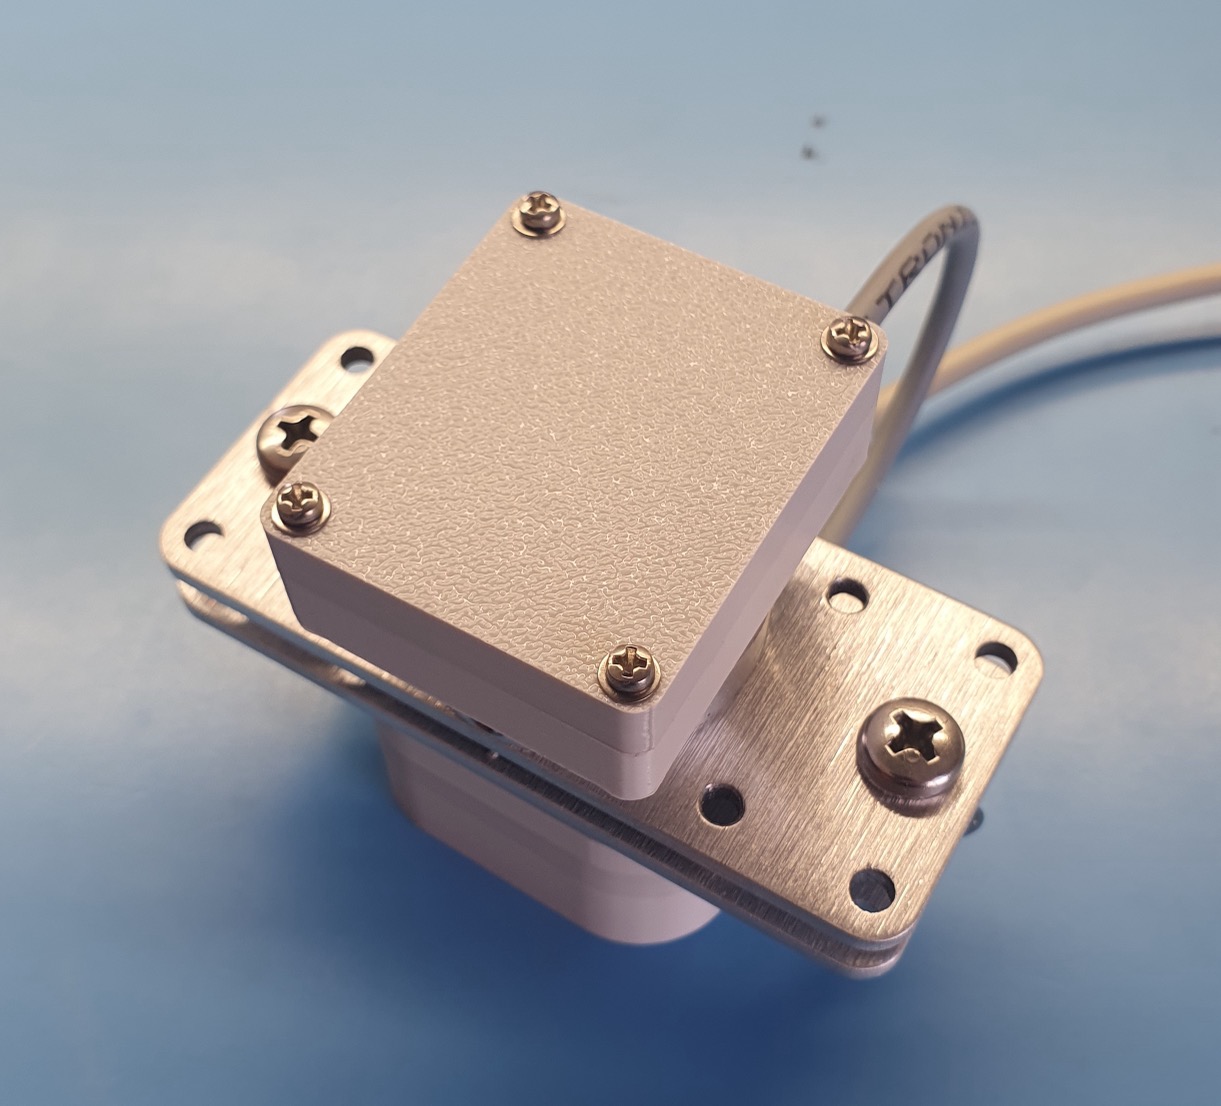
Follow the Cavicam v3 Instructions if your cavicam looks like this:
… or Cavicam v2 Instructions if it doesn’t.
Cavicam v3 Instructions
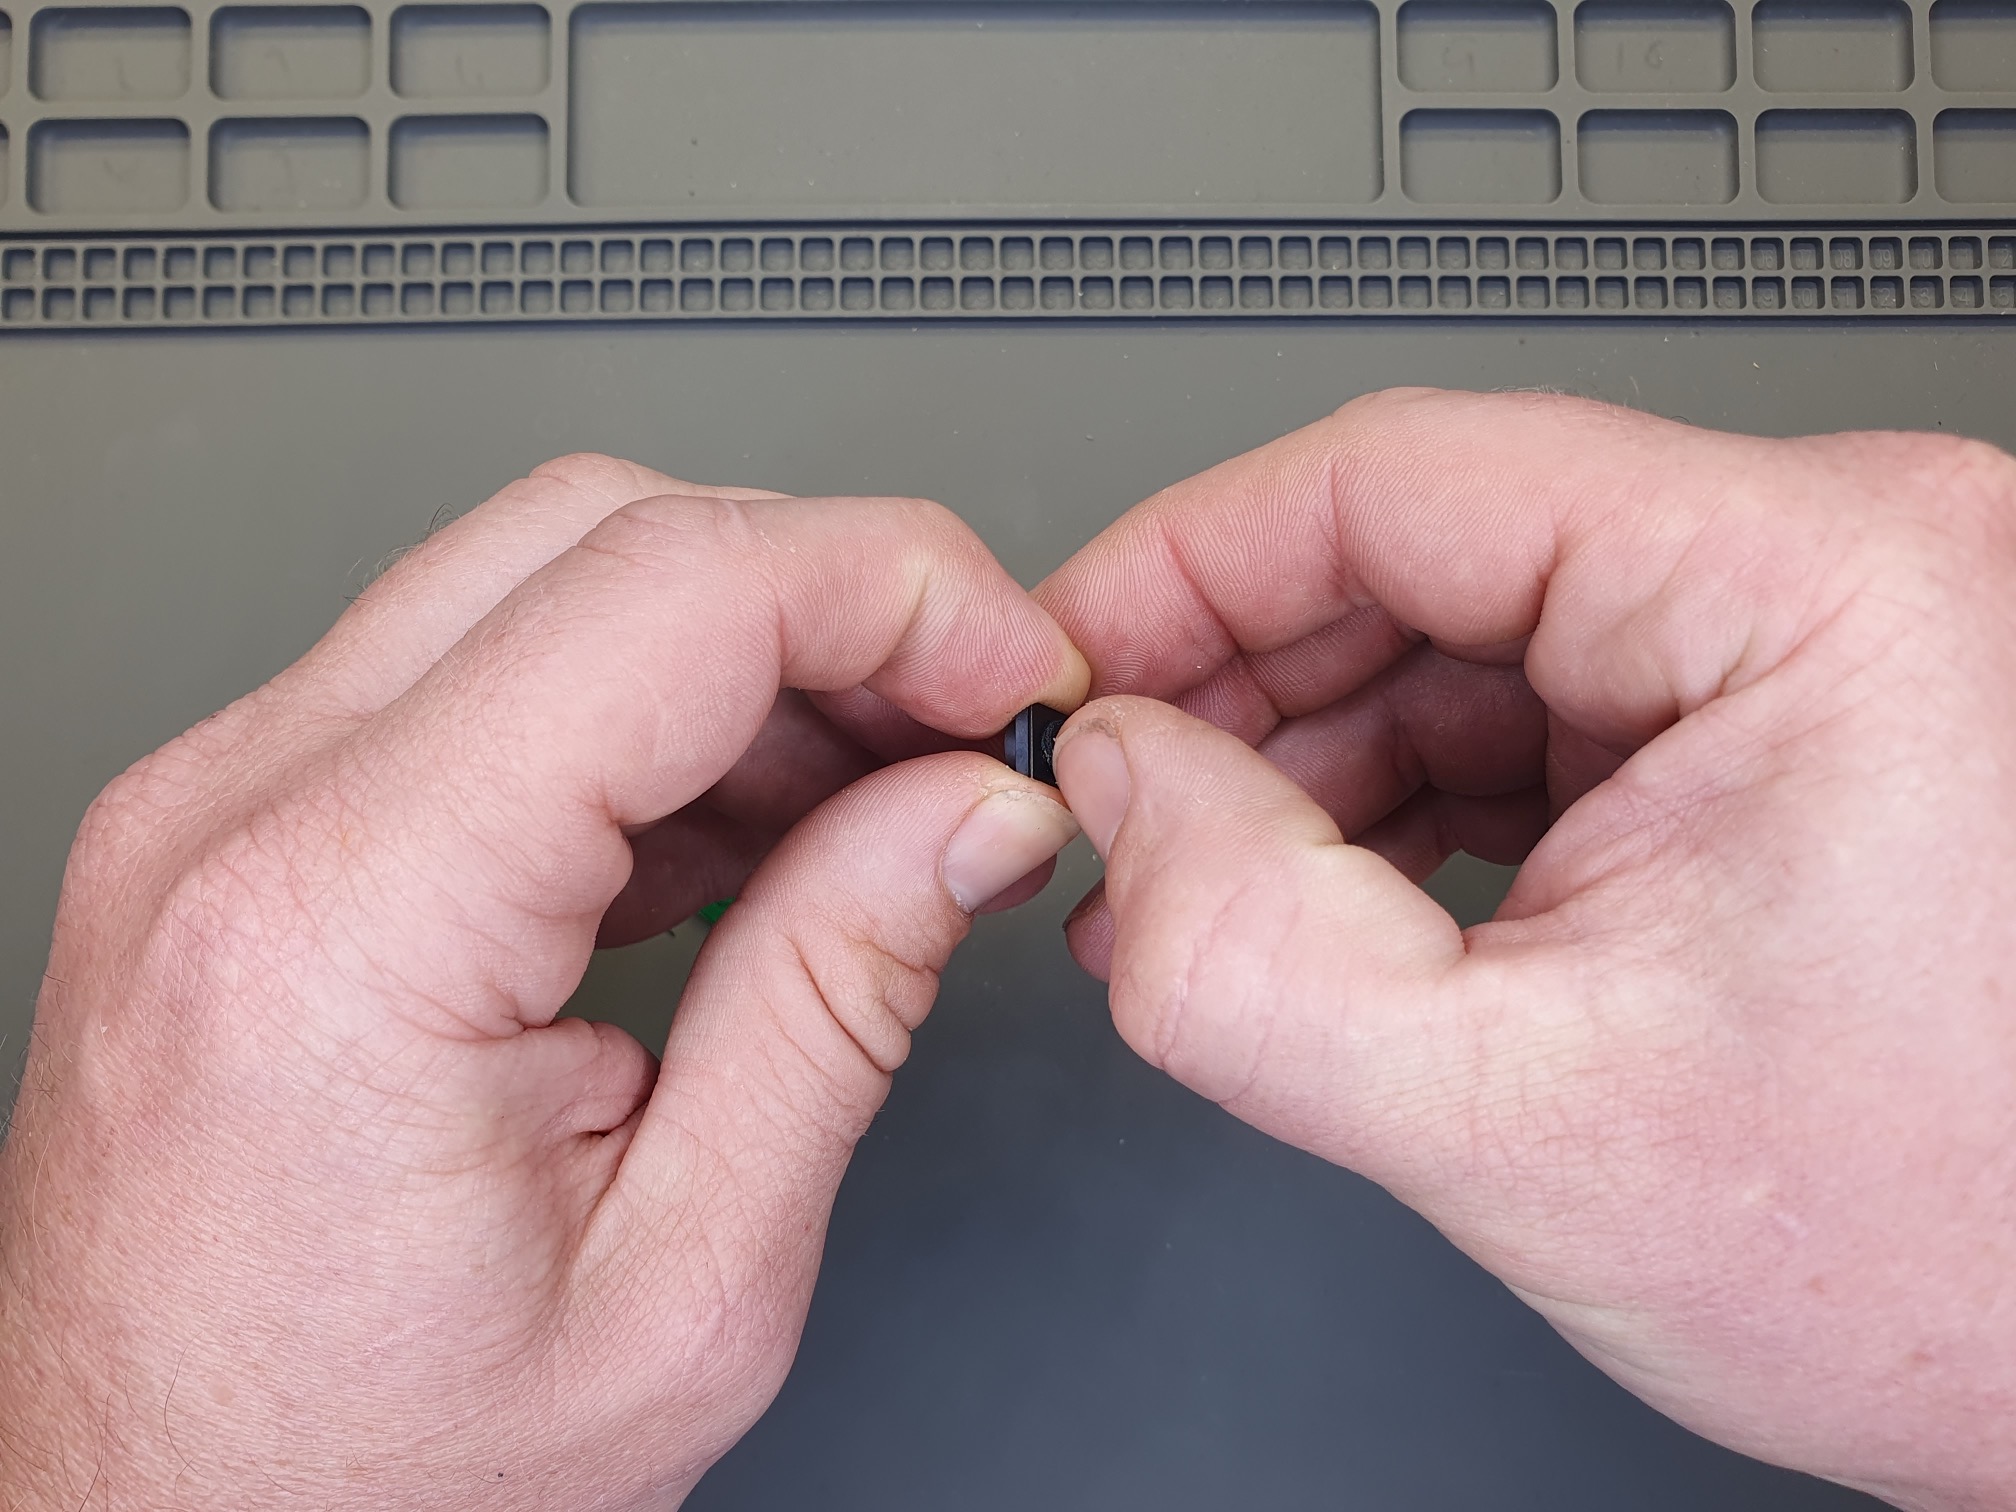
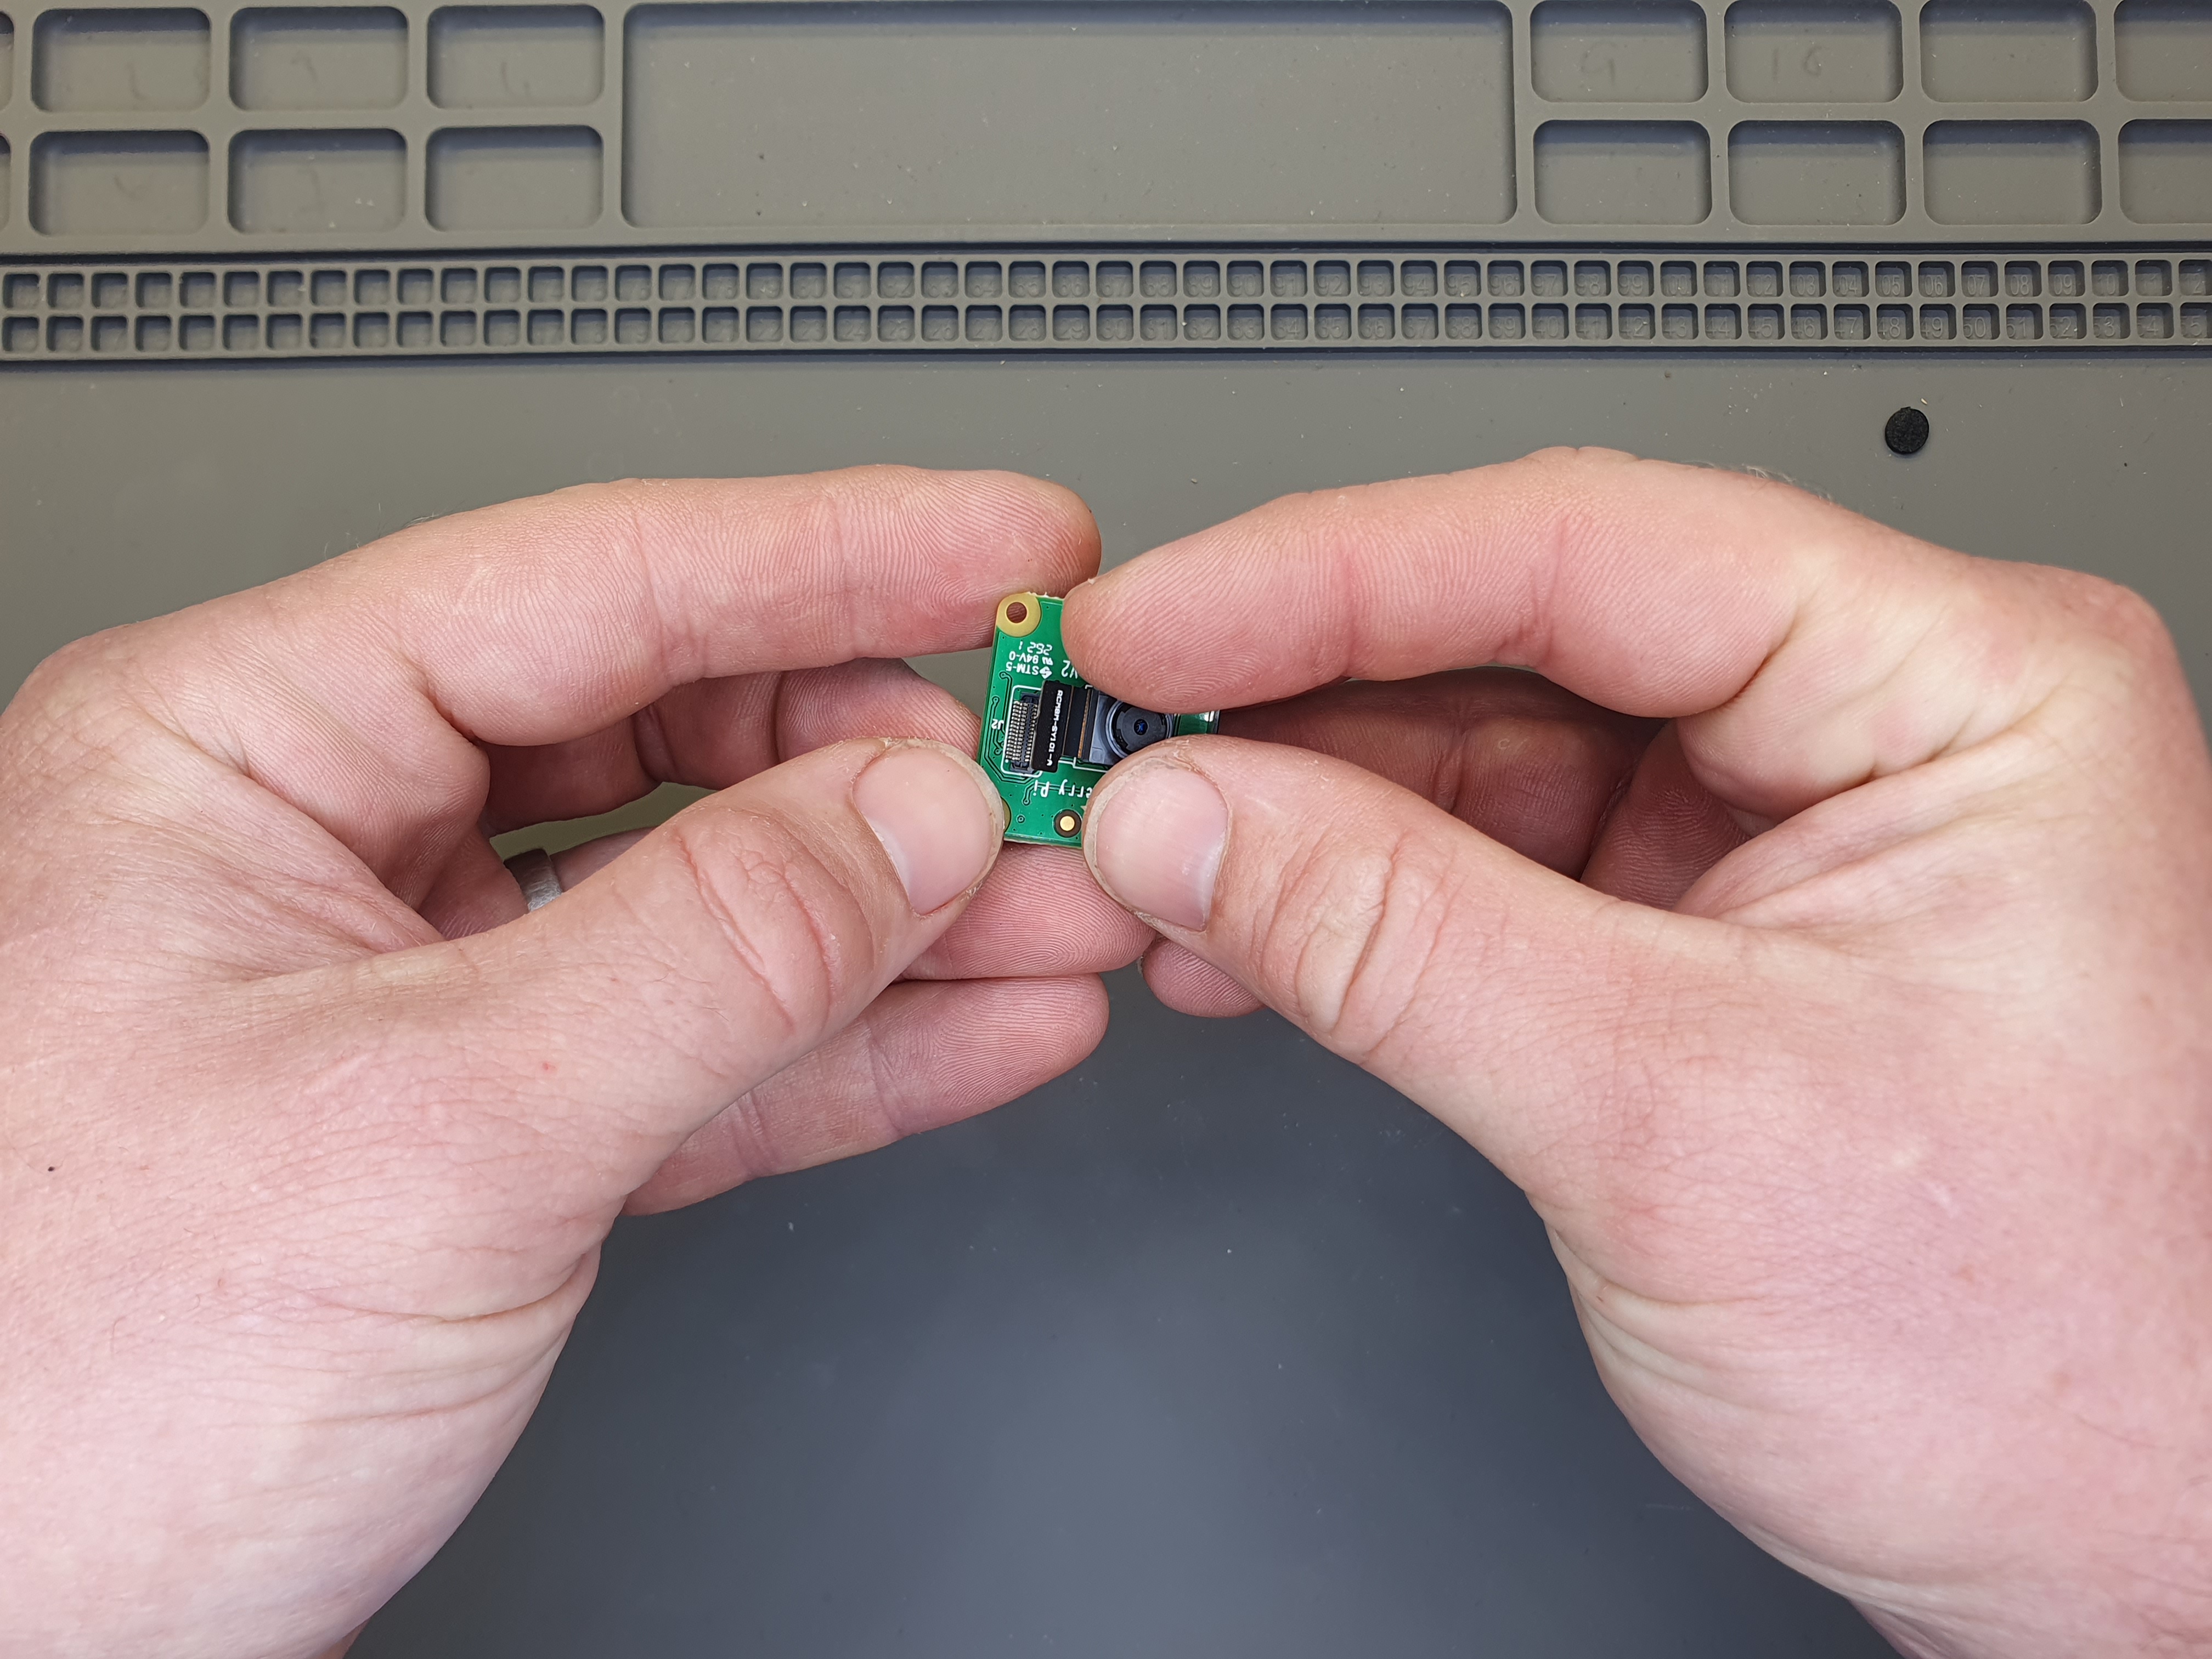
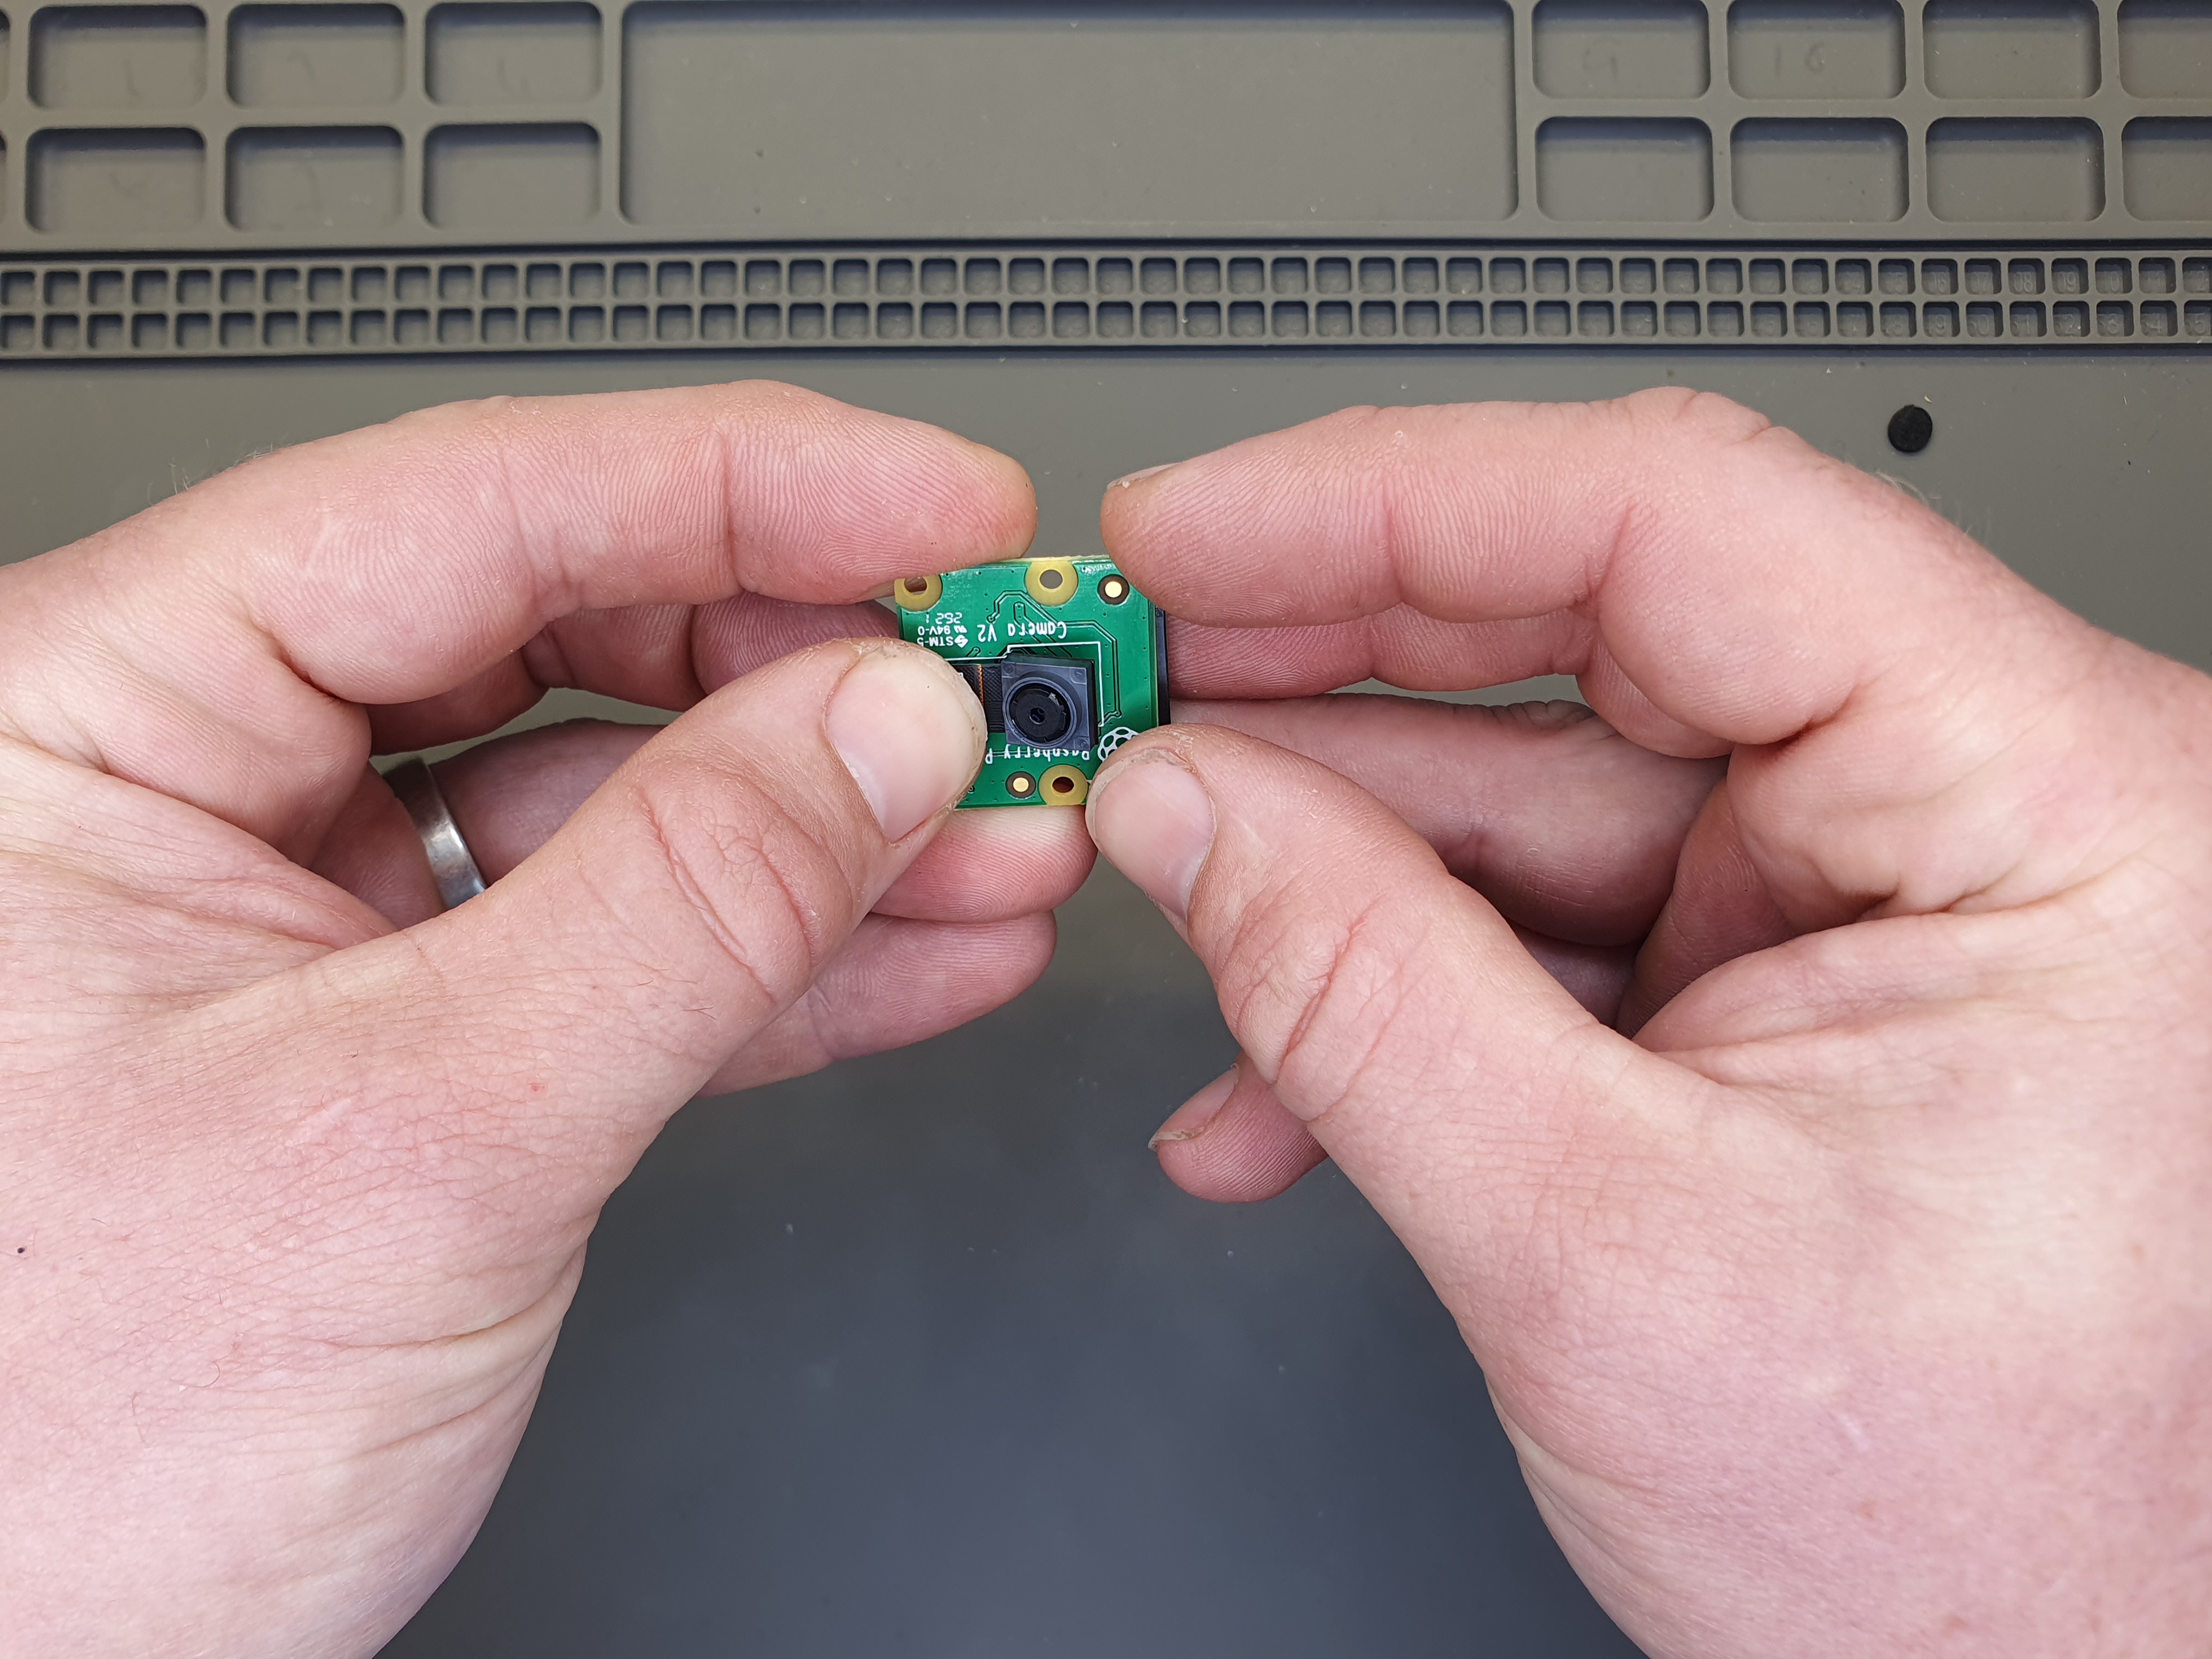
Step 1 - Detach cable
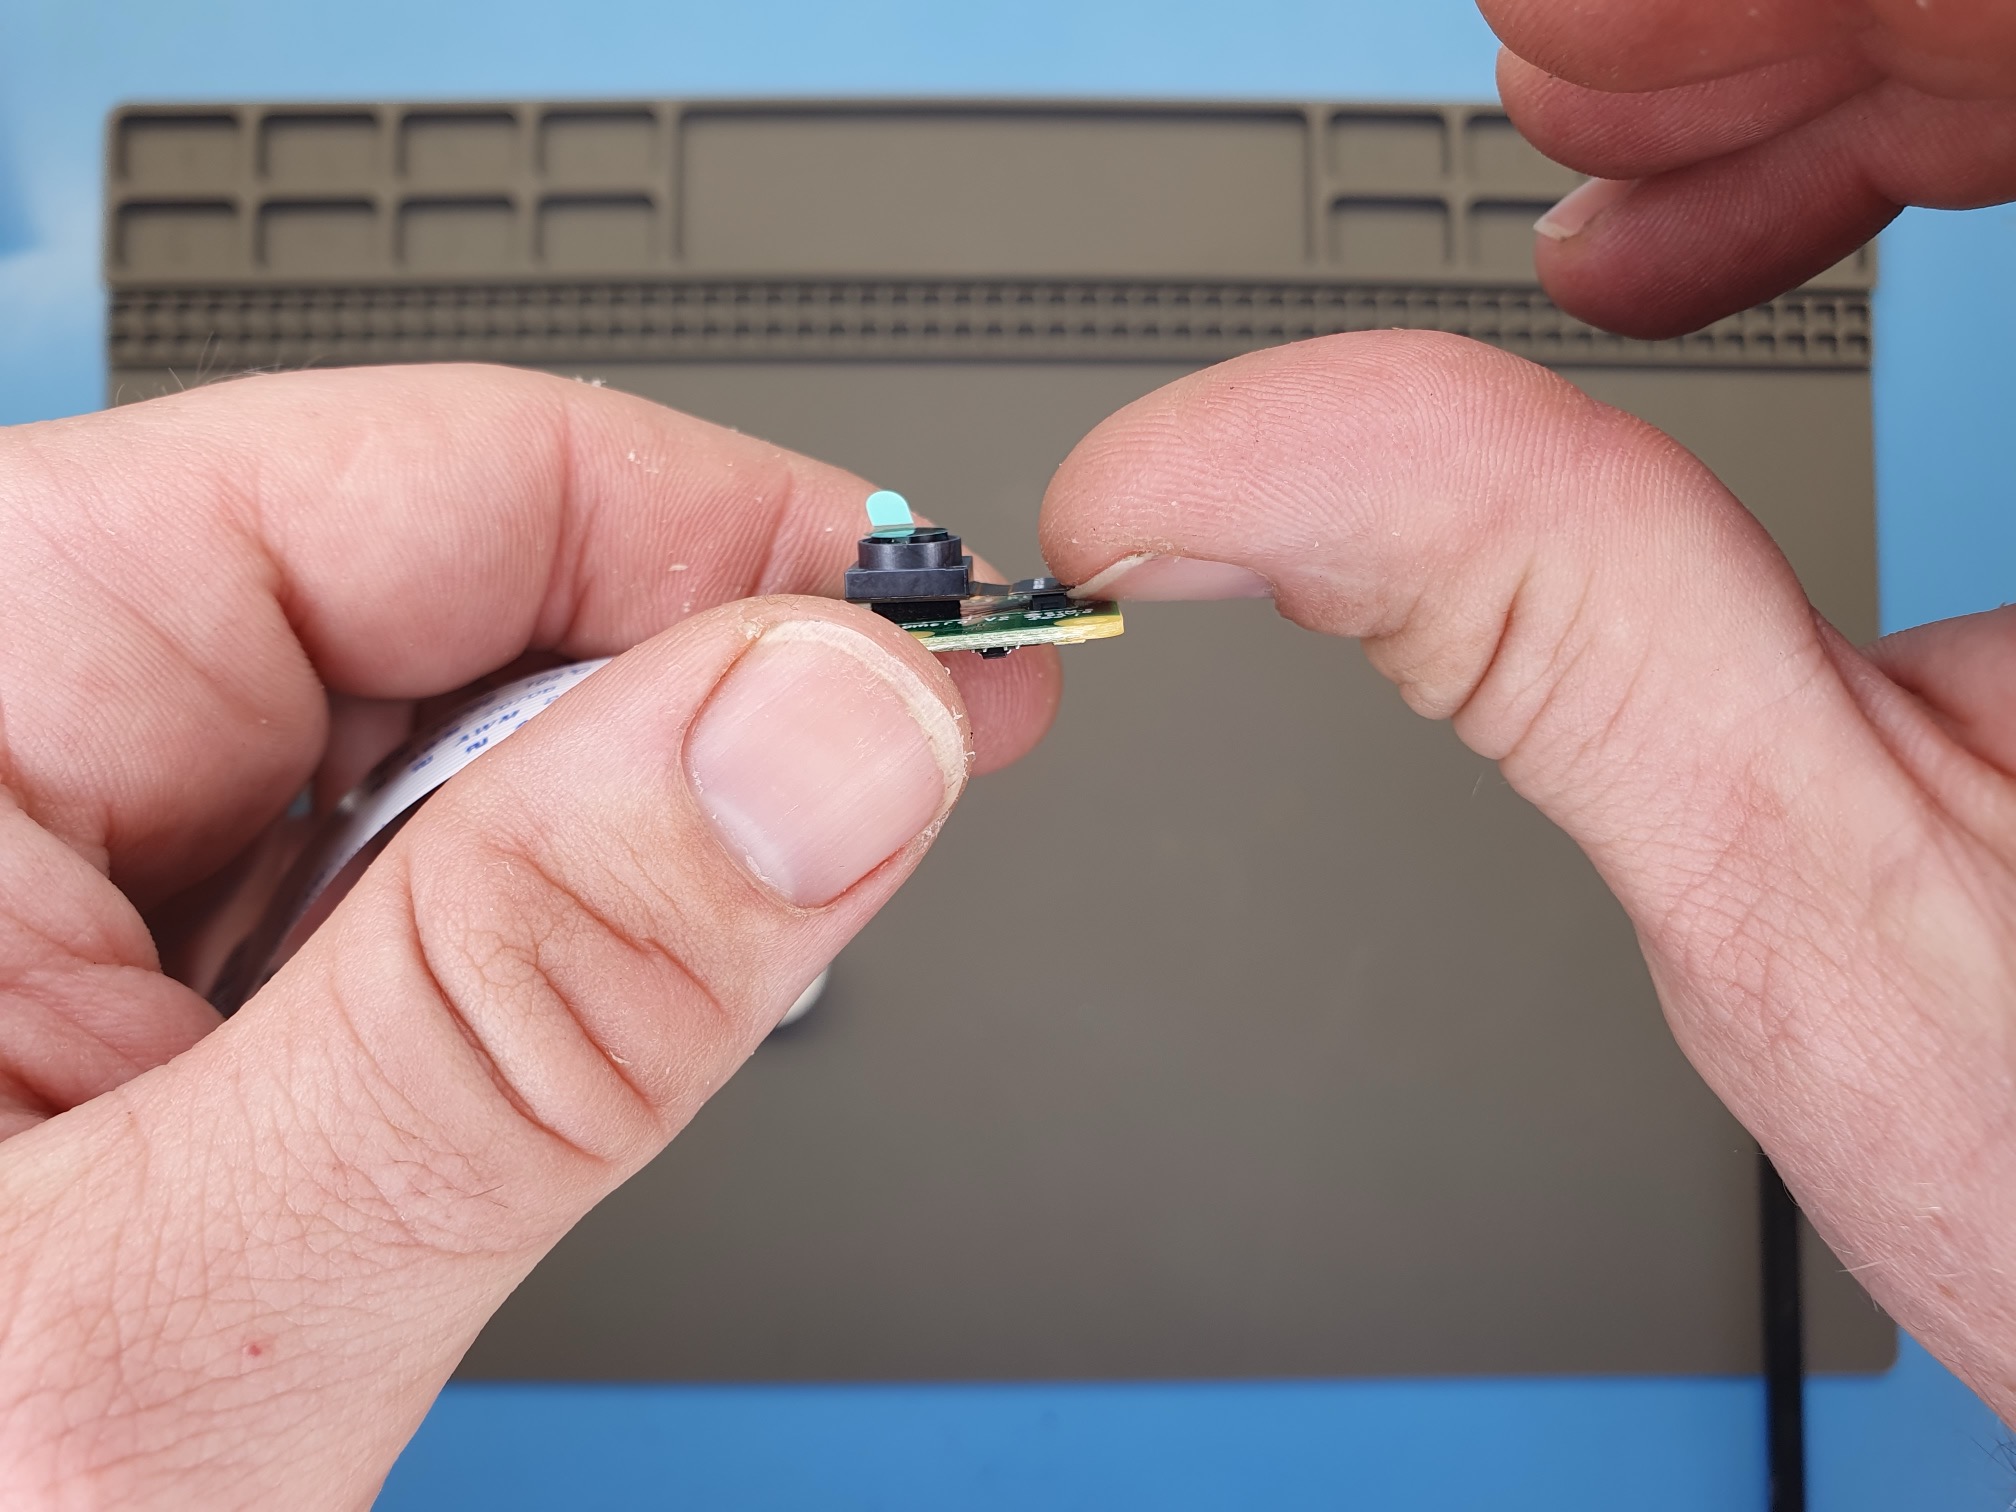
Use a finger nail or something flat ended to lift up and disconnect the tab connector.
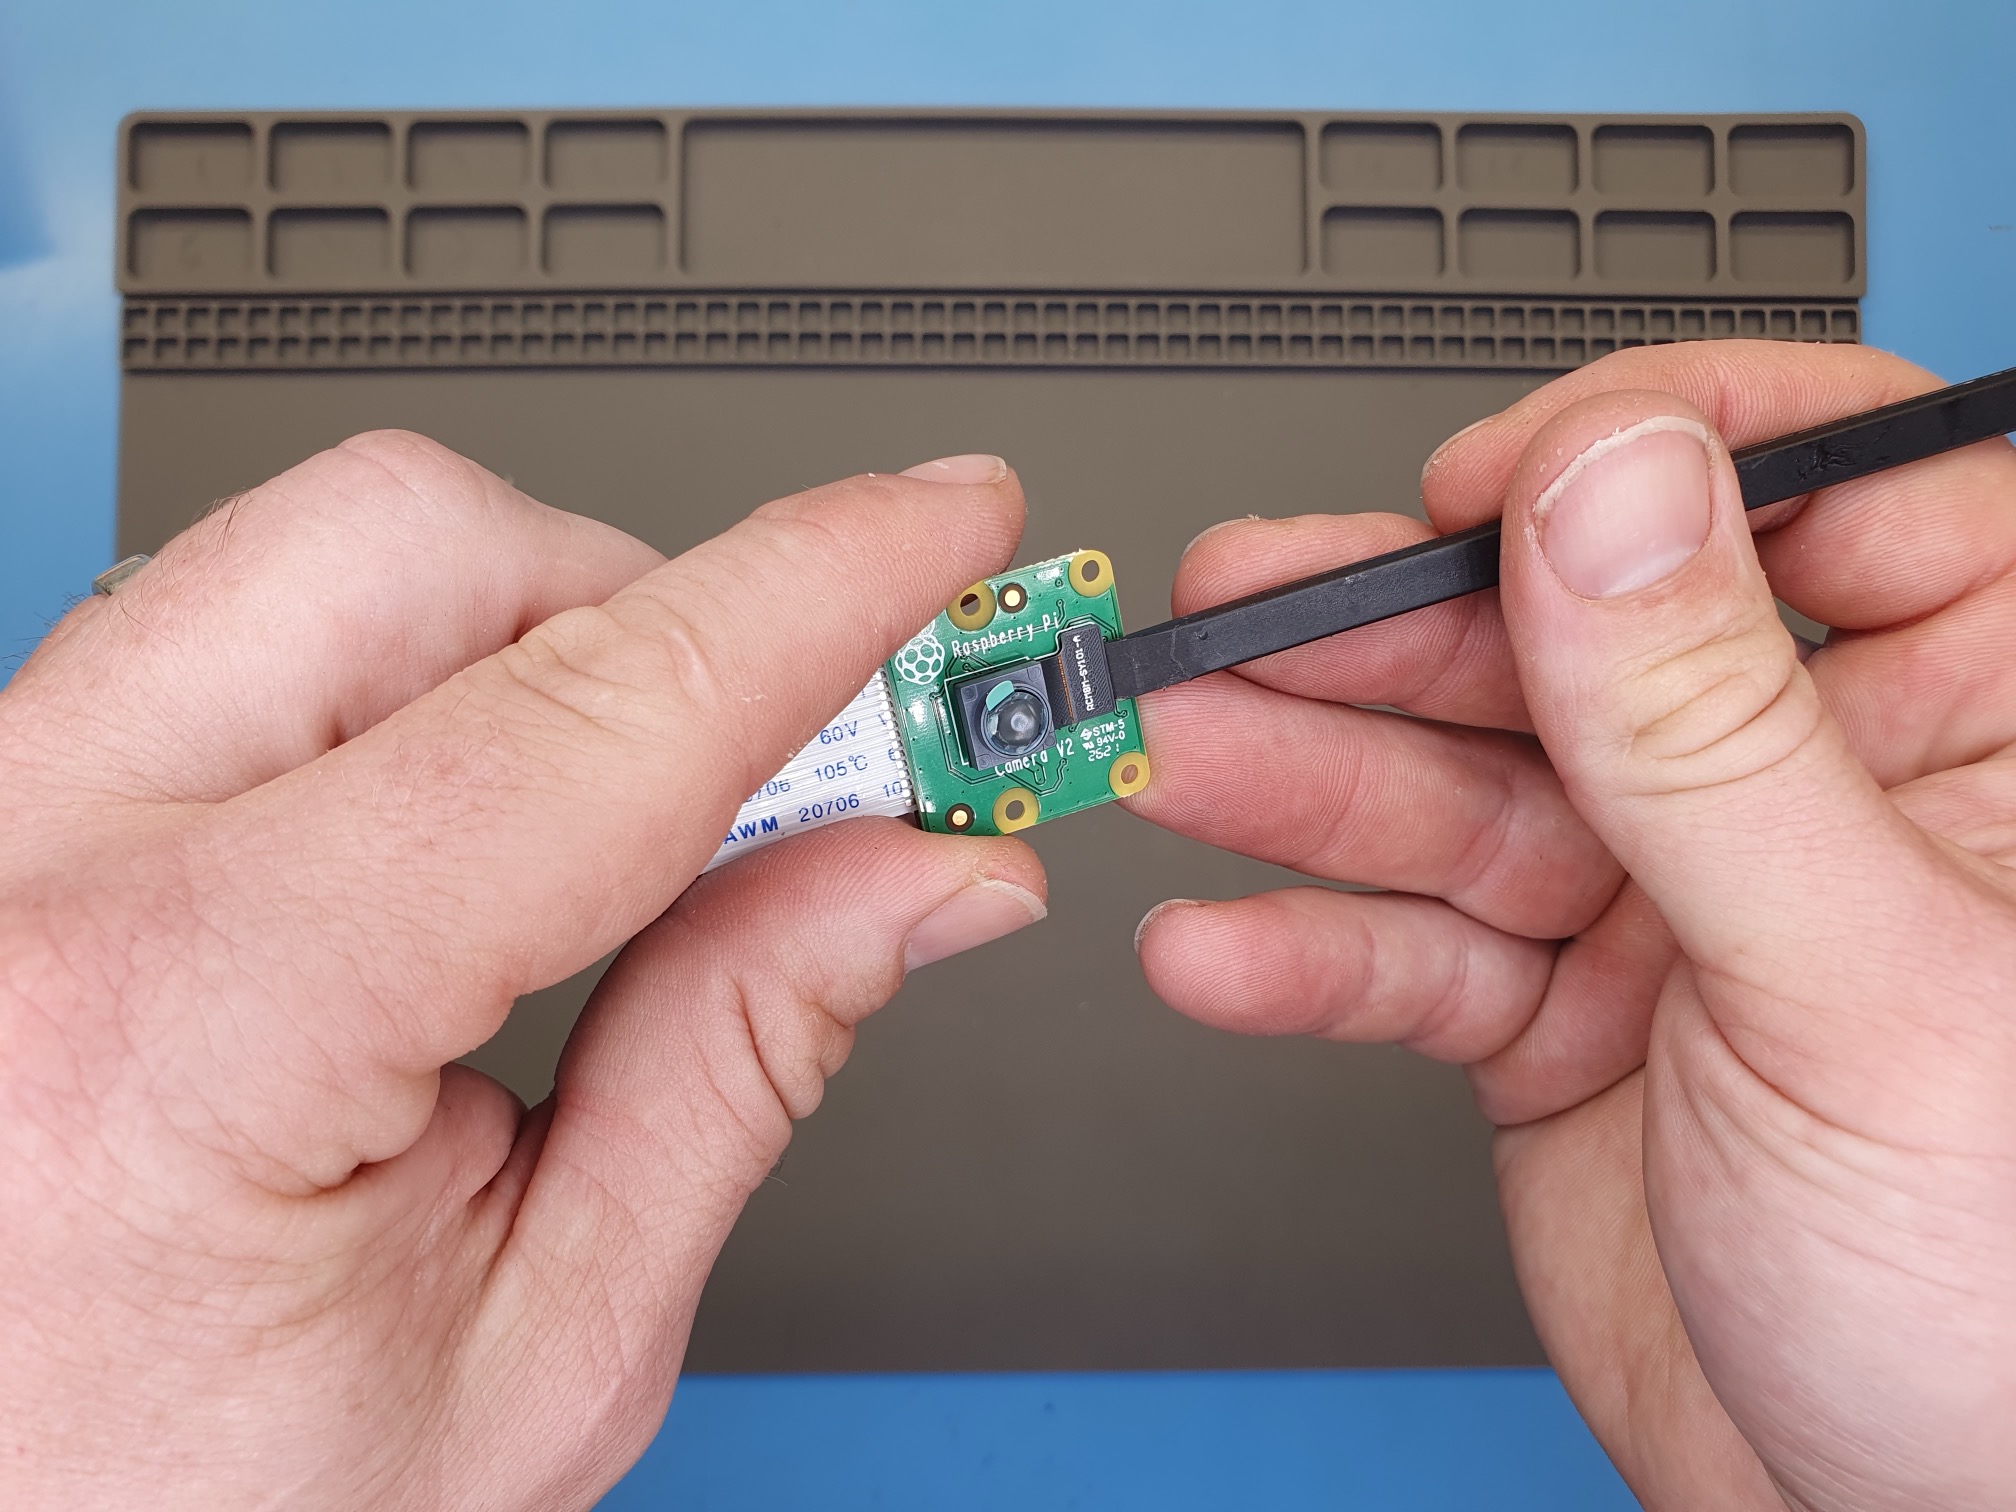
If using a finger nail…
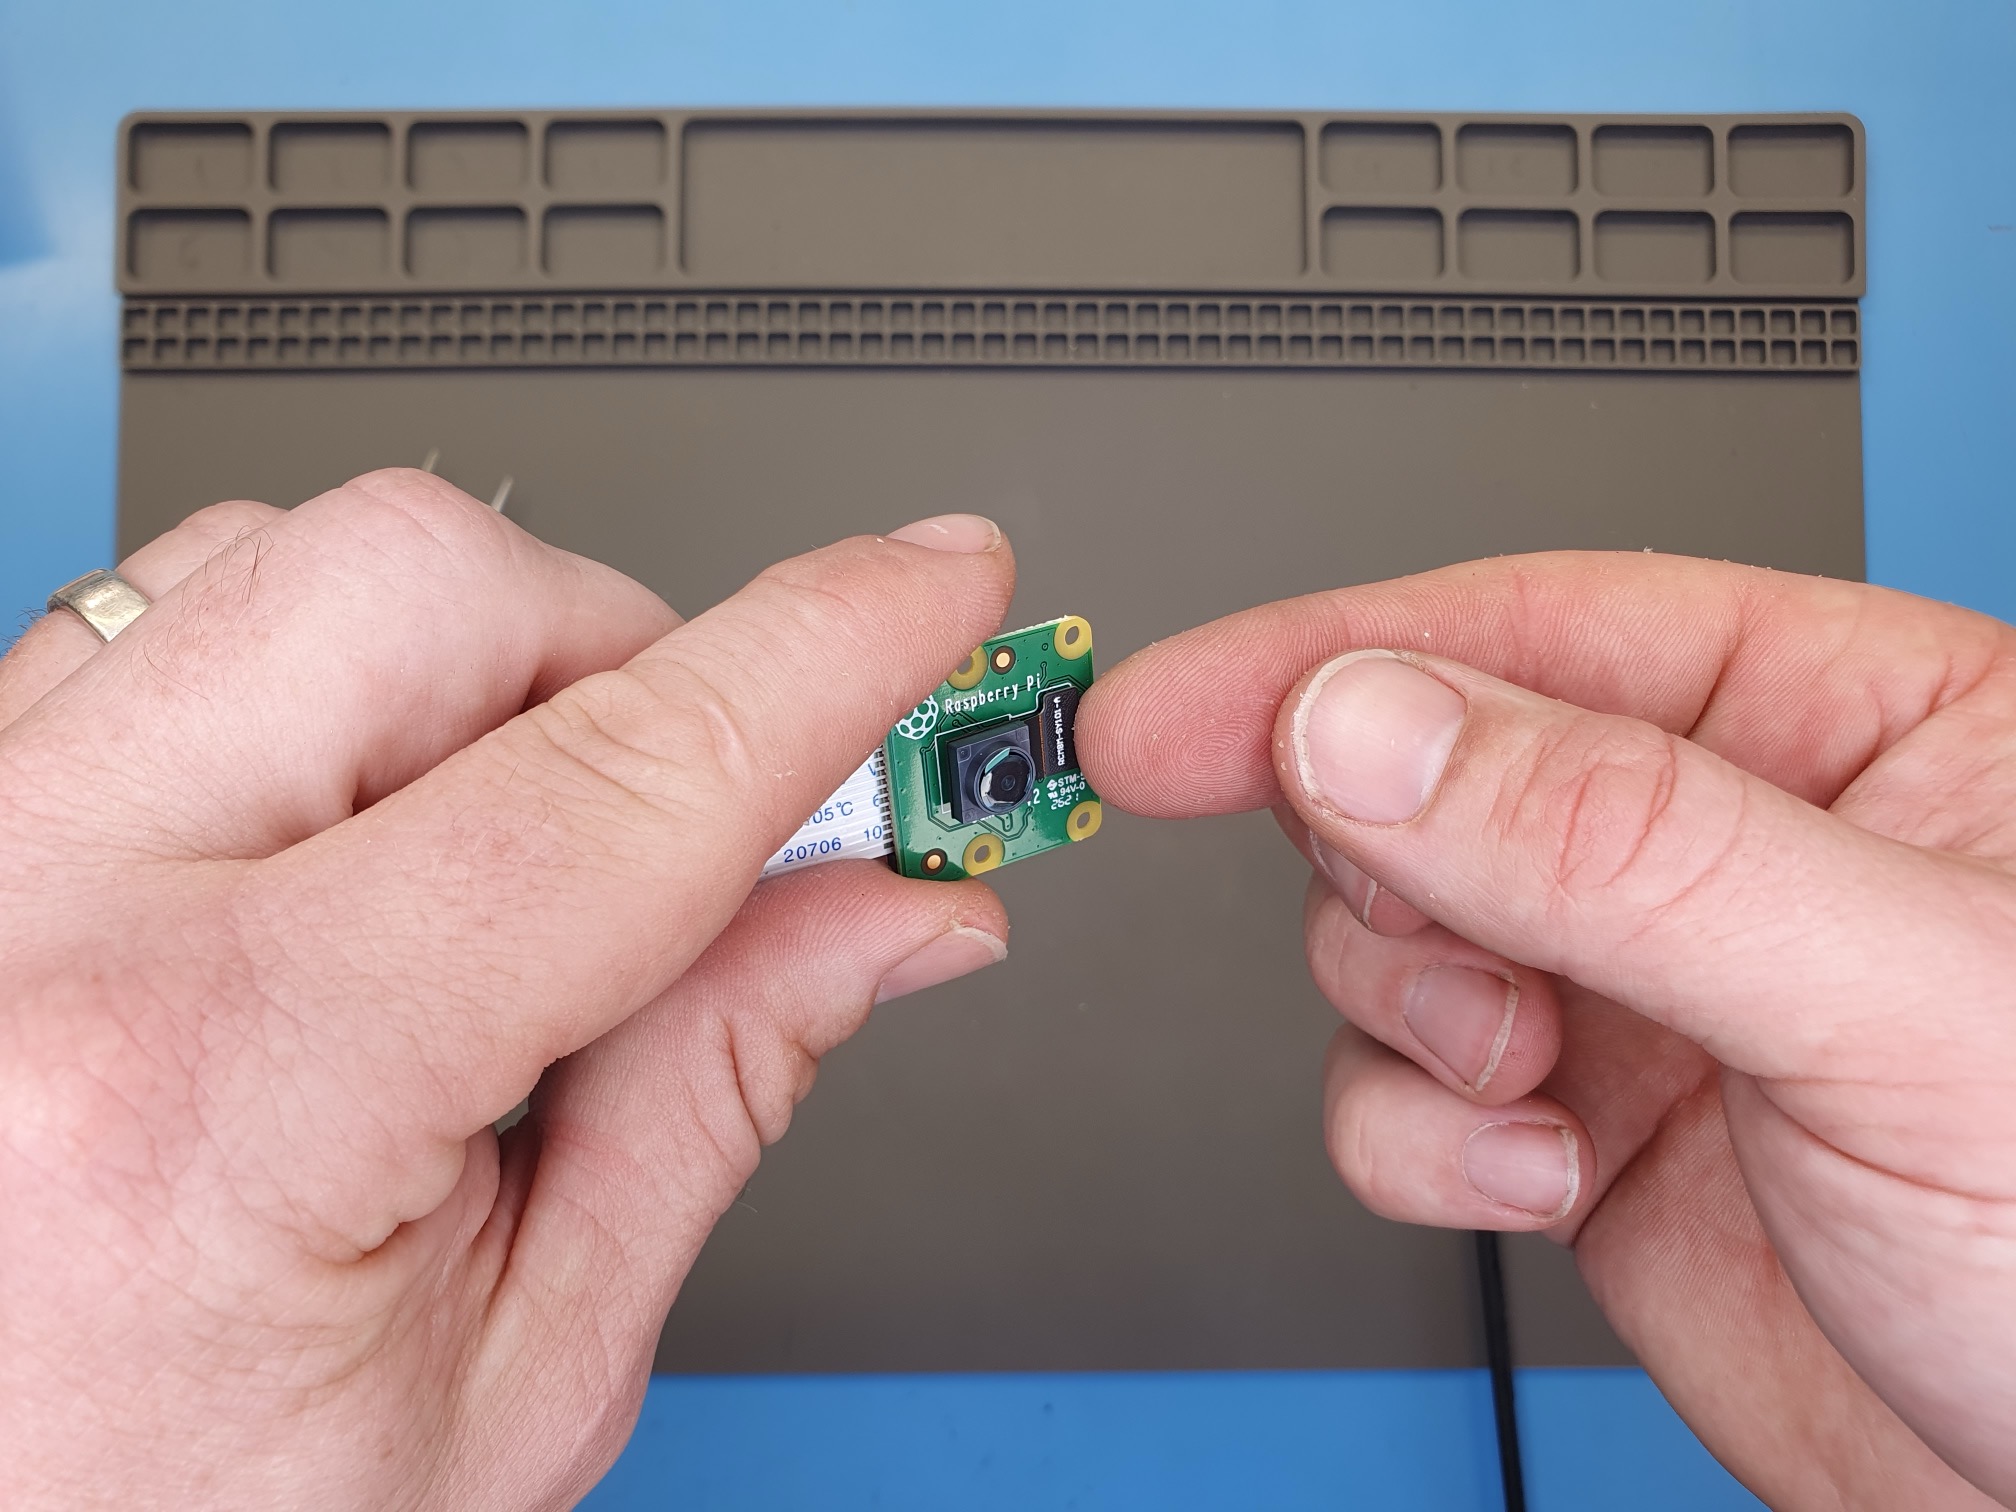
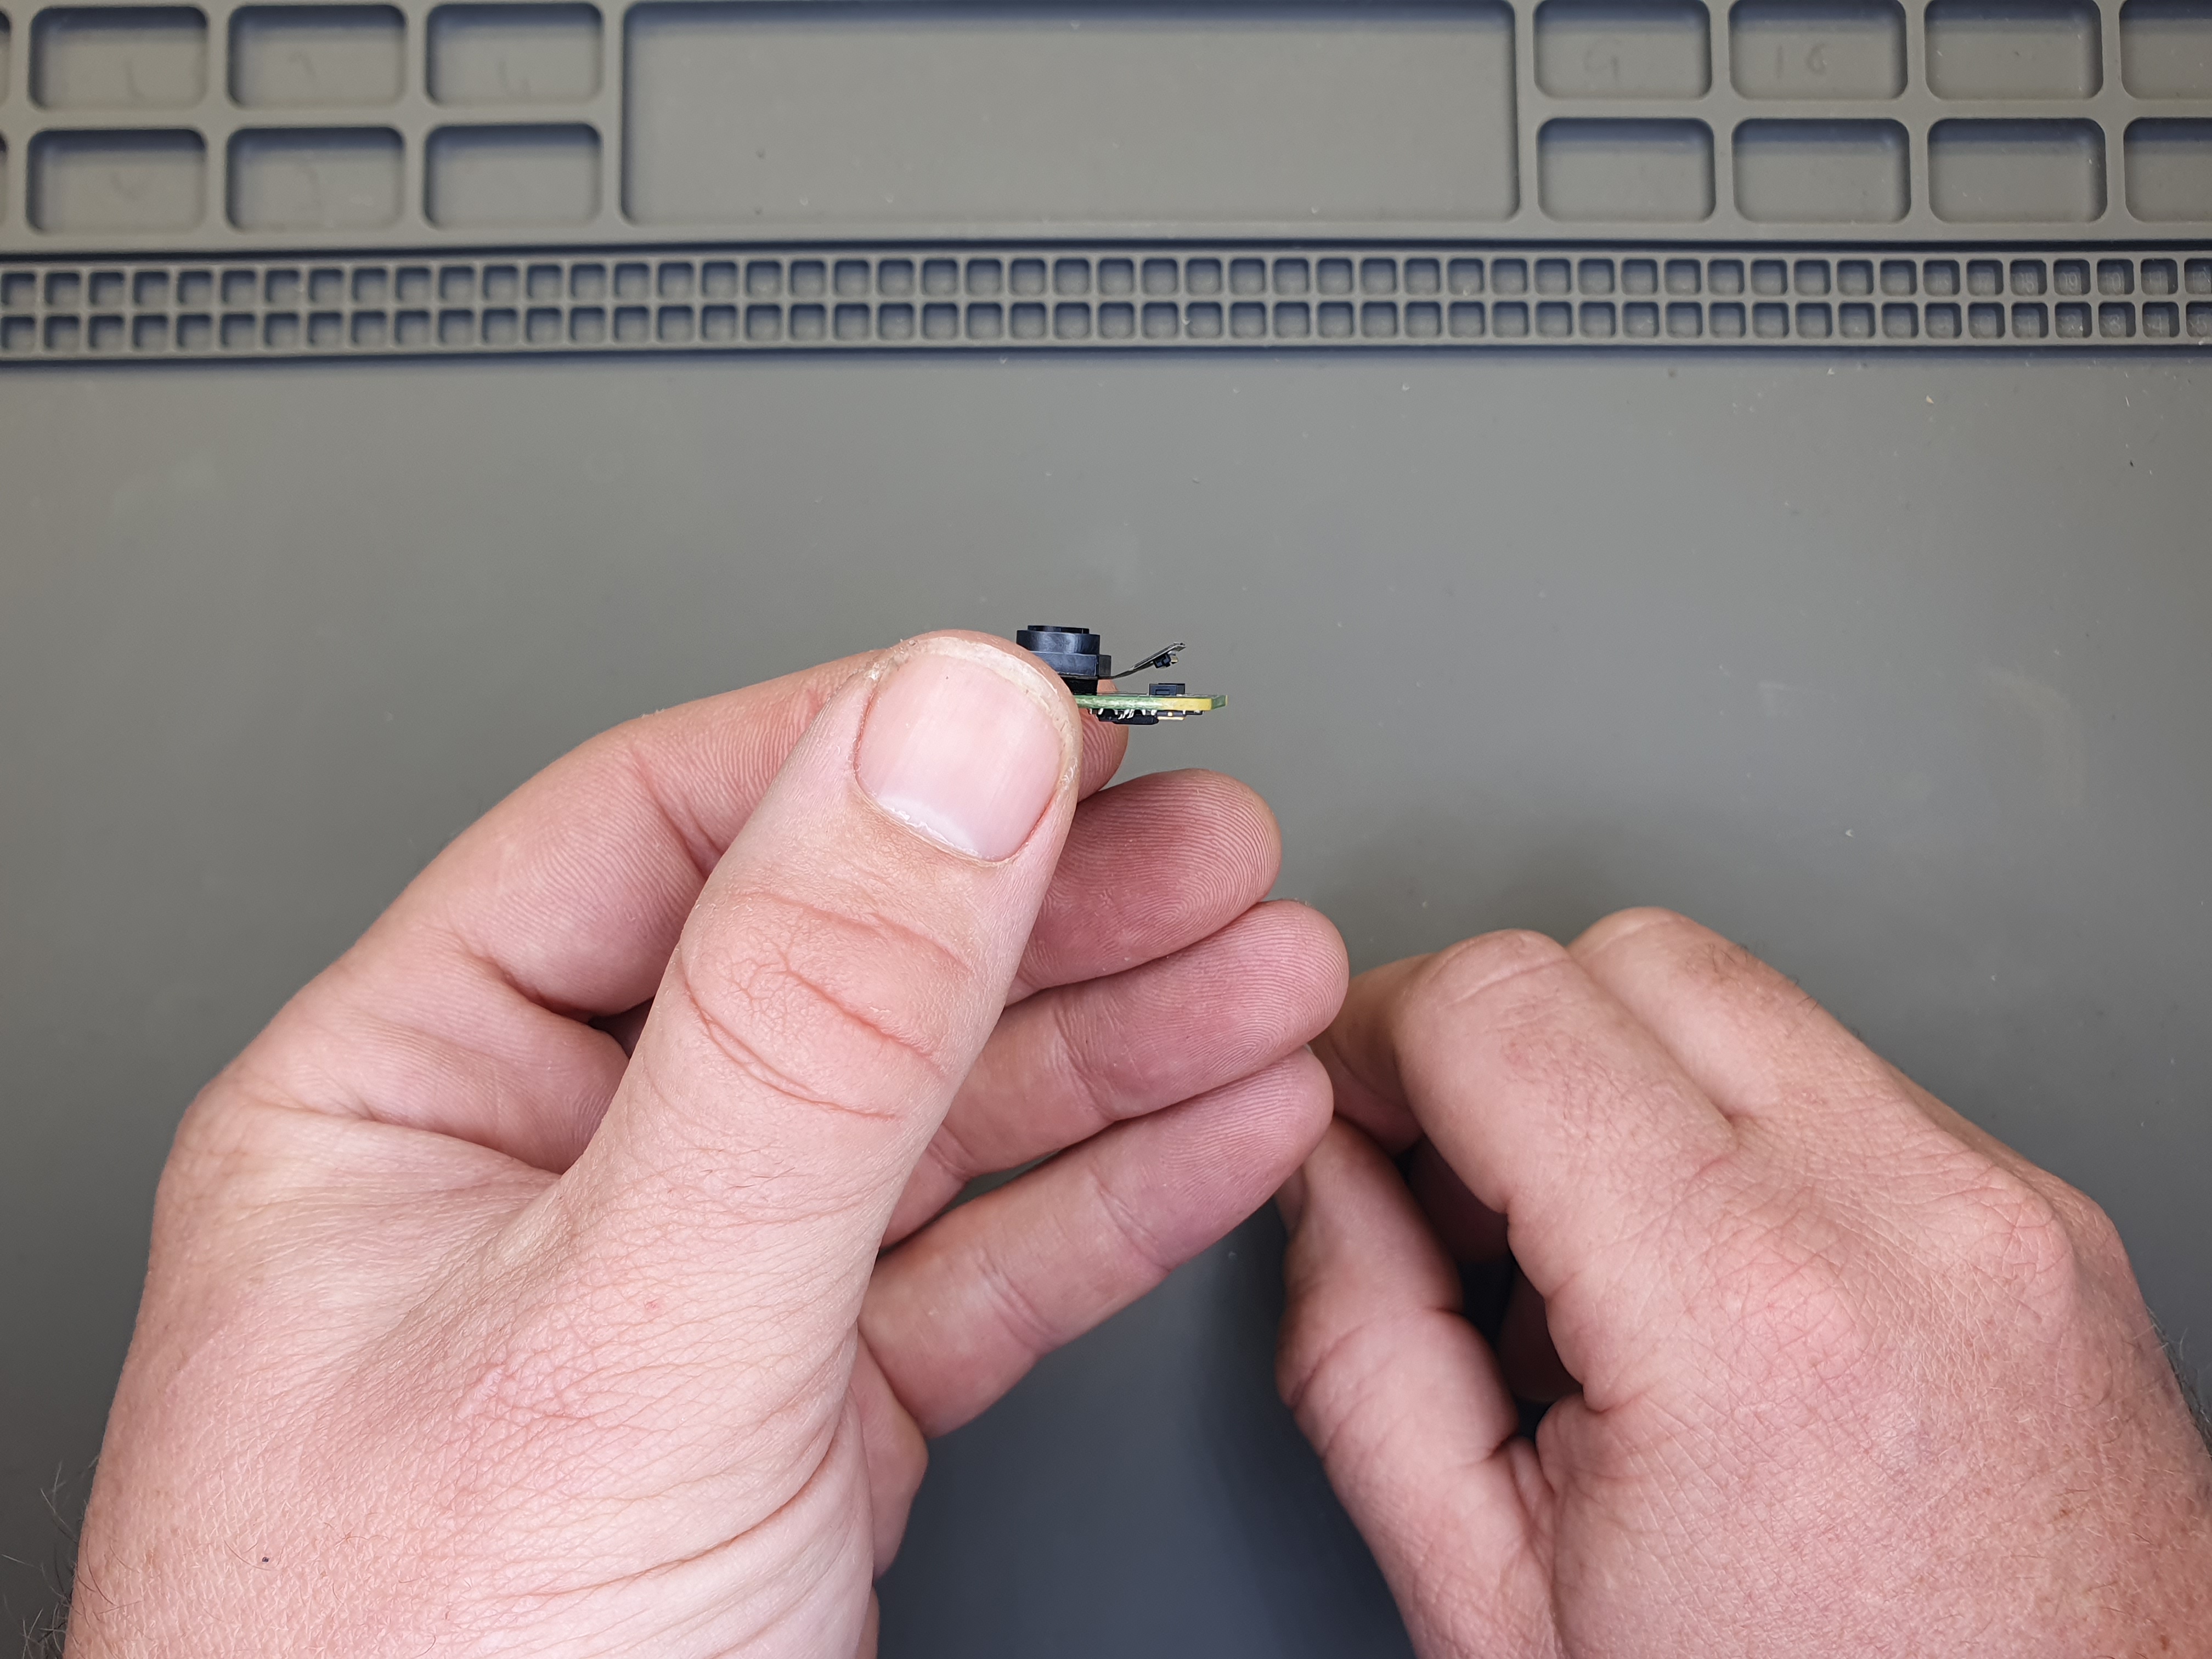
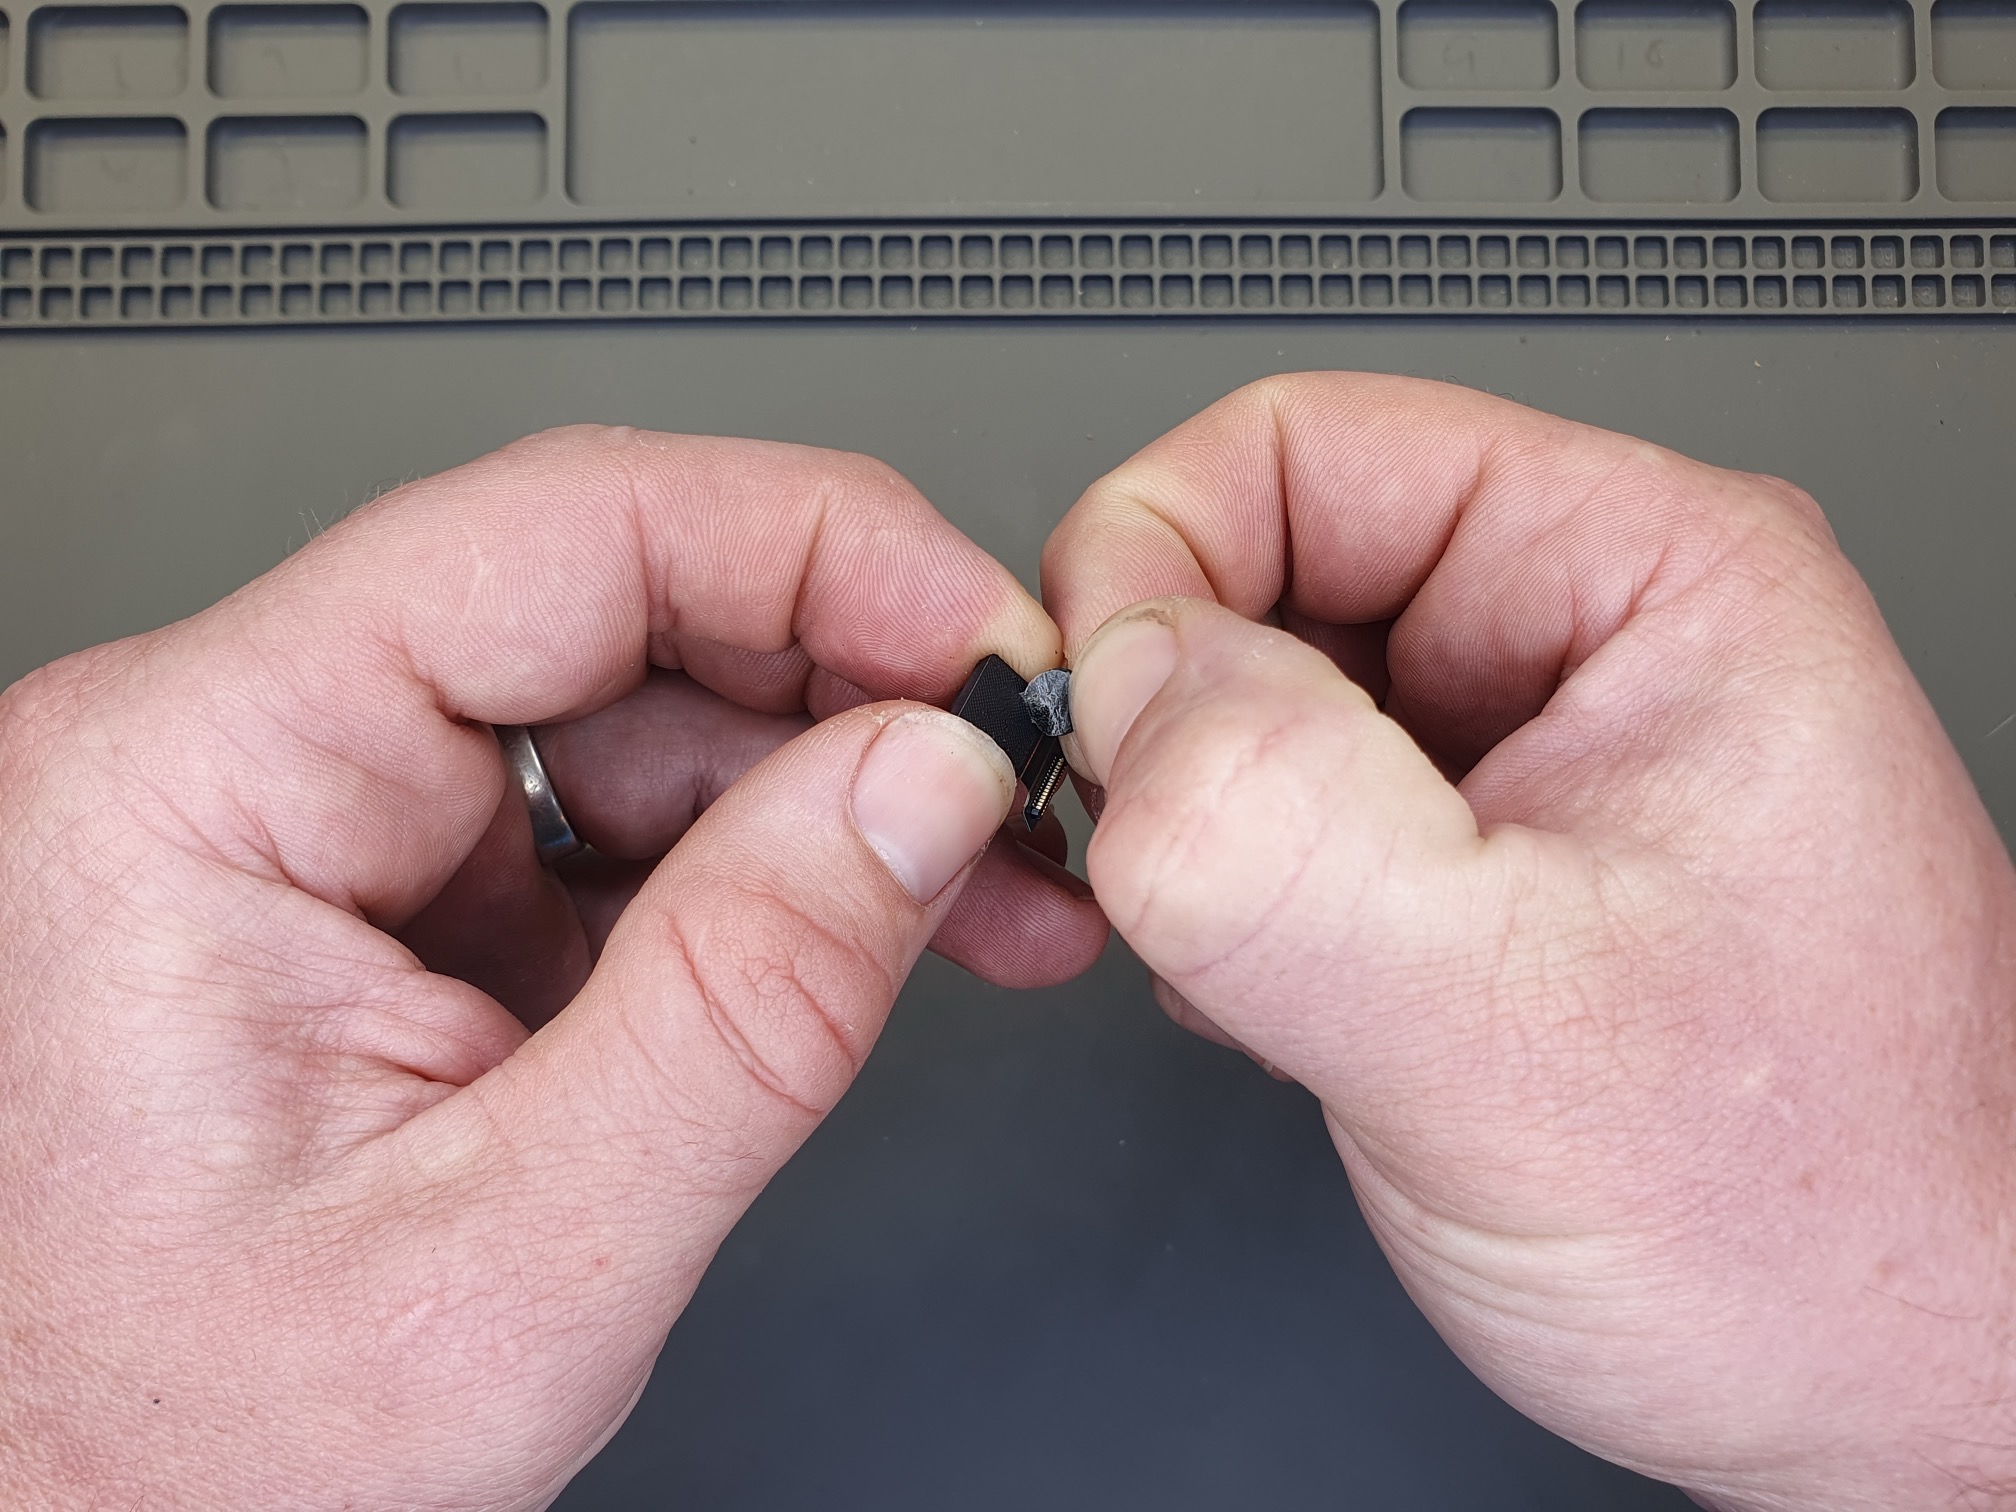
Connector successfully detached:
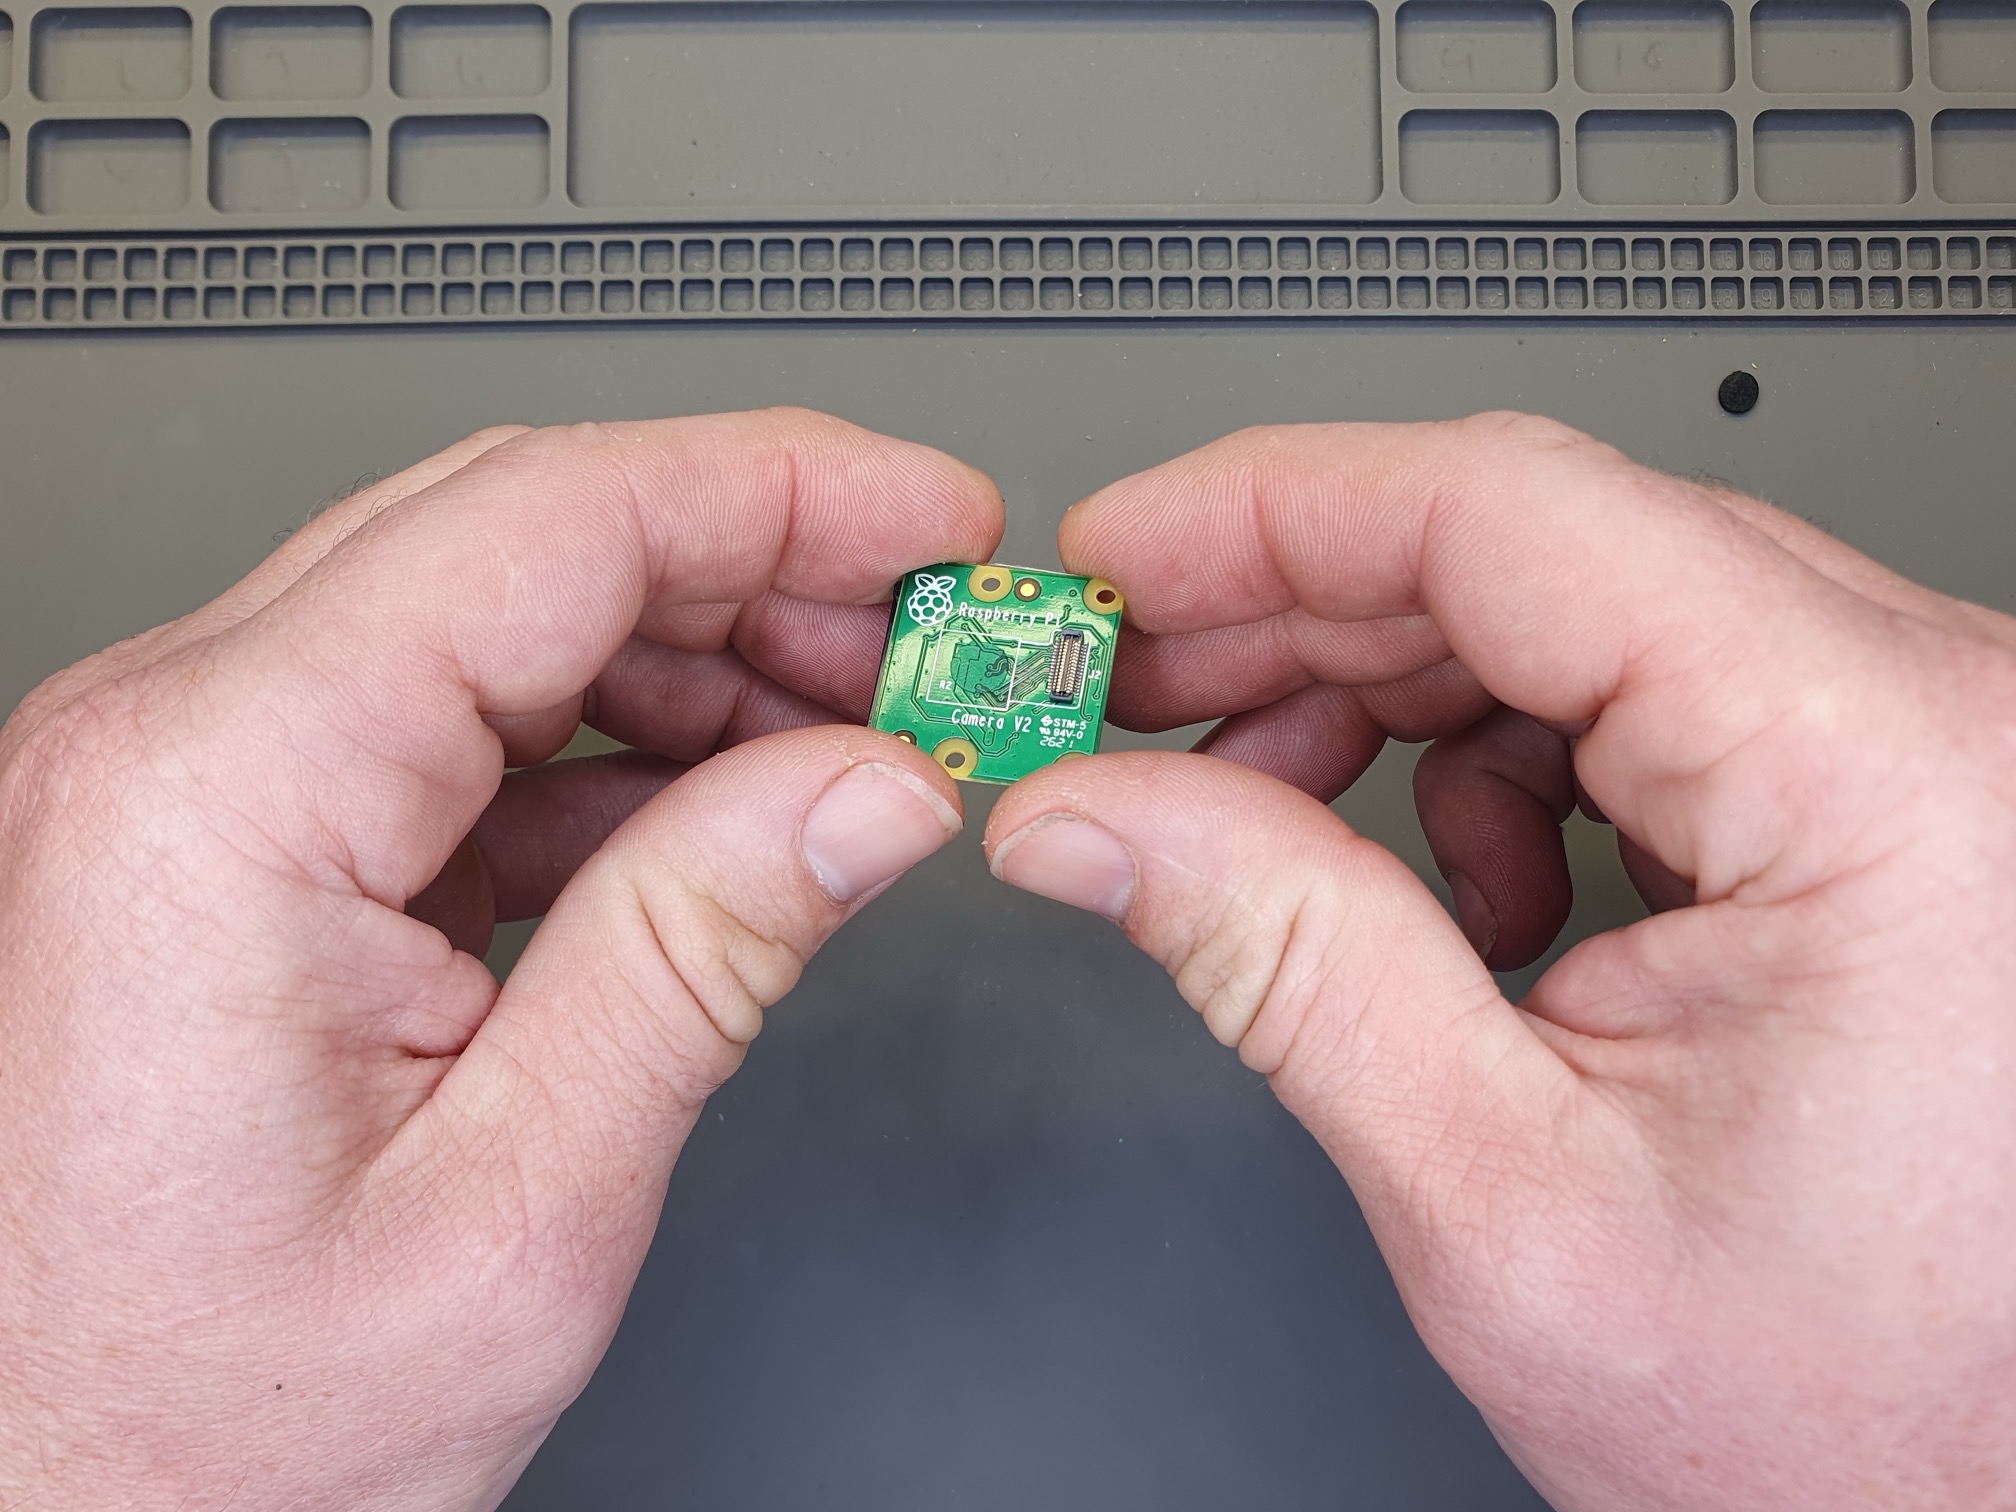
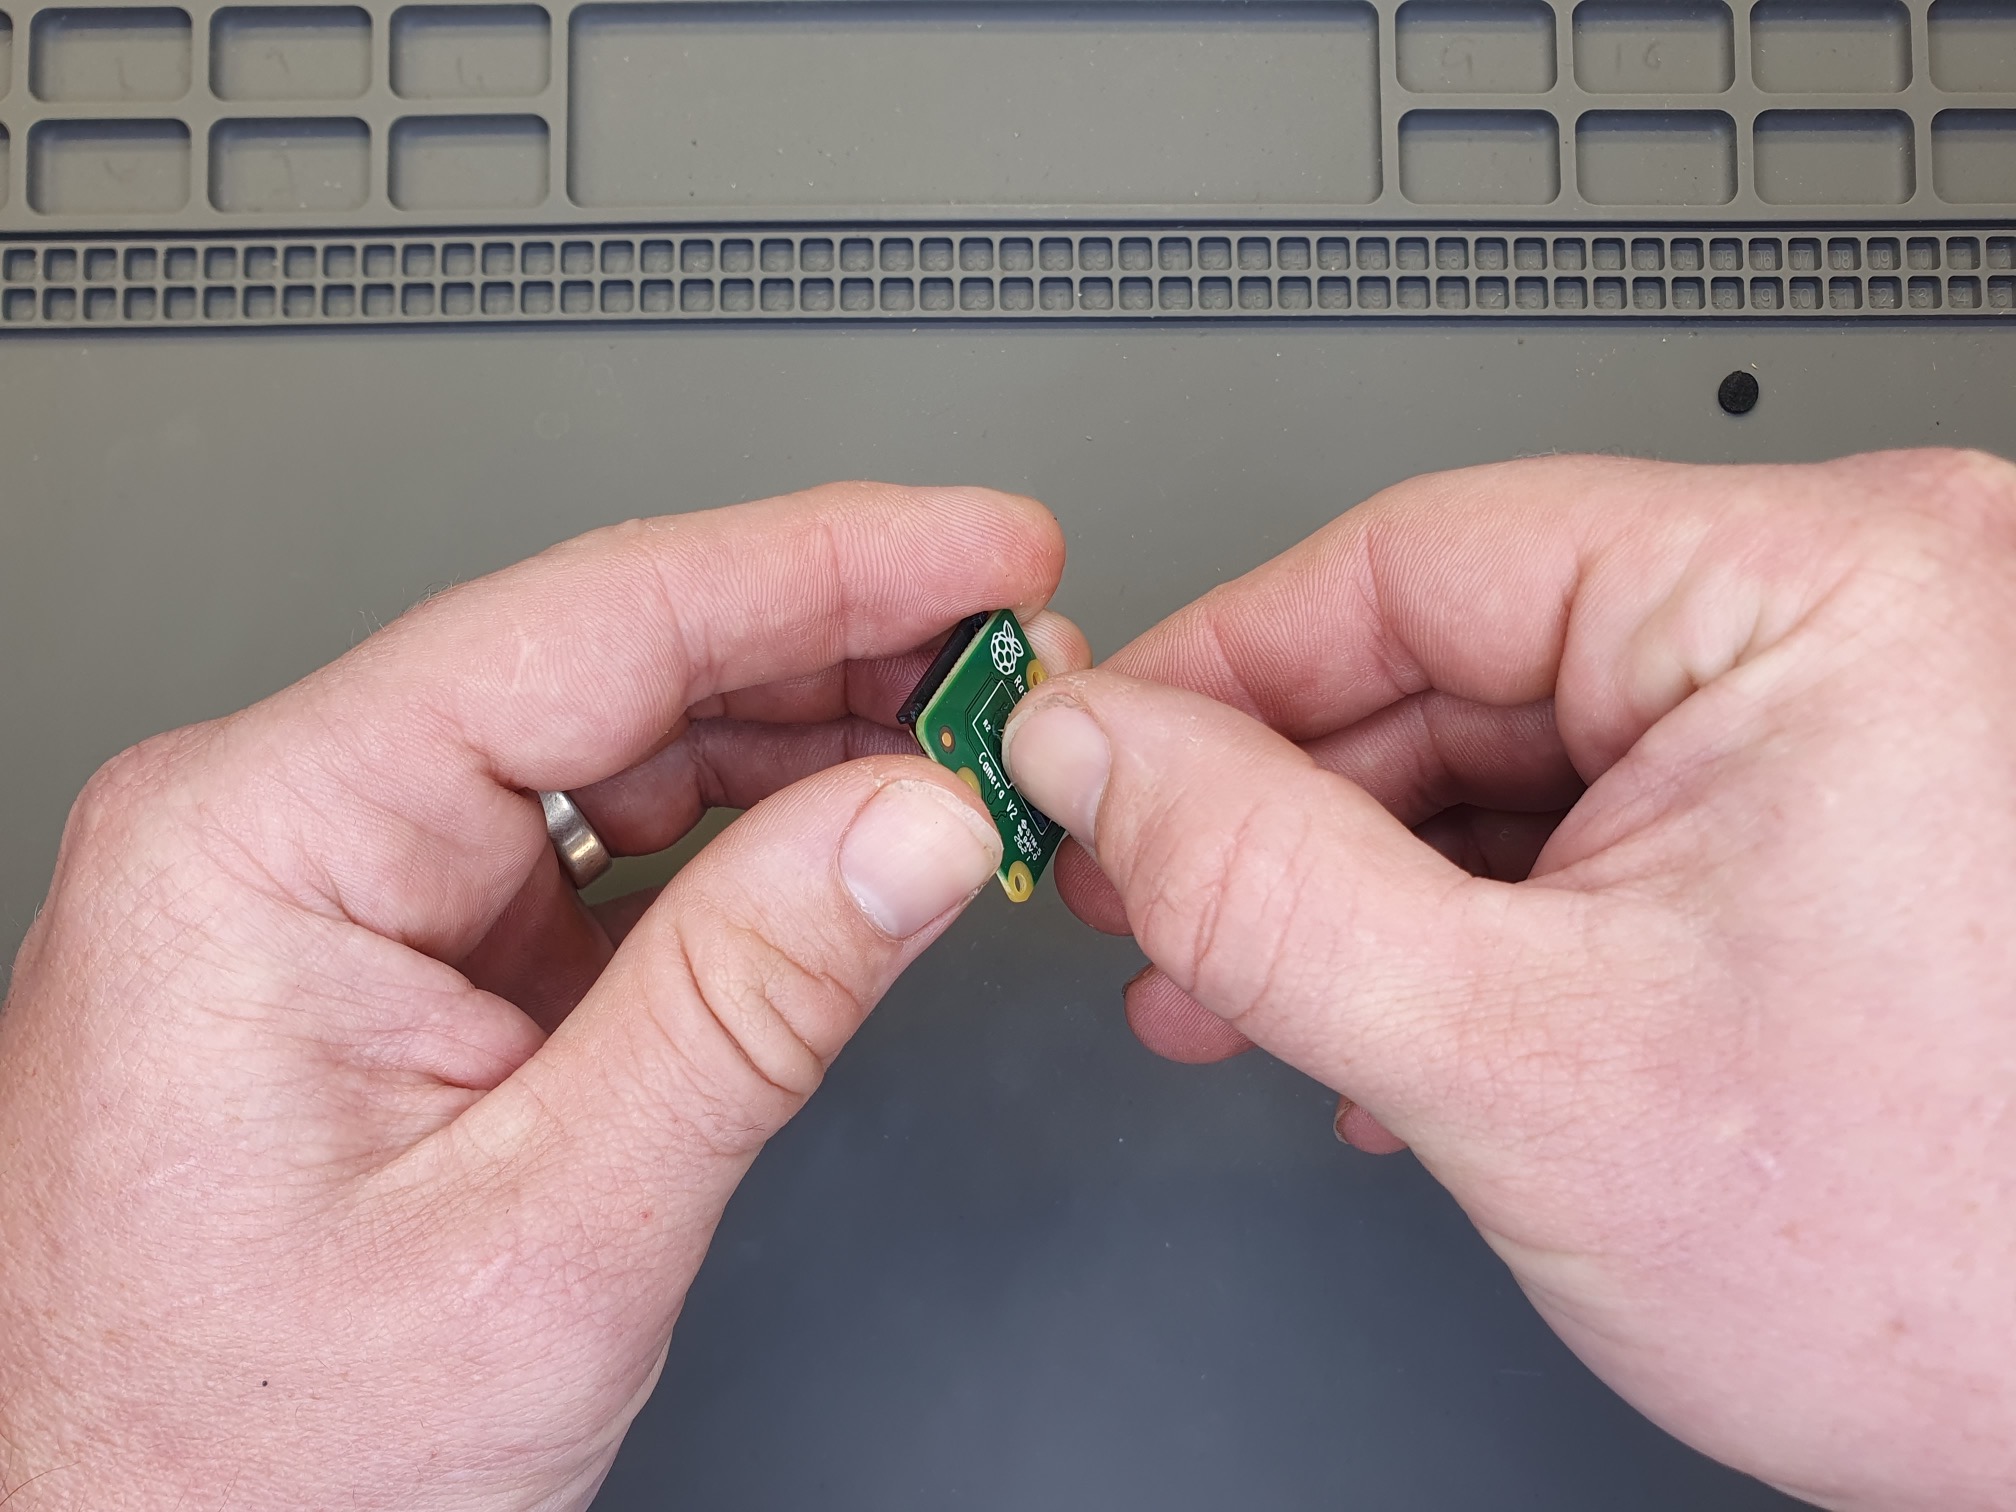
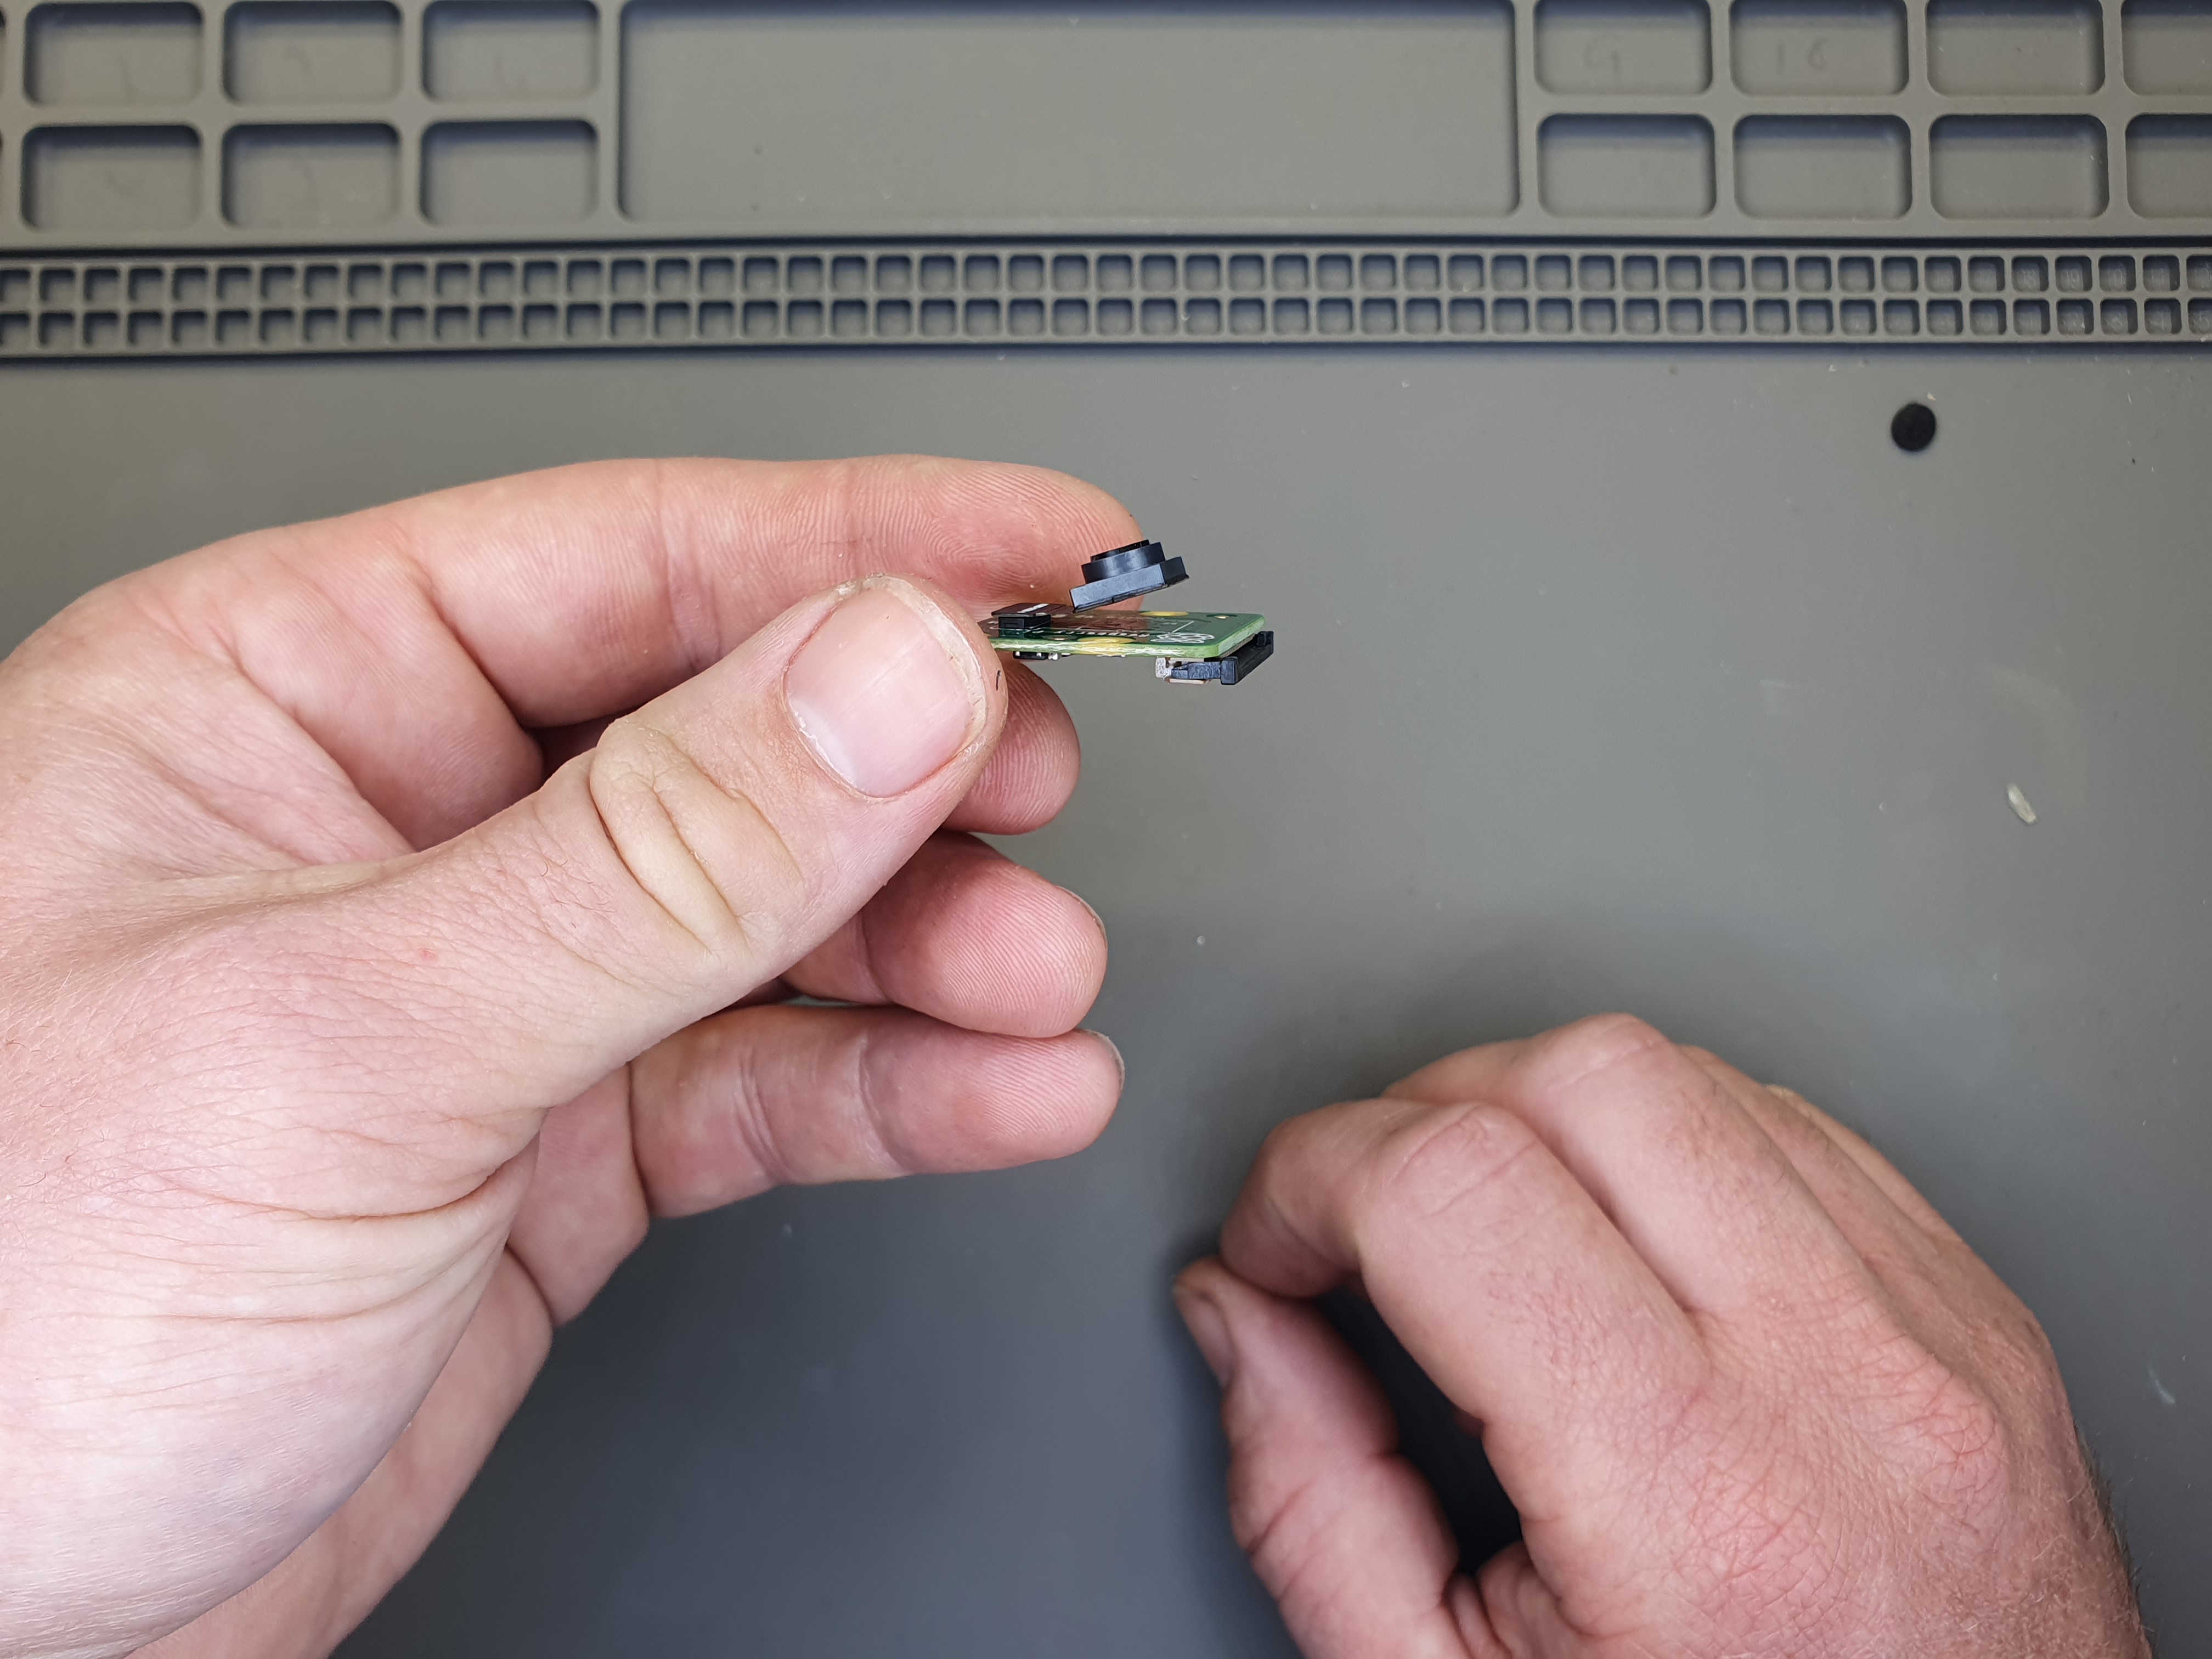
Step 2 - Detach camera sensor from the board
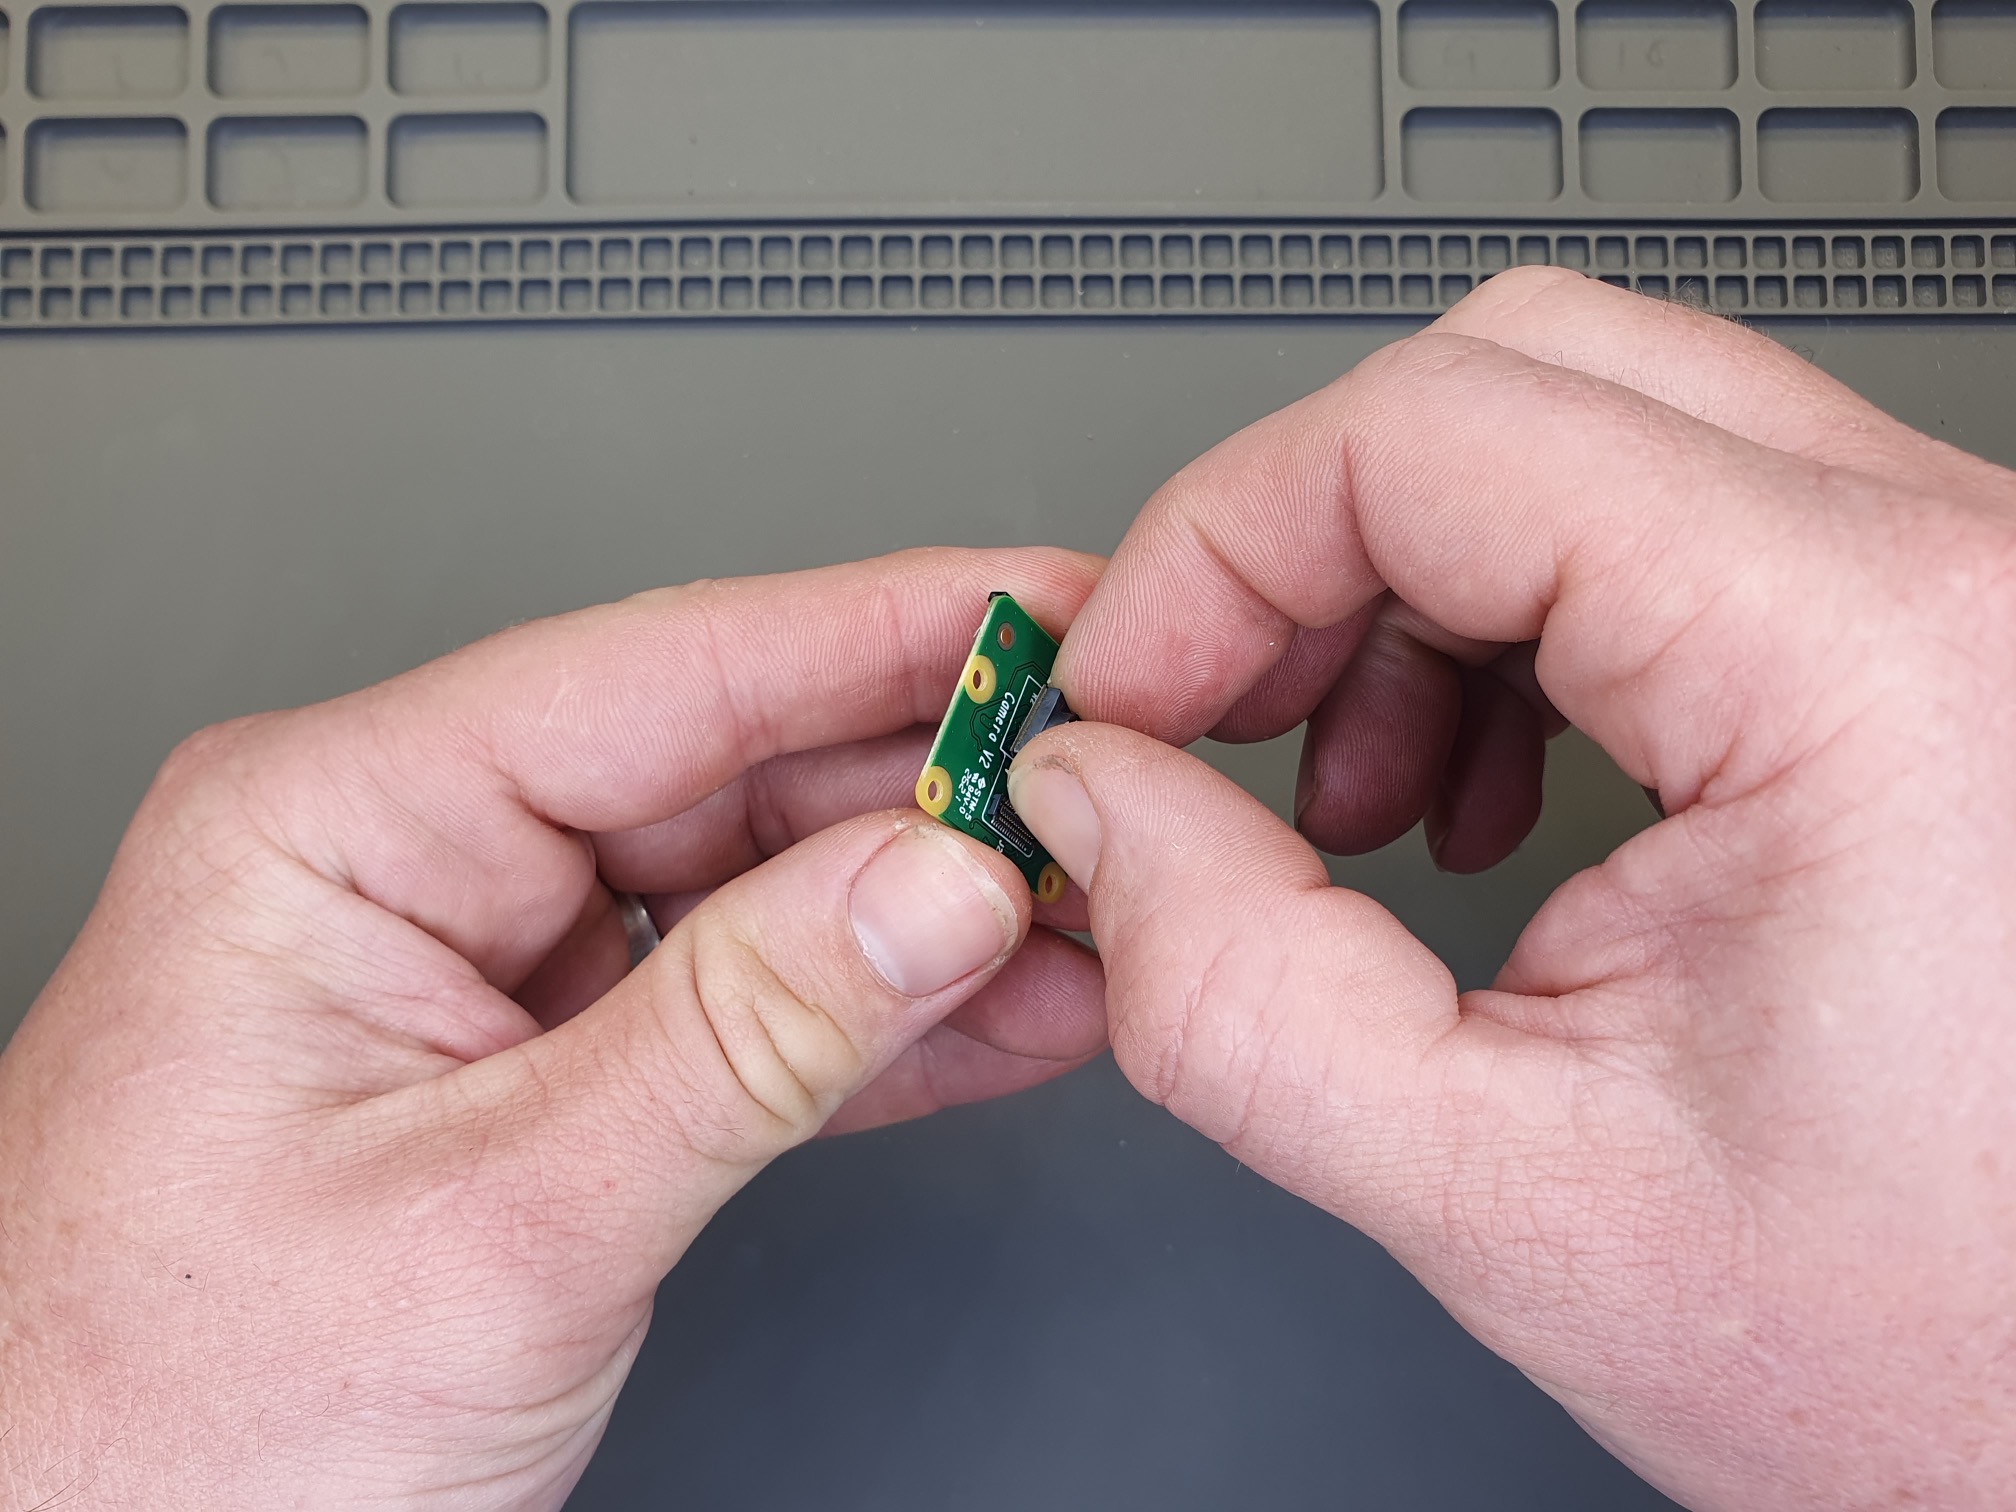
A piece of foam connects the camera sensor to the board.

Carefully hold the camera sensor and rotate, twisting the foam until the camera sensor has been freed.
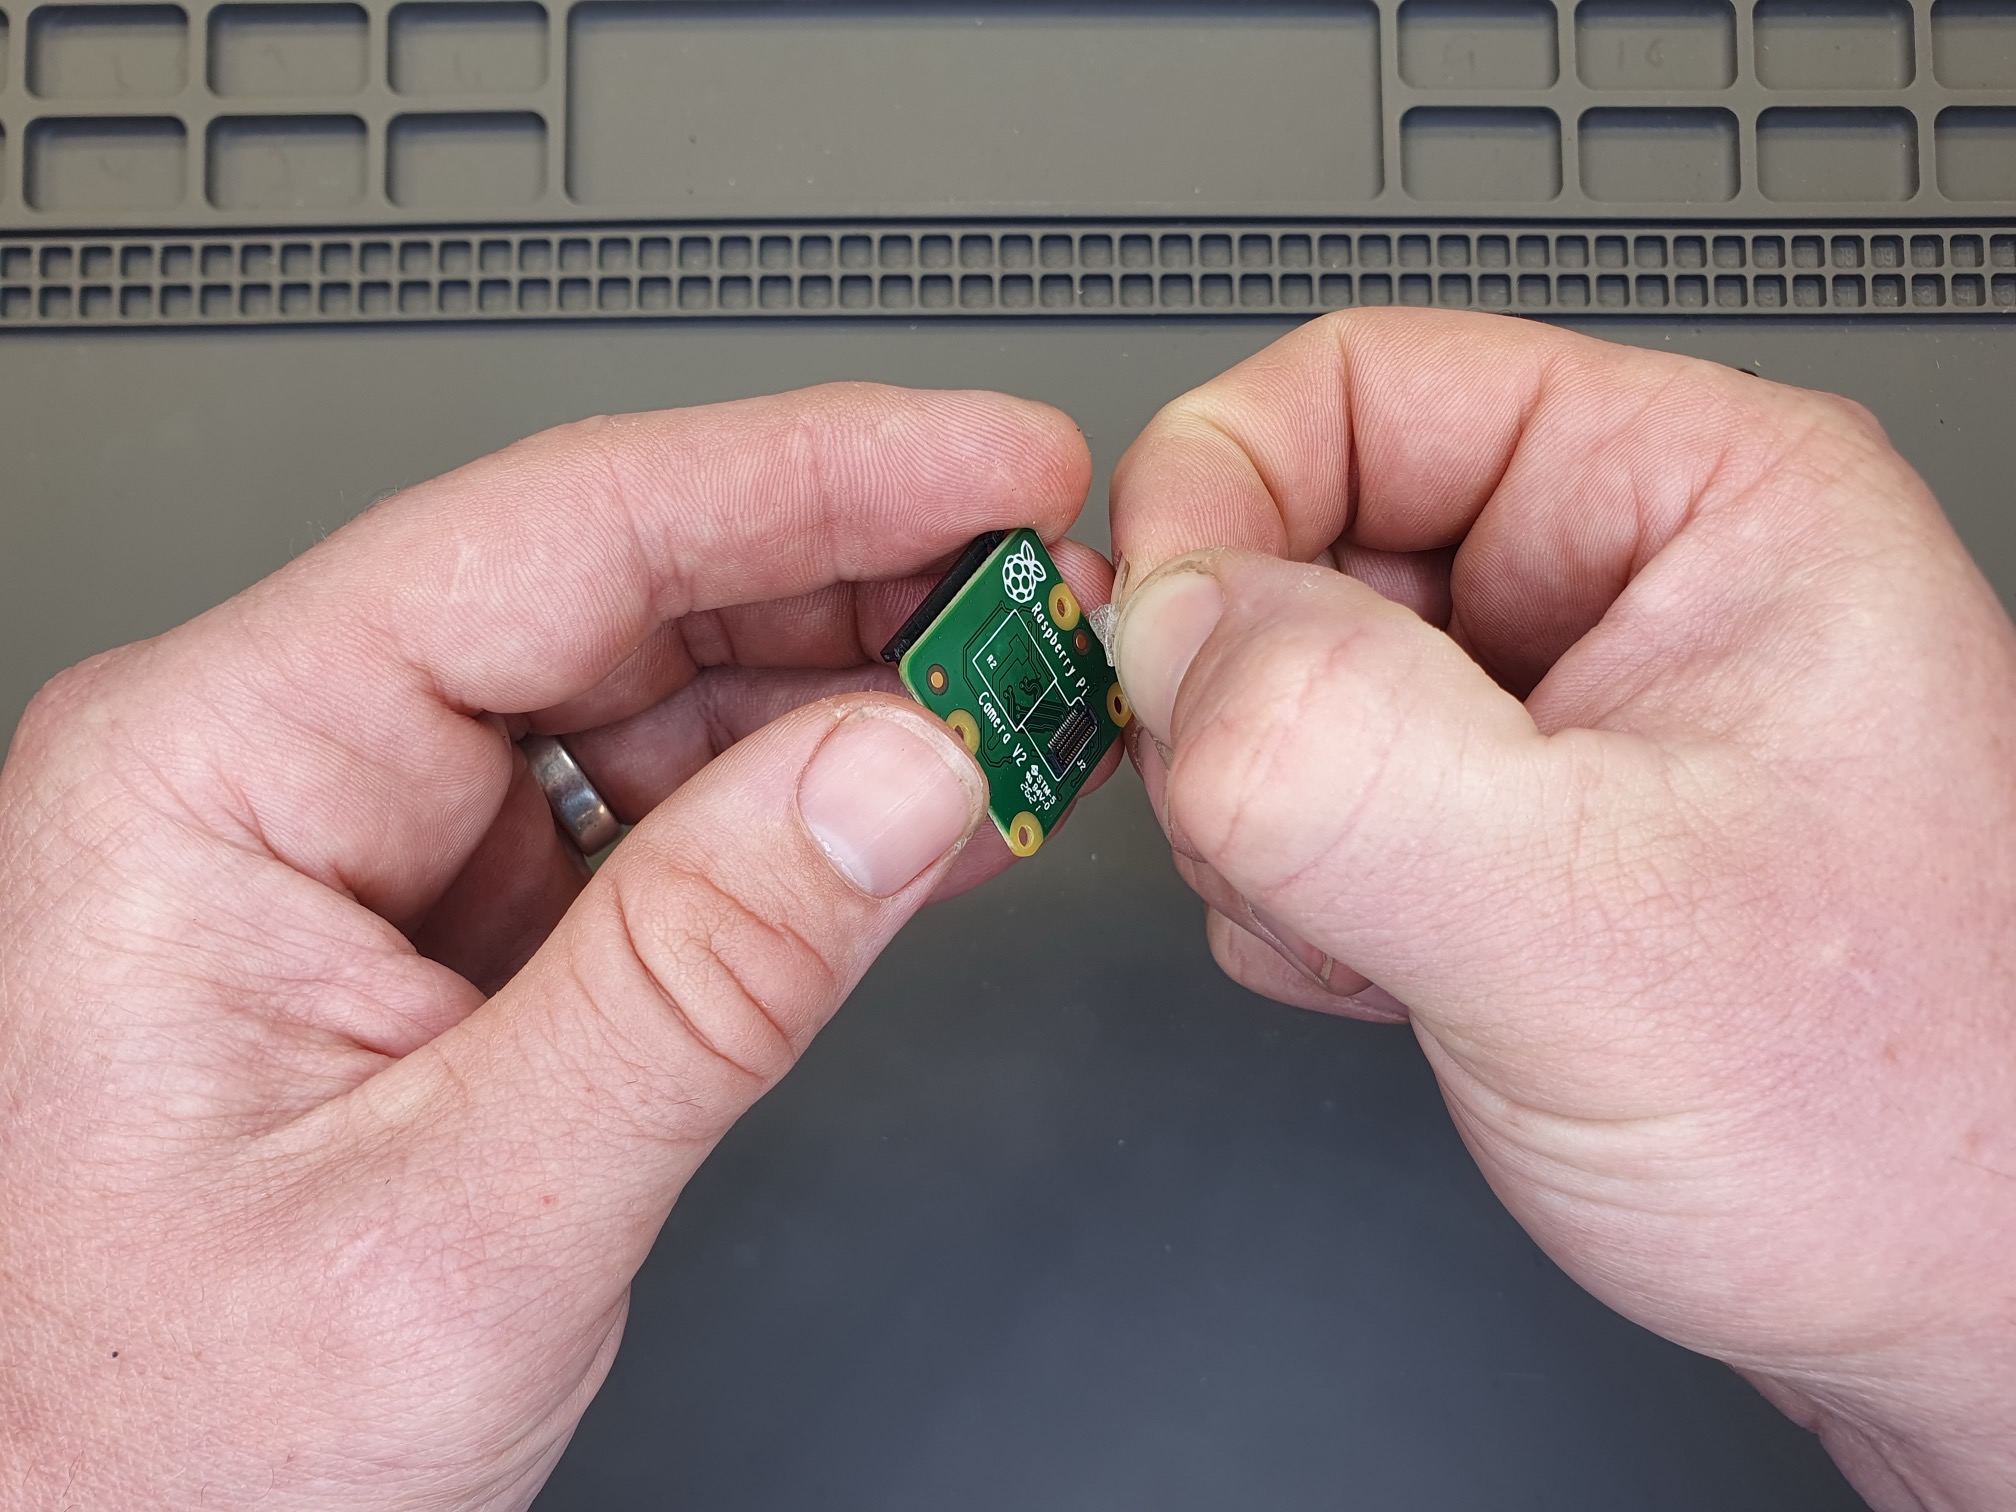
Remove the foam from the back of the camera sensor using a finger nail.
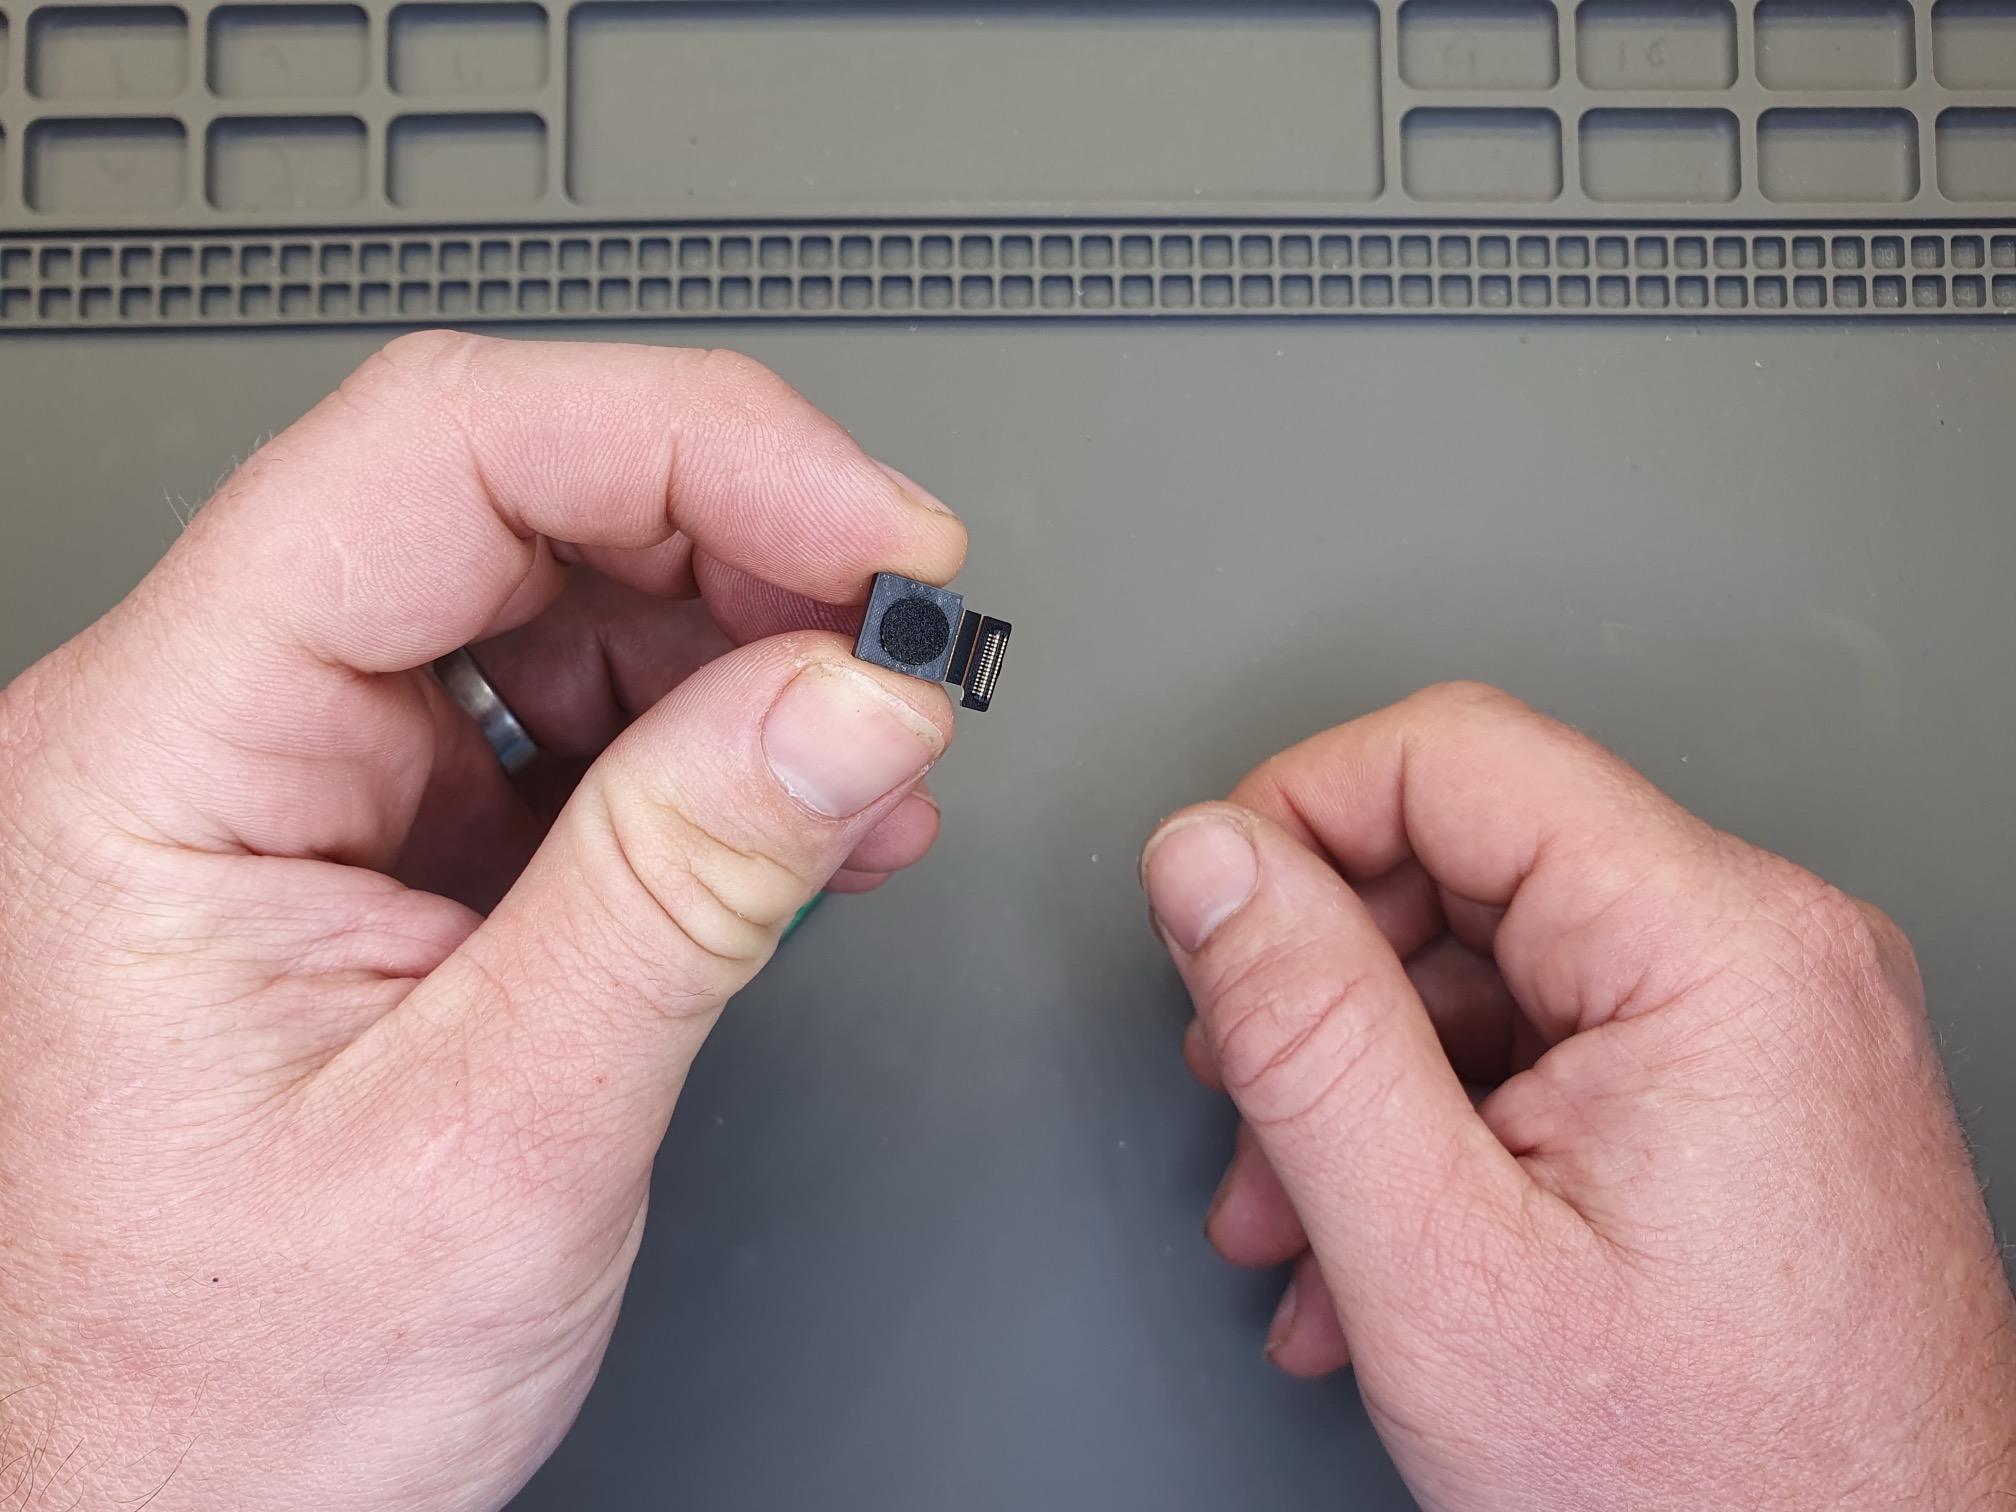
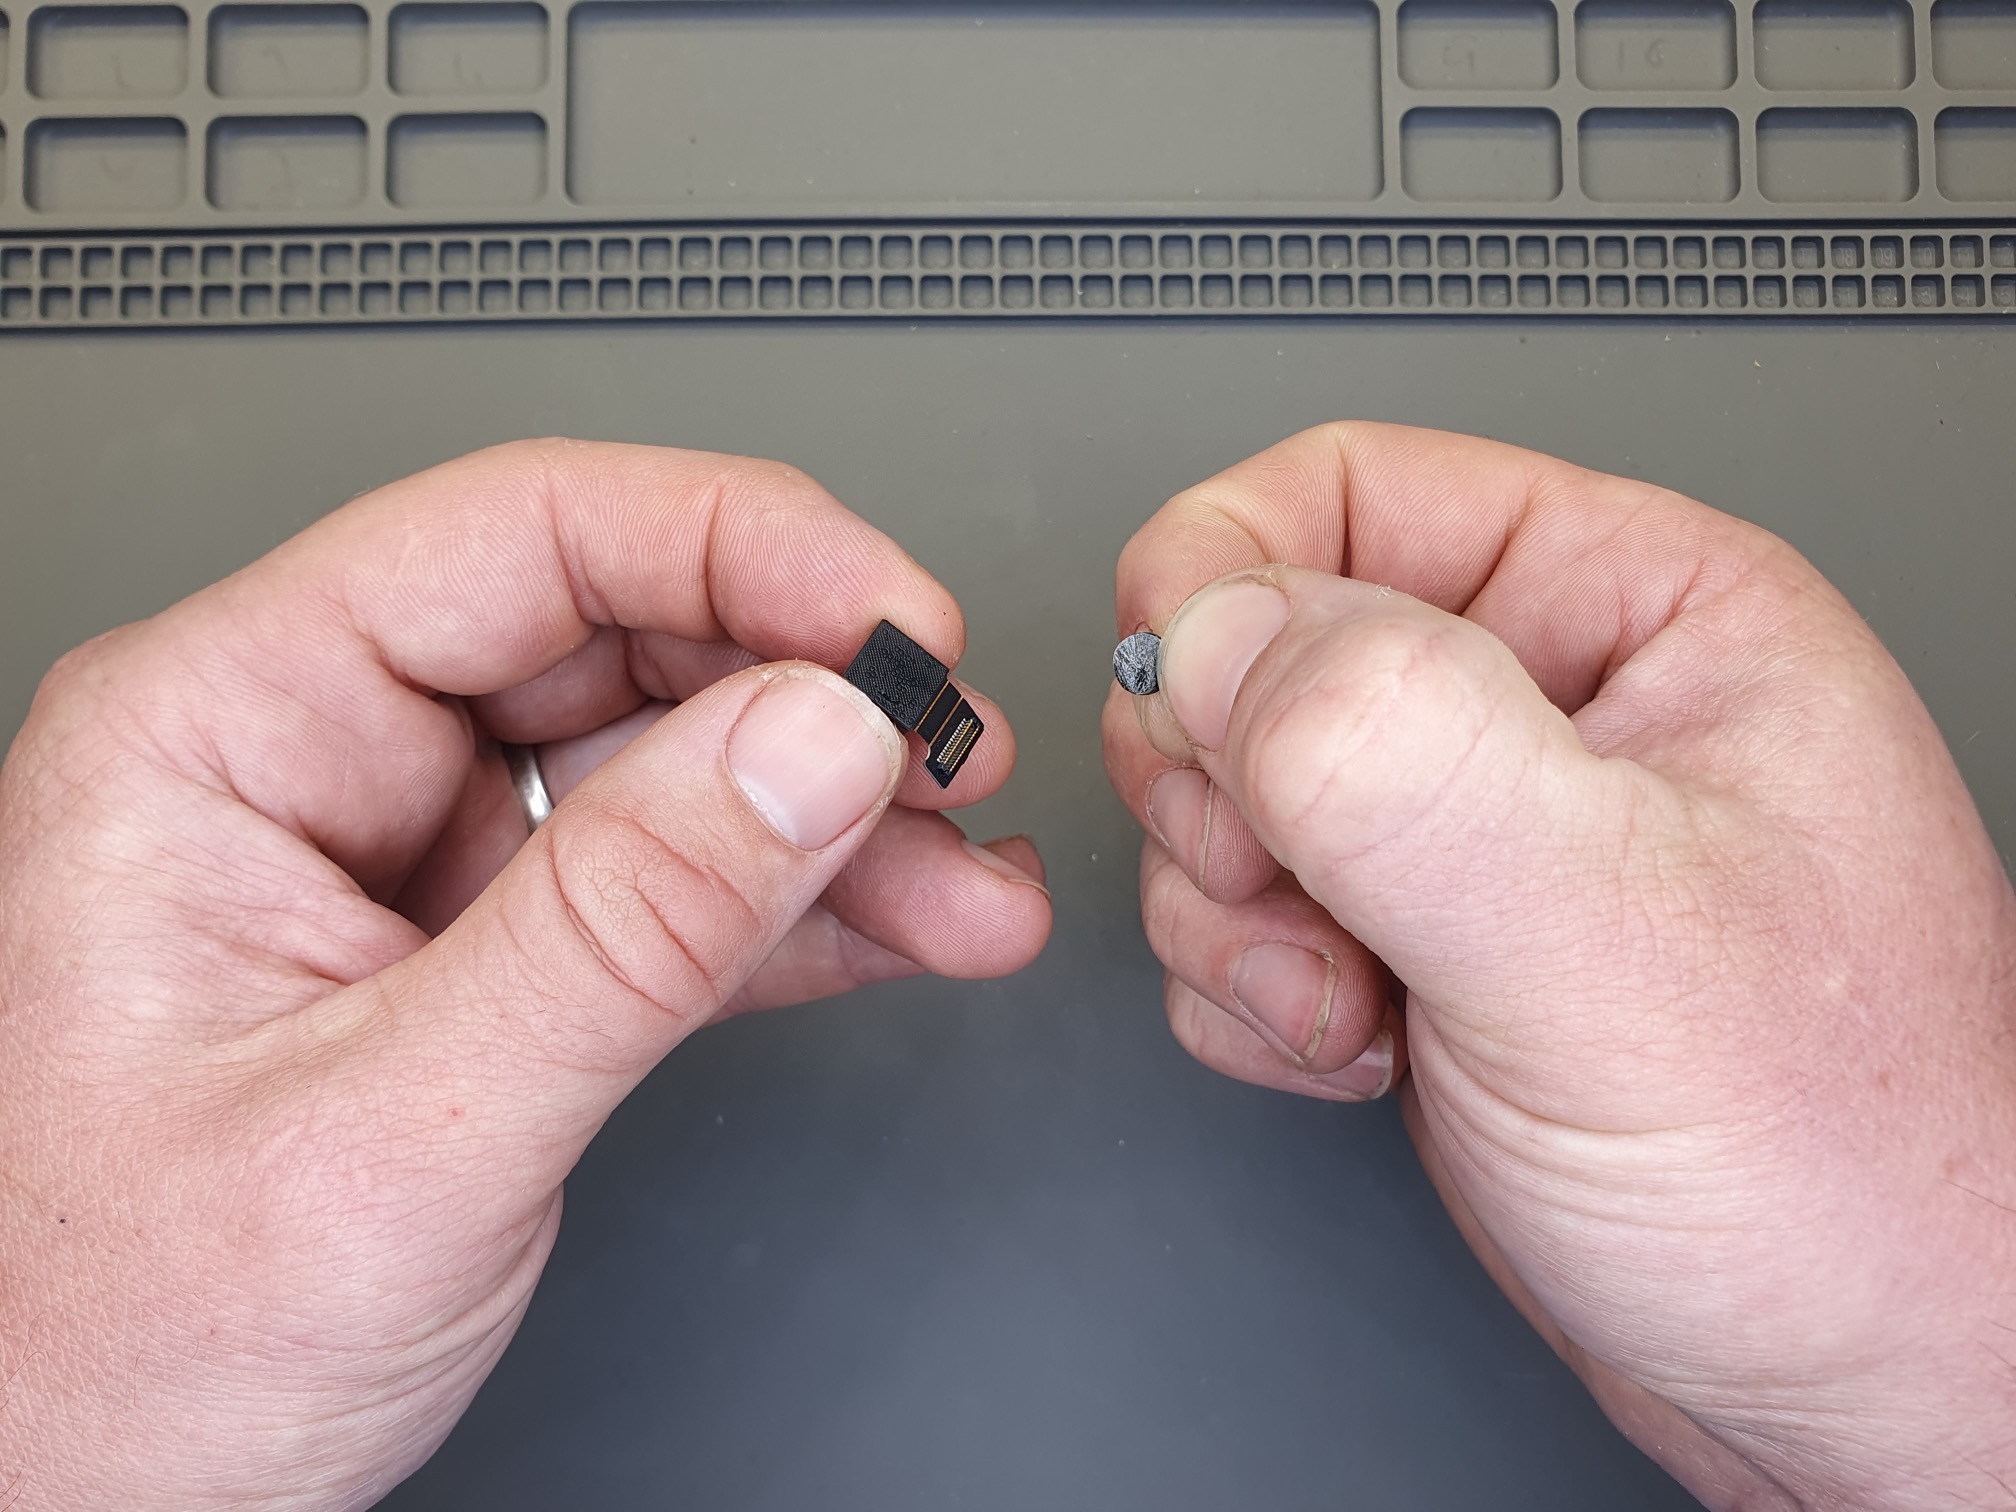
Remove any residual glue with a fingernail.
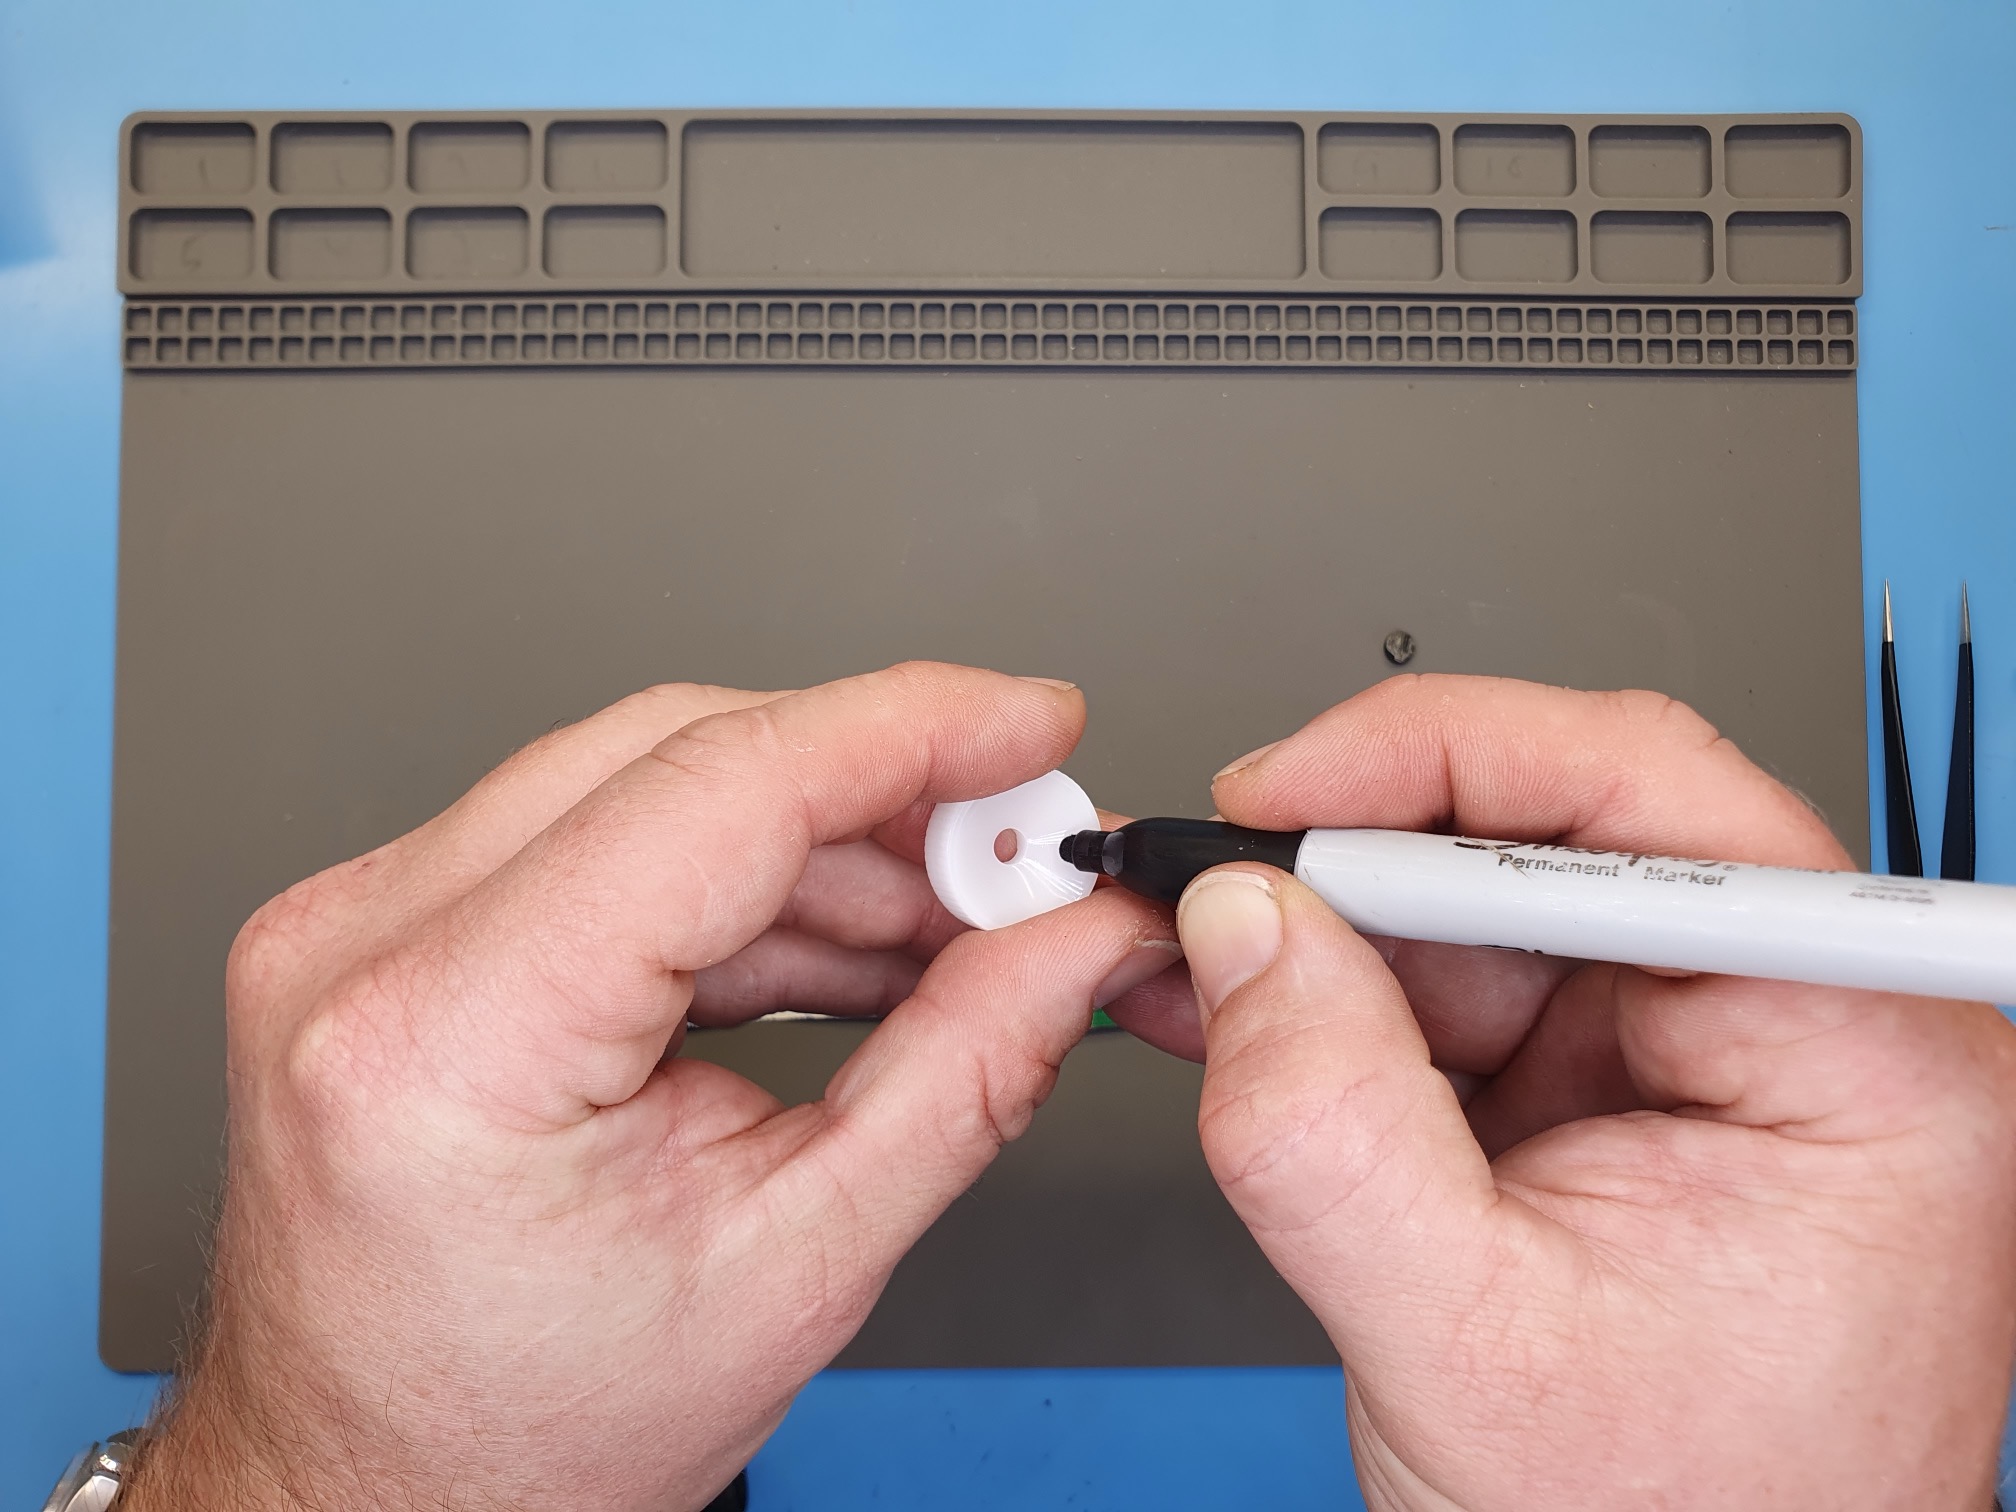
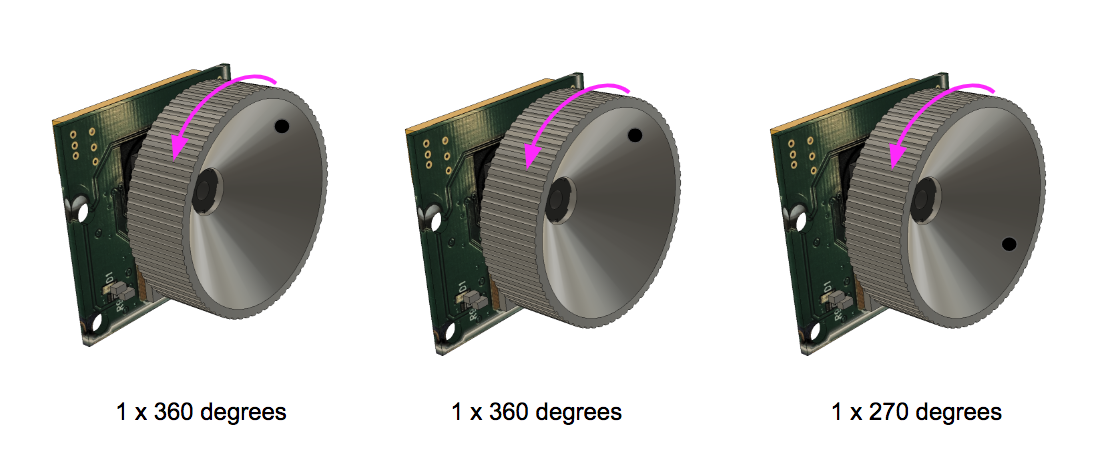
Step 3 - Adjust the focal length
Mark the lens adjustment tool with a single dot. This will help keep track of the number of rotations.
Attach and hold the lens adjustment tool against the camera ball lens
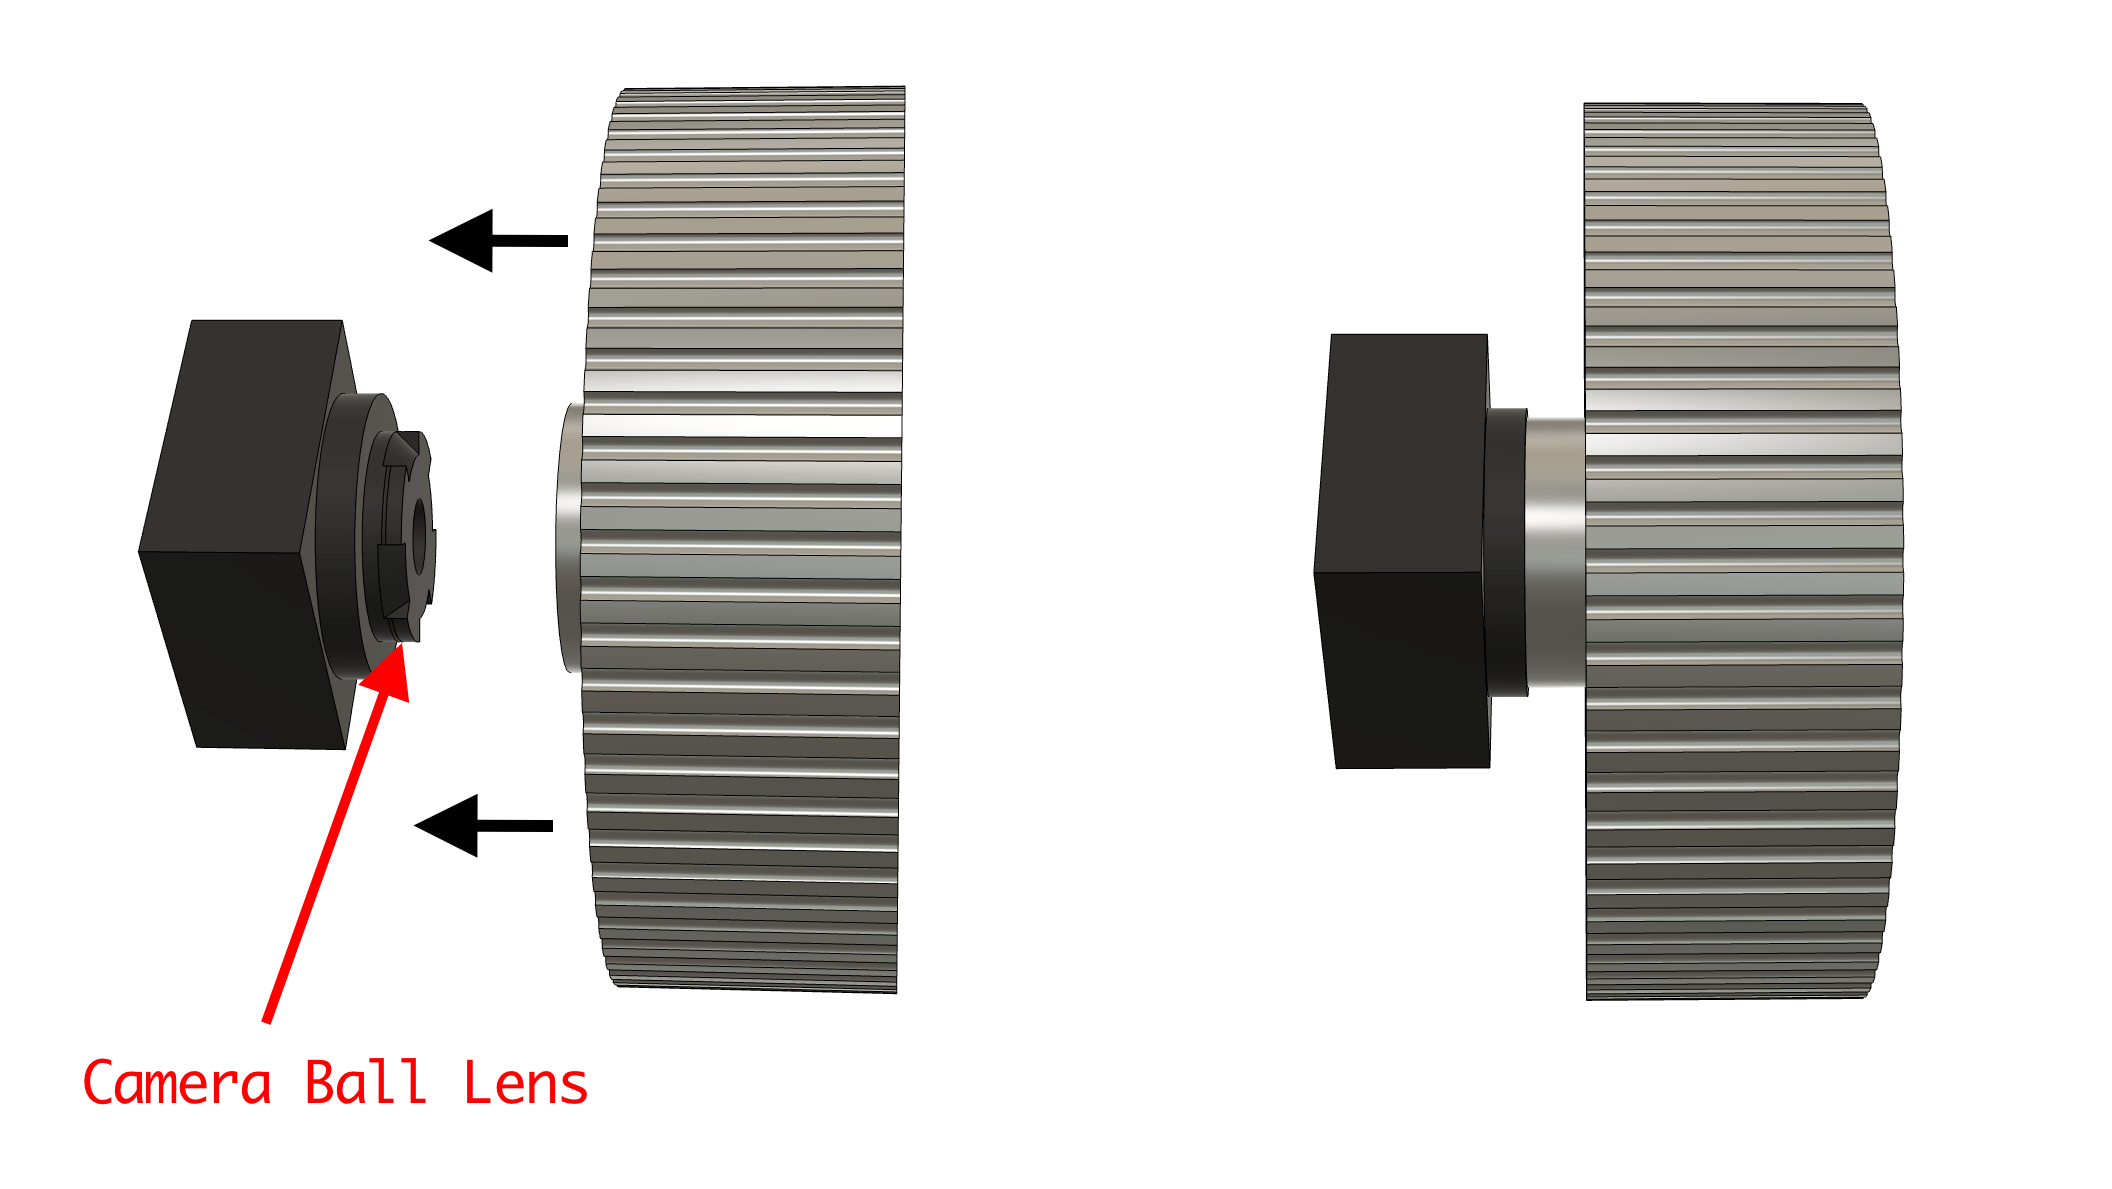

Unscrew (anti-clockwise) the ball lens 2 full turns and 1 3/4 turn to set an appropriate focal length. Use the mark as a guide.
Step 4 - Re-attach the camera tab
Align the tab connector and carefully press to connect.
Step 5 - Unscrew Camera Mount Screws
Unscrew and remove the two M2 screws as shown.

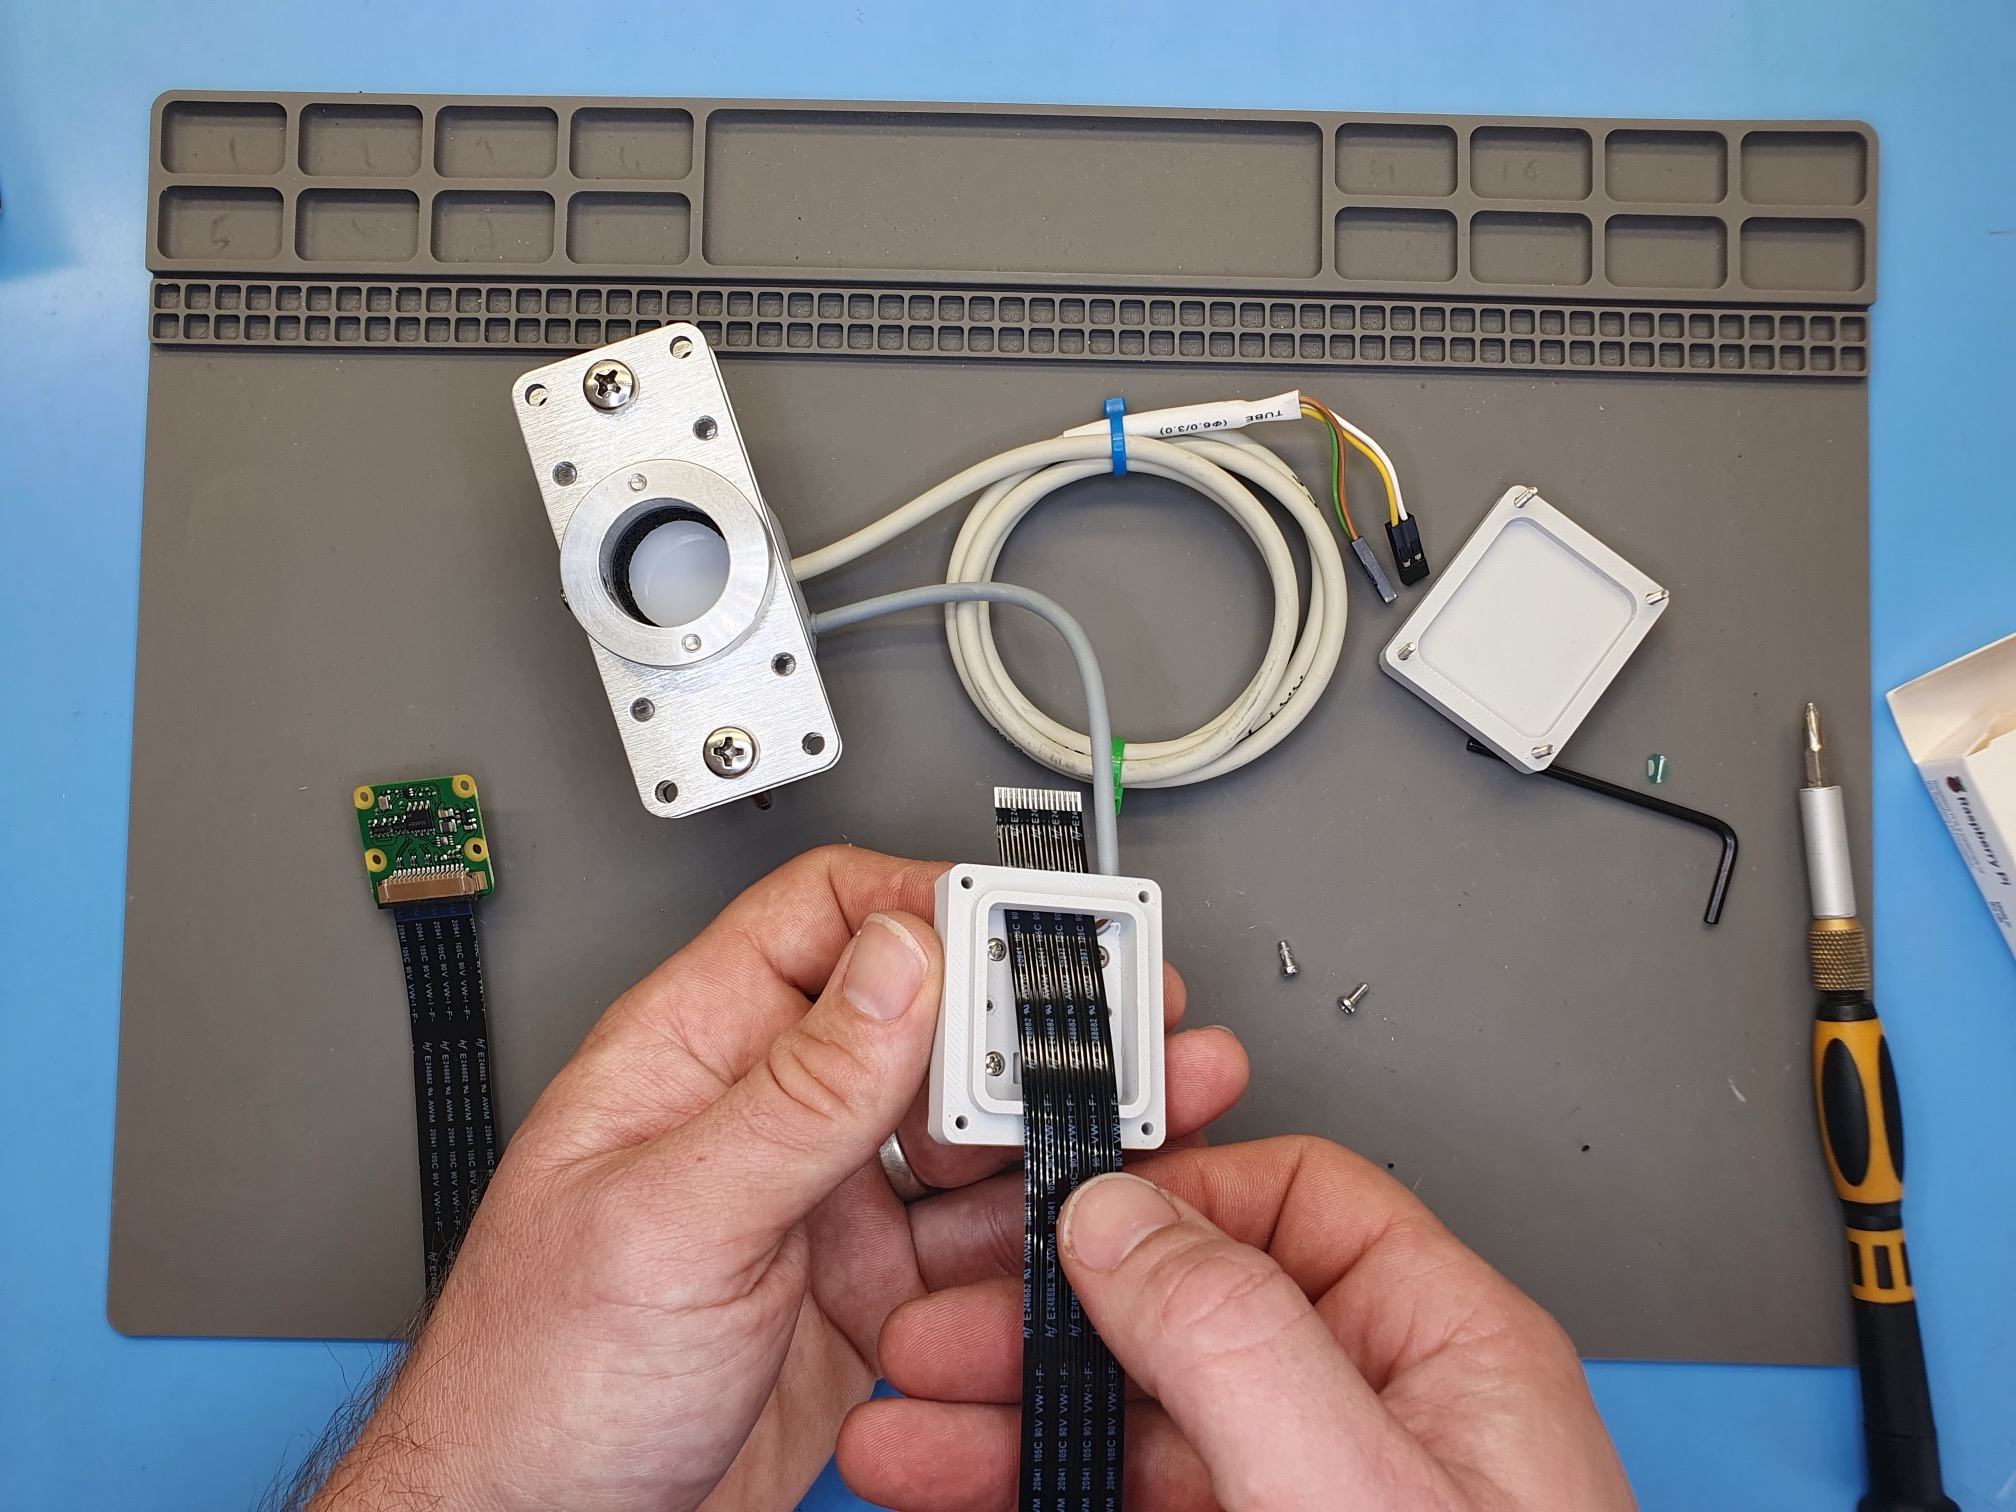
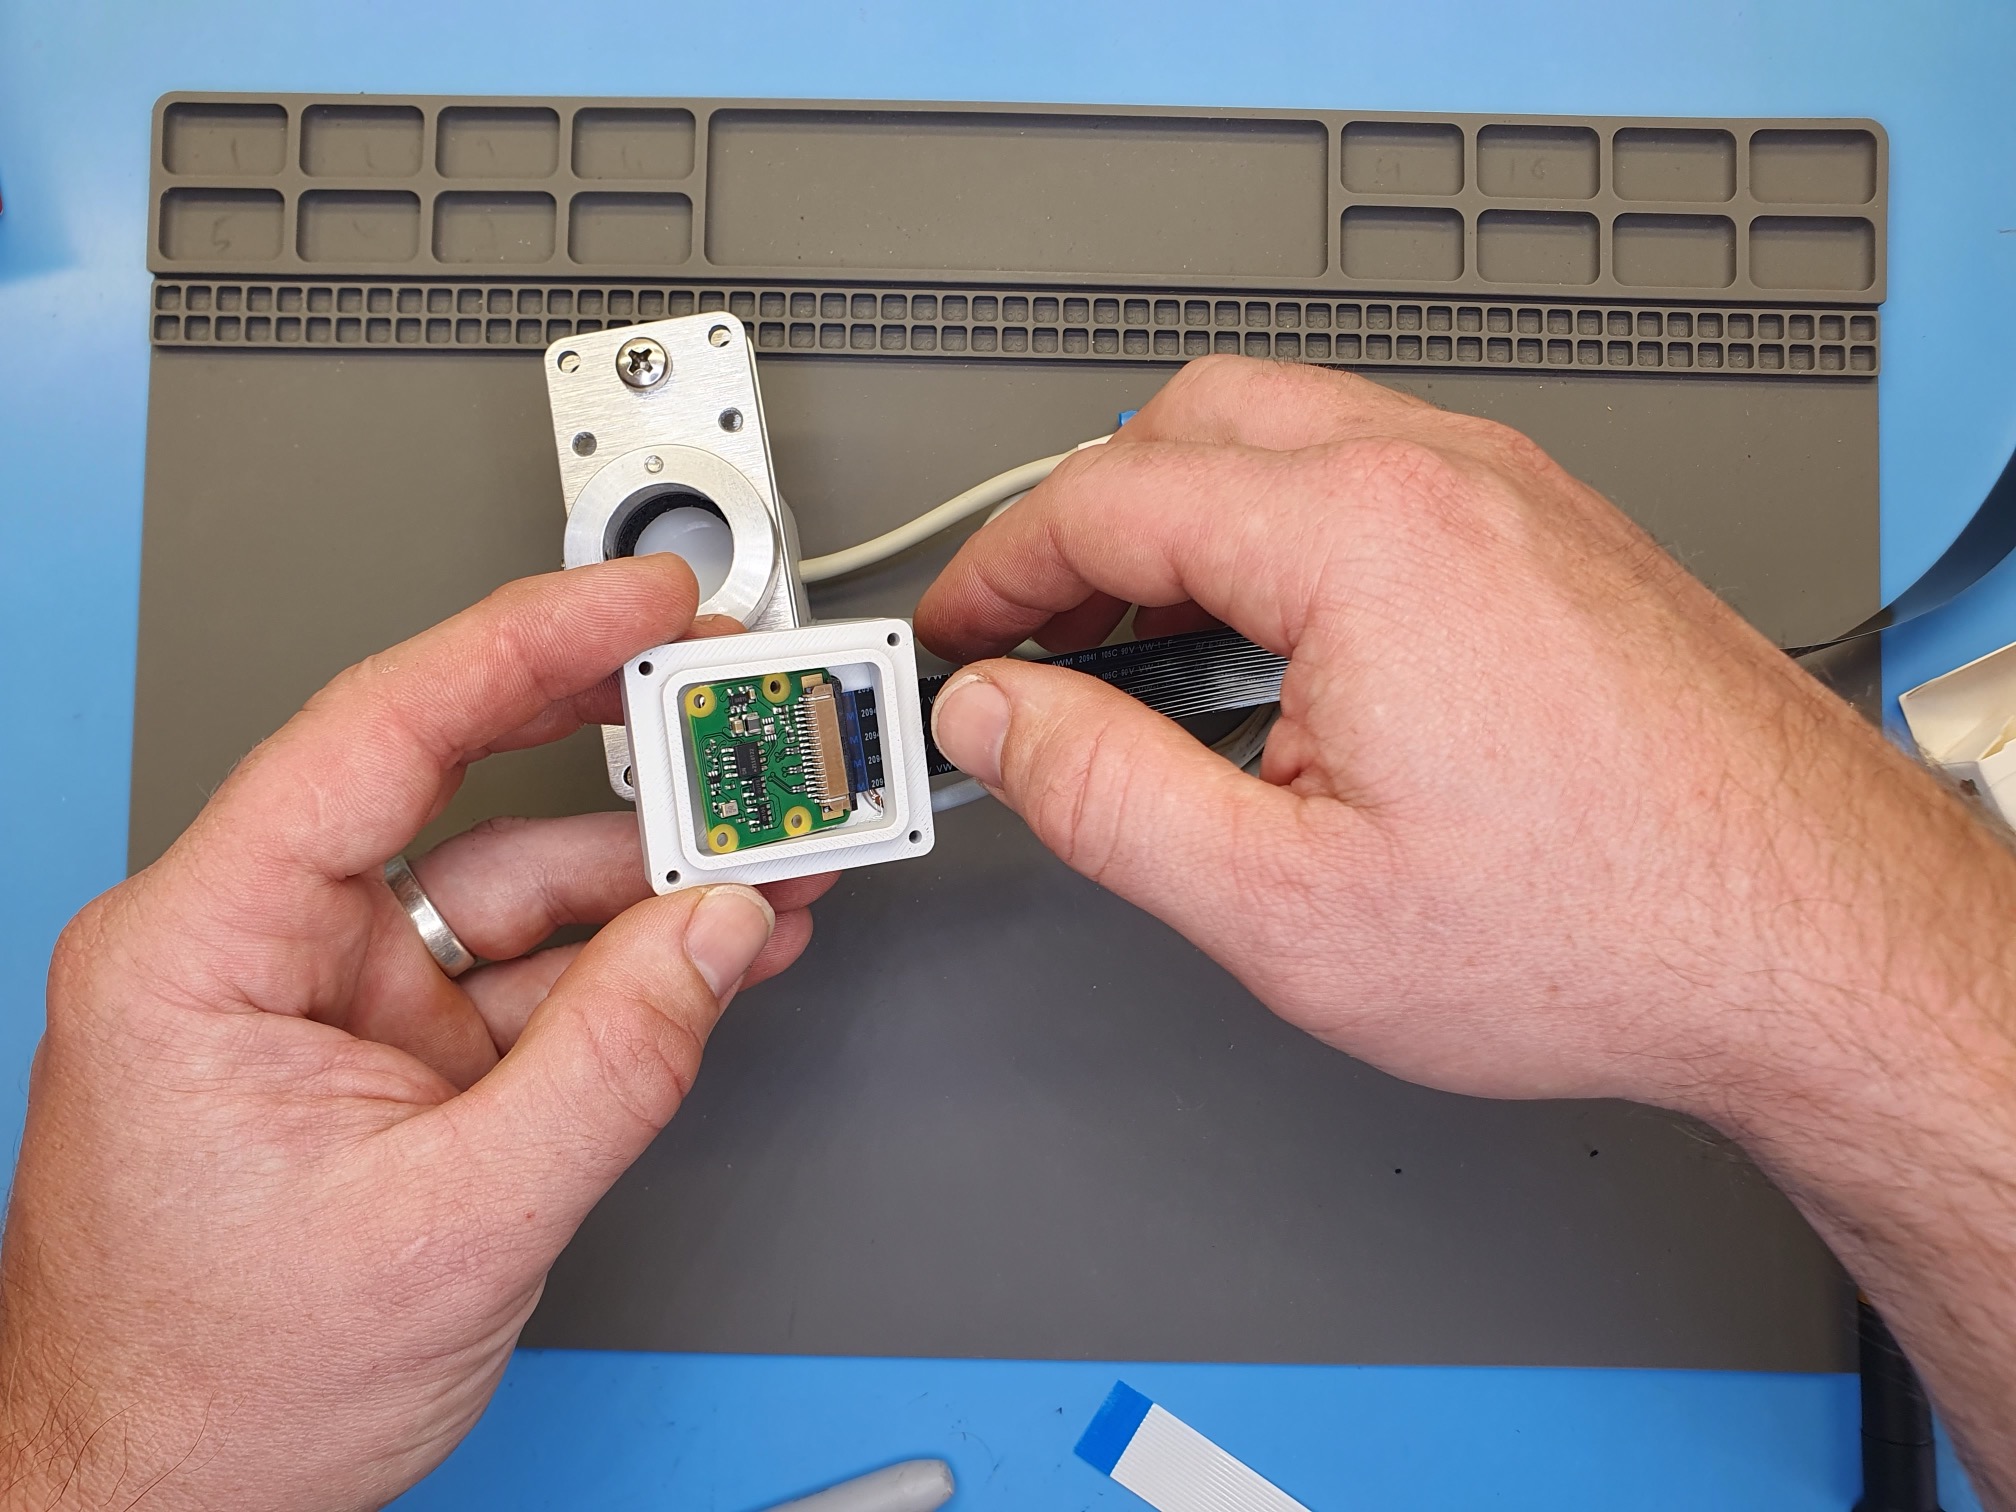
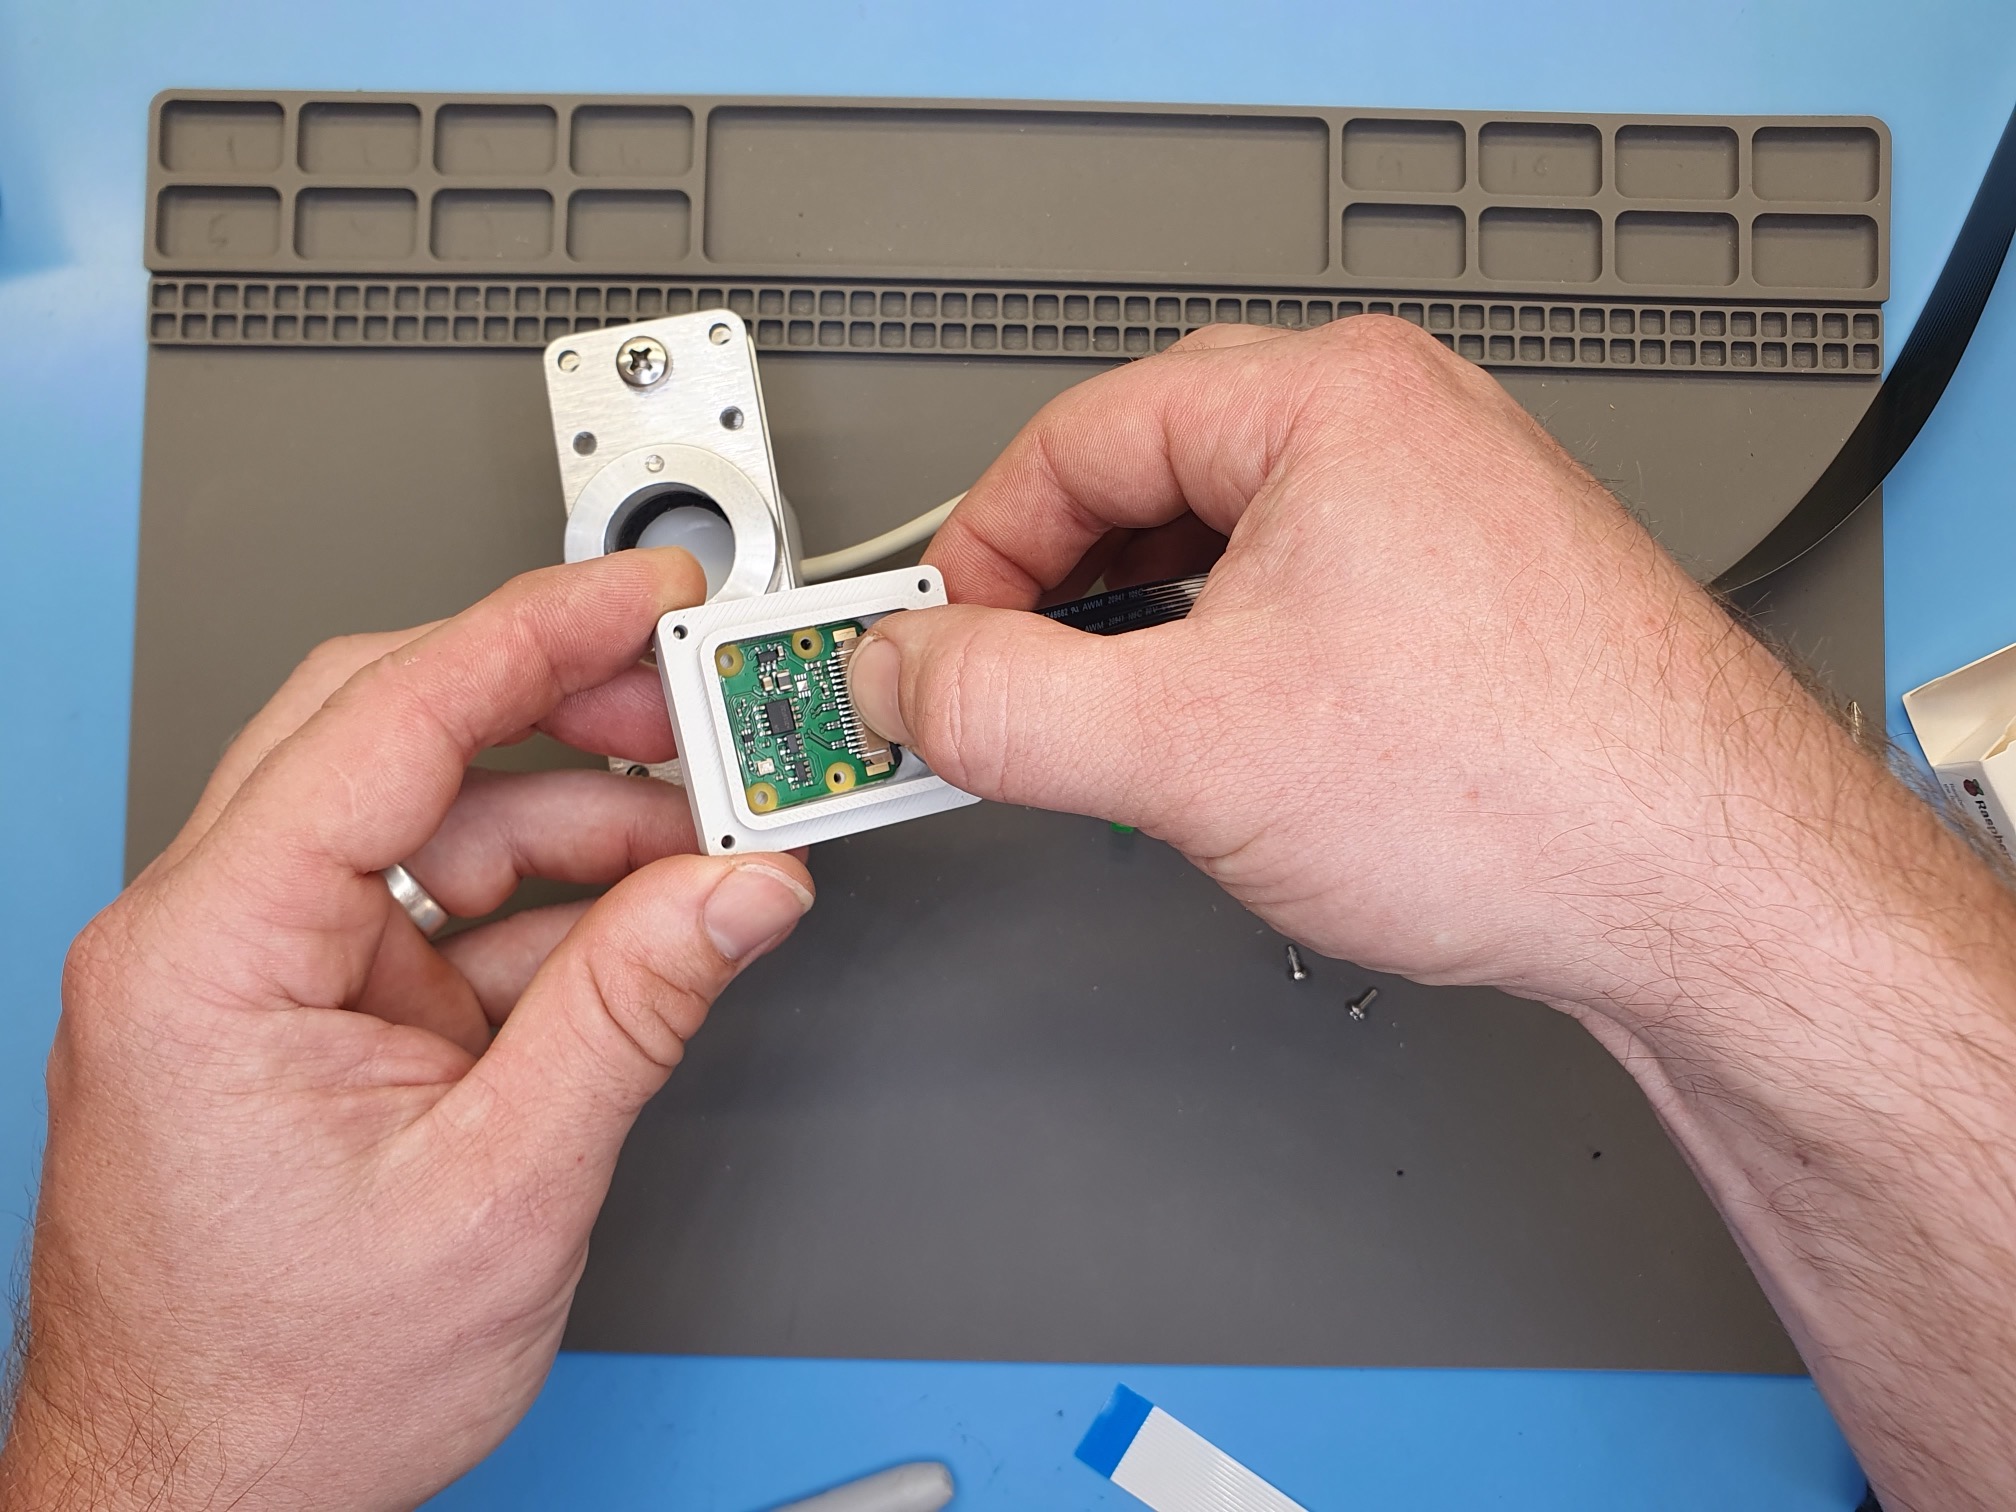
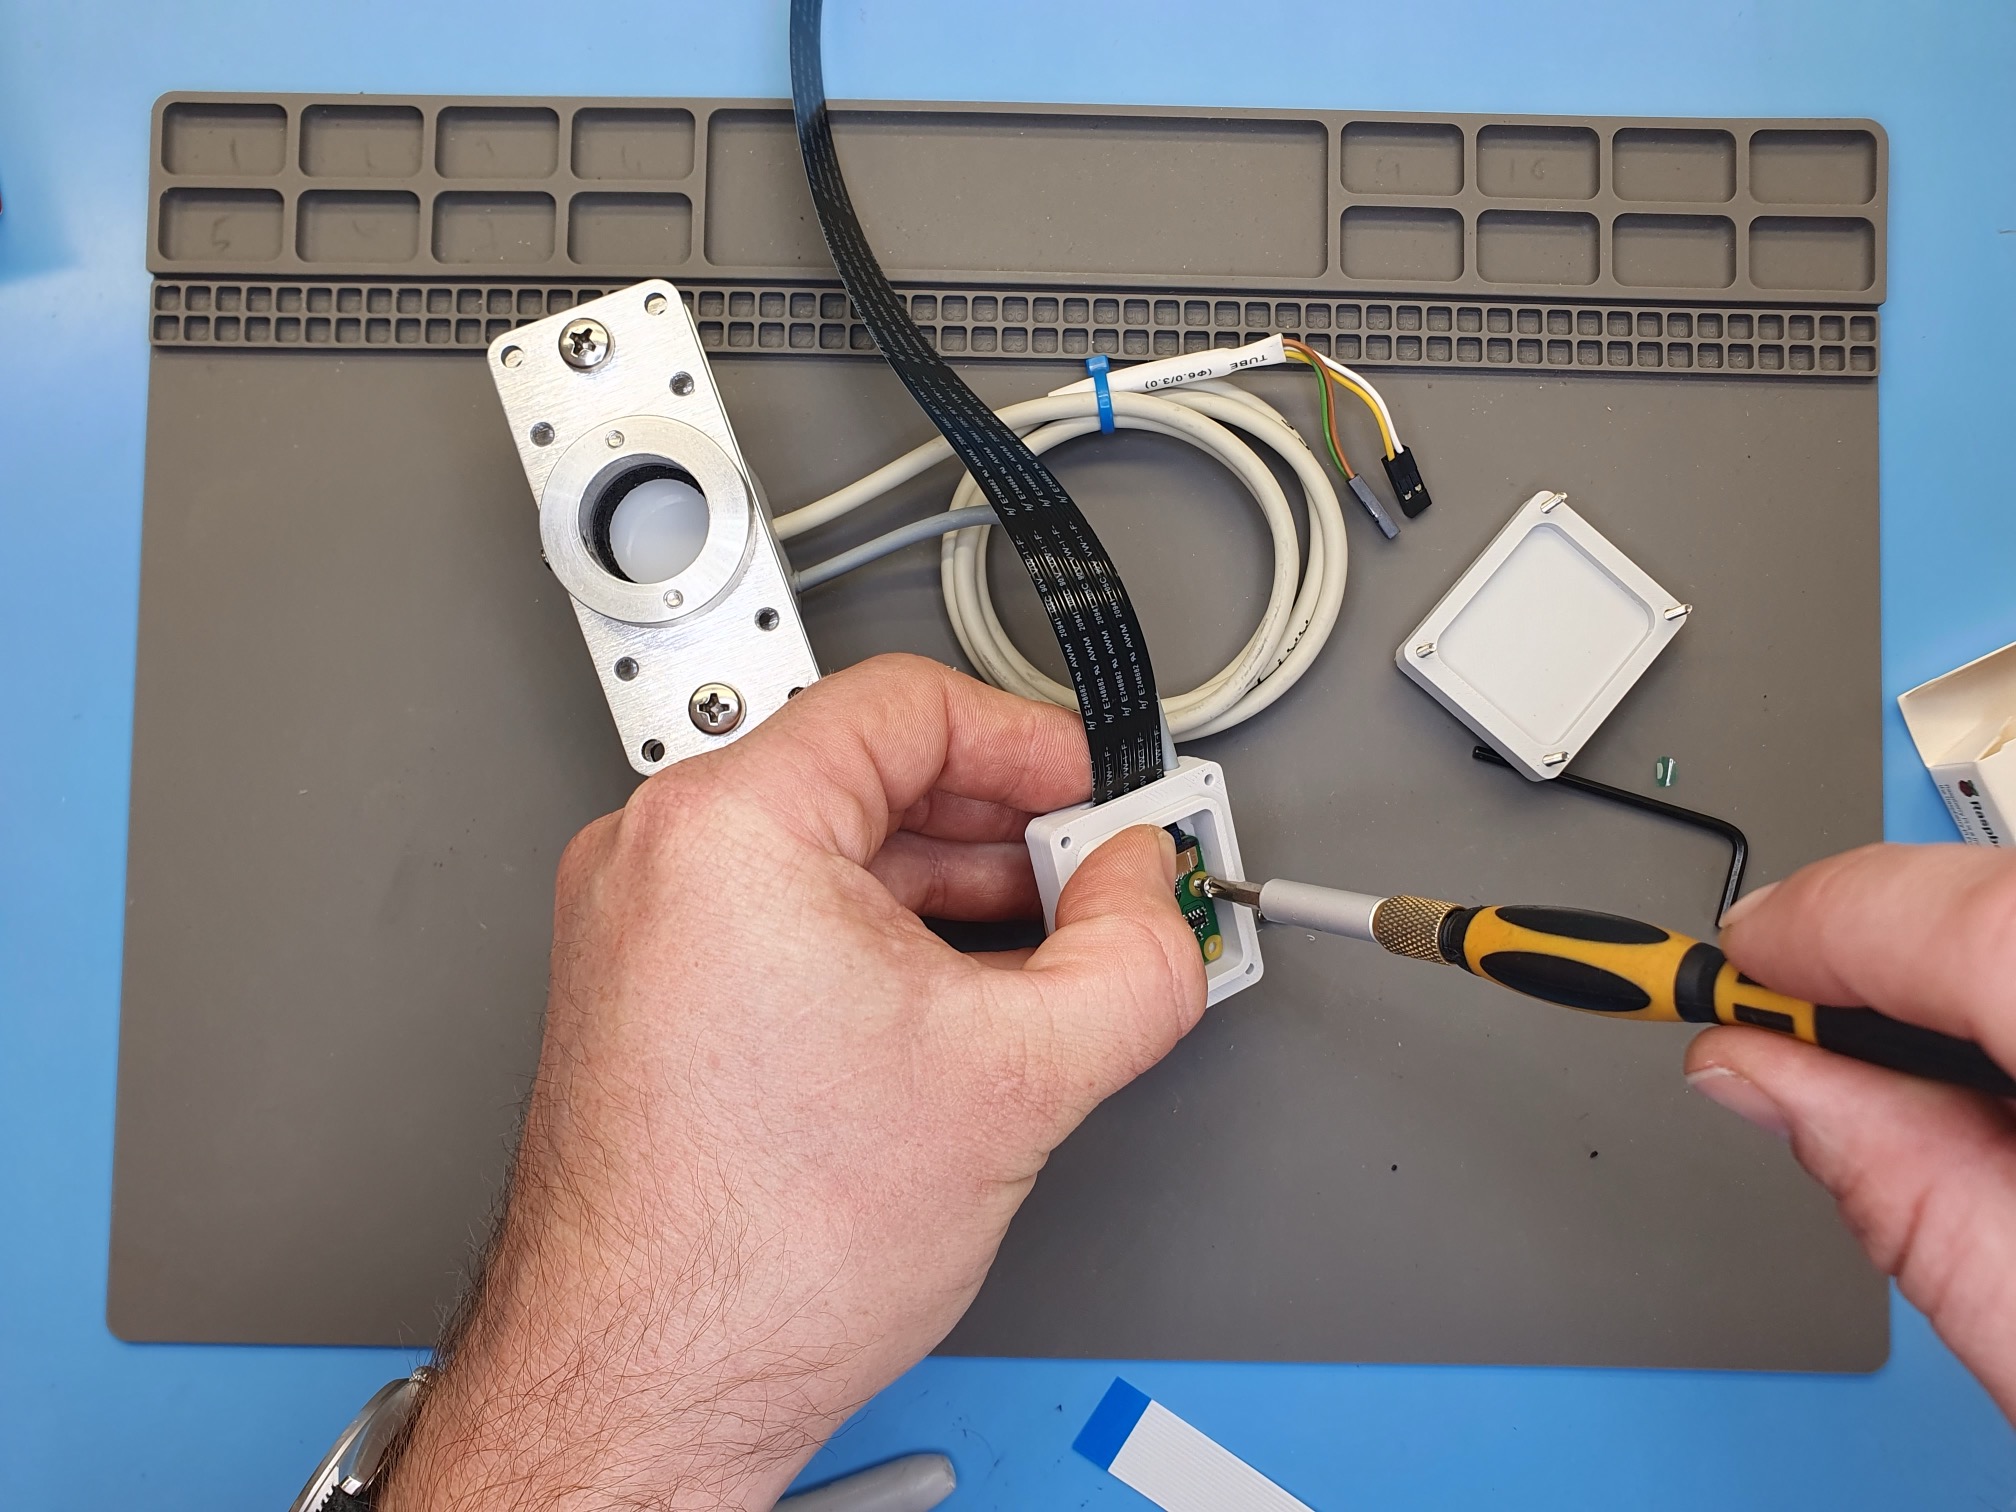
Step 6 - Insert Camera
Insert the camera by feeding the ribbon/flex cable through the cable opening. Note the orientation of the silver connectors (facing upwards) at the end of the ribbon cable.
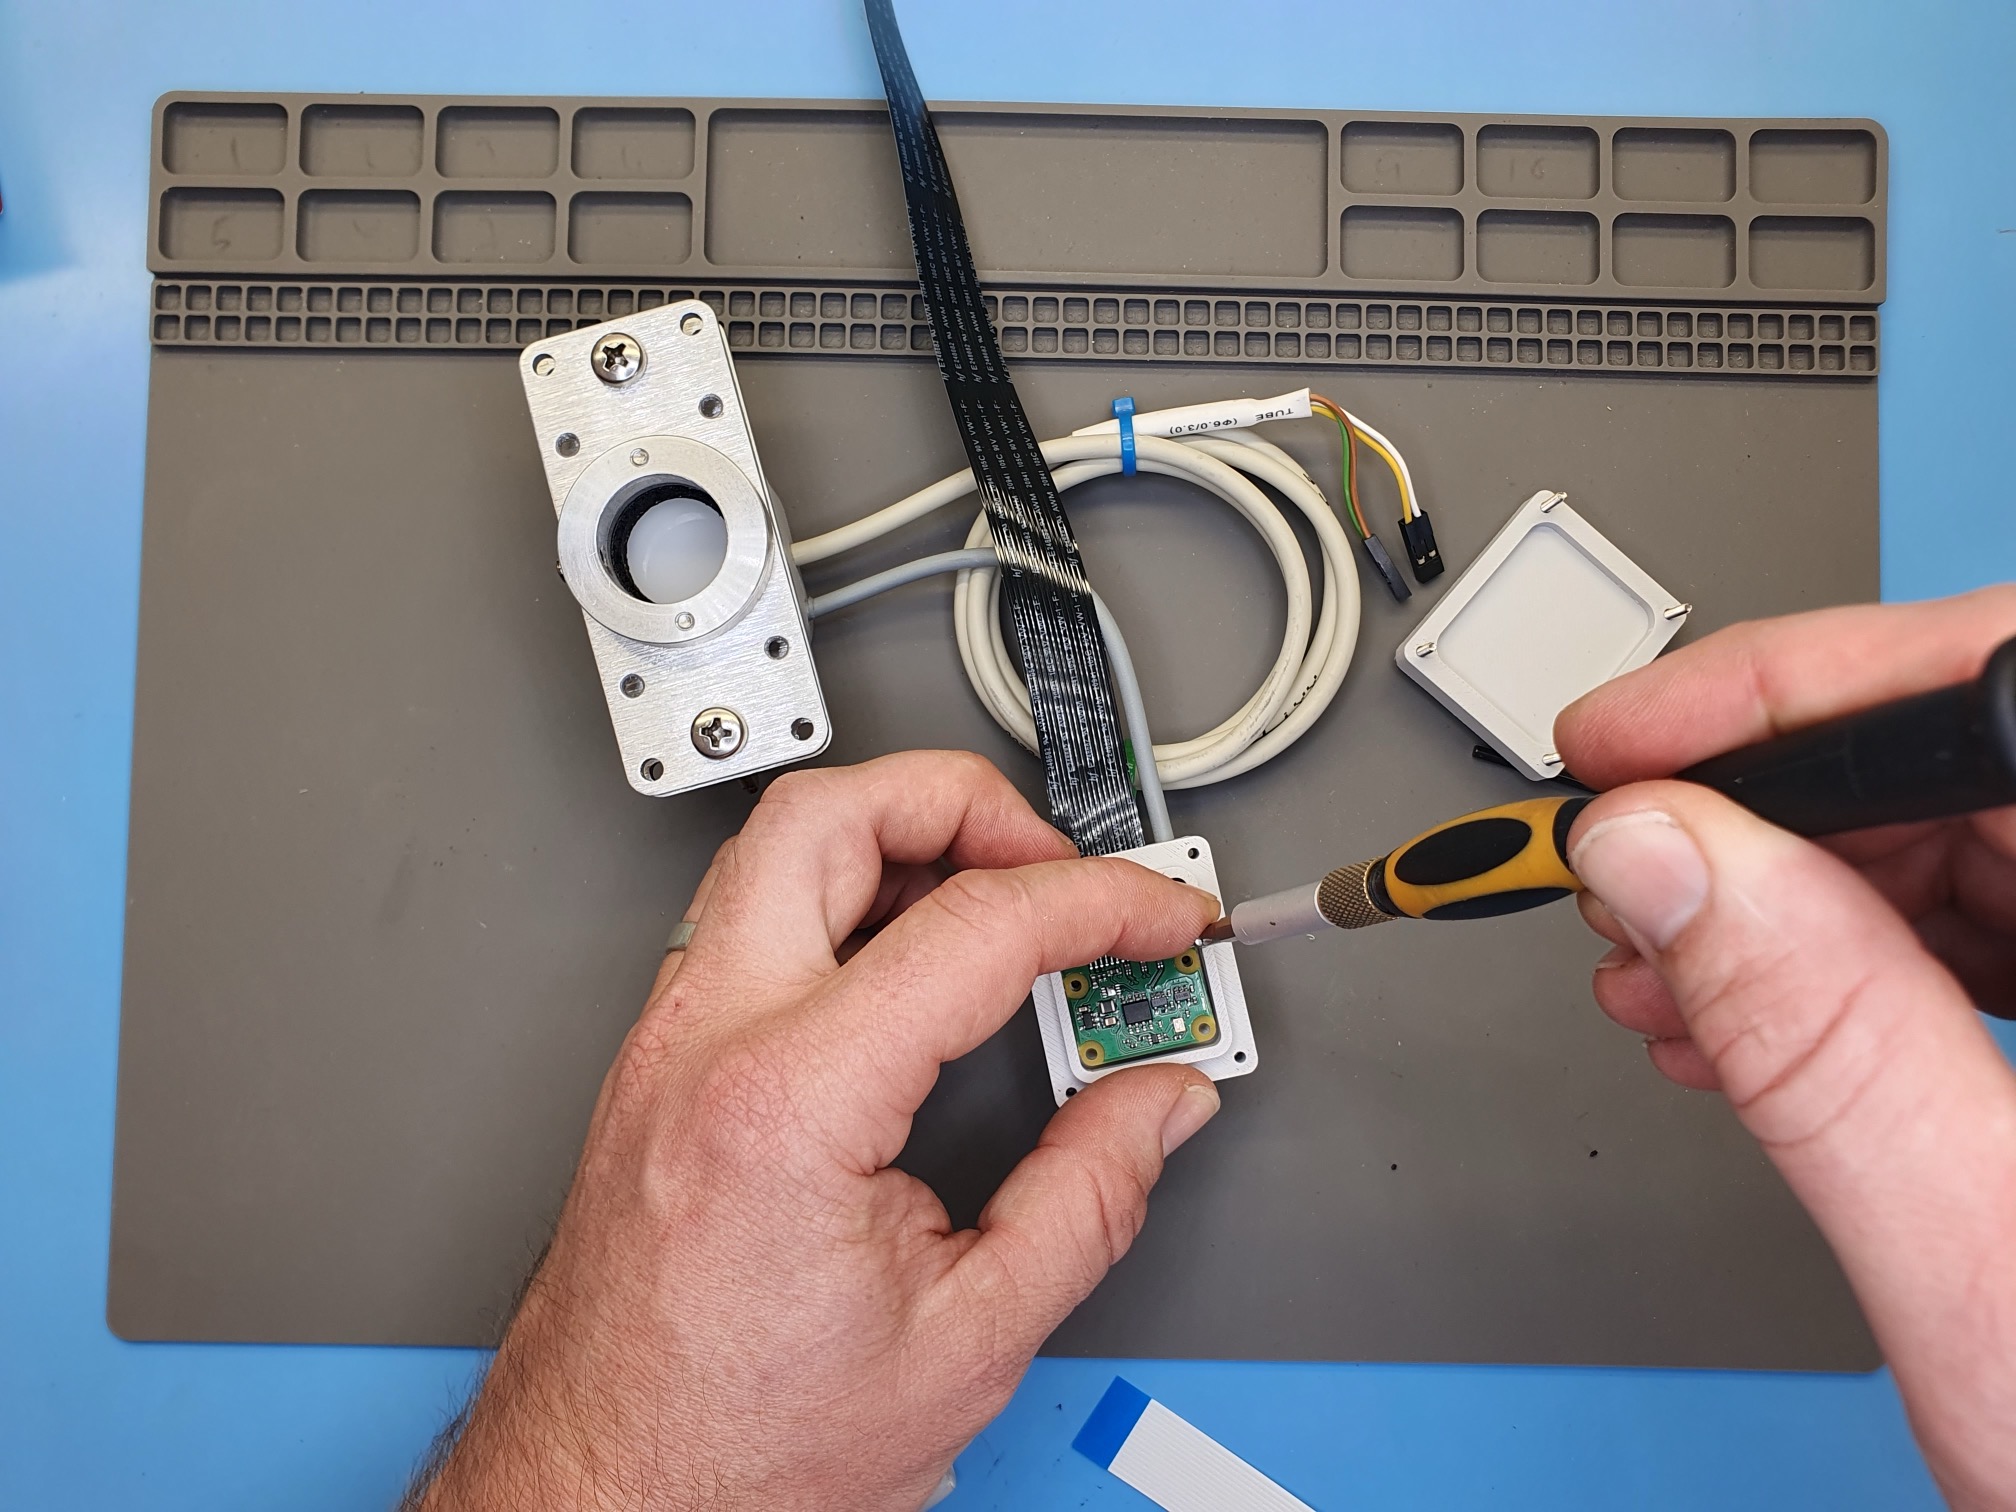
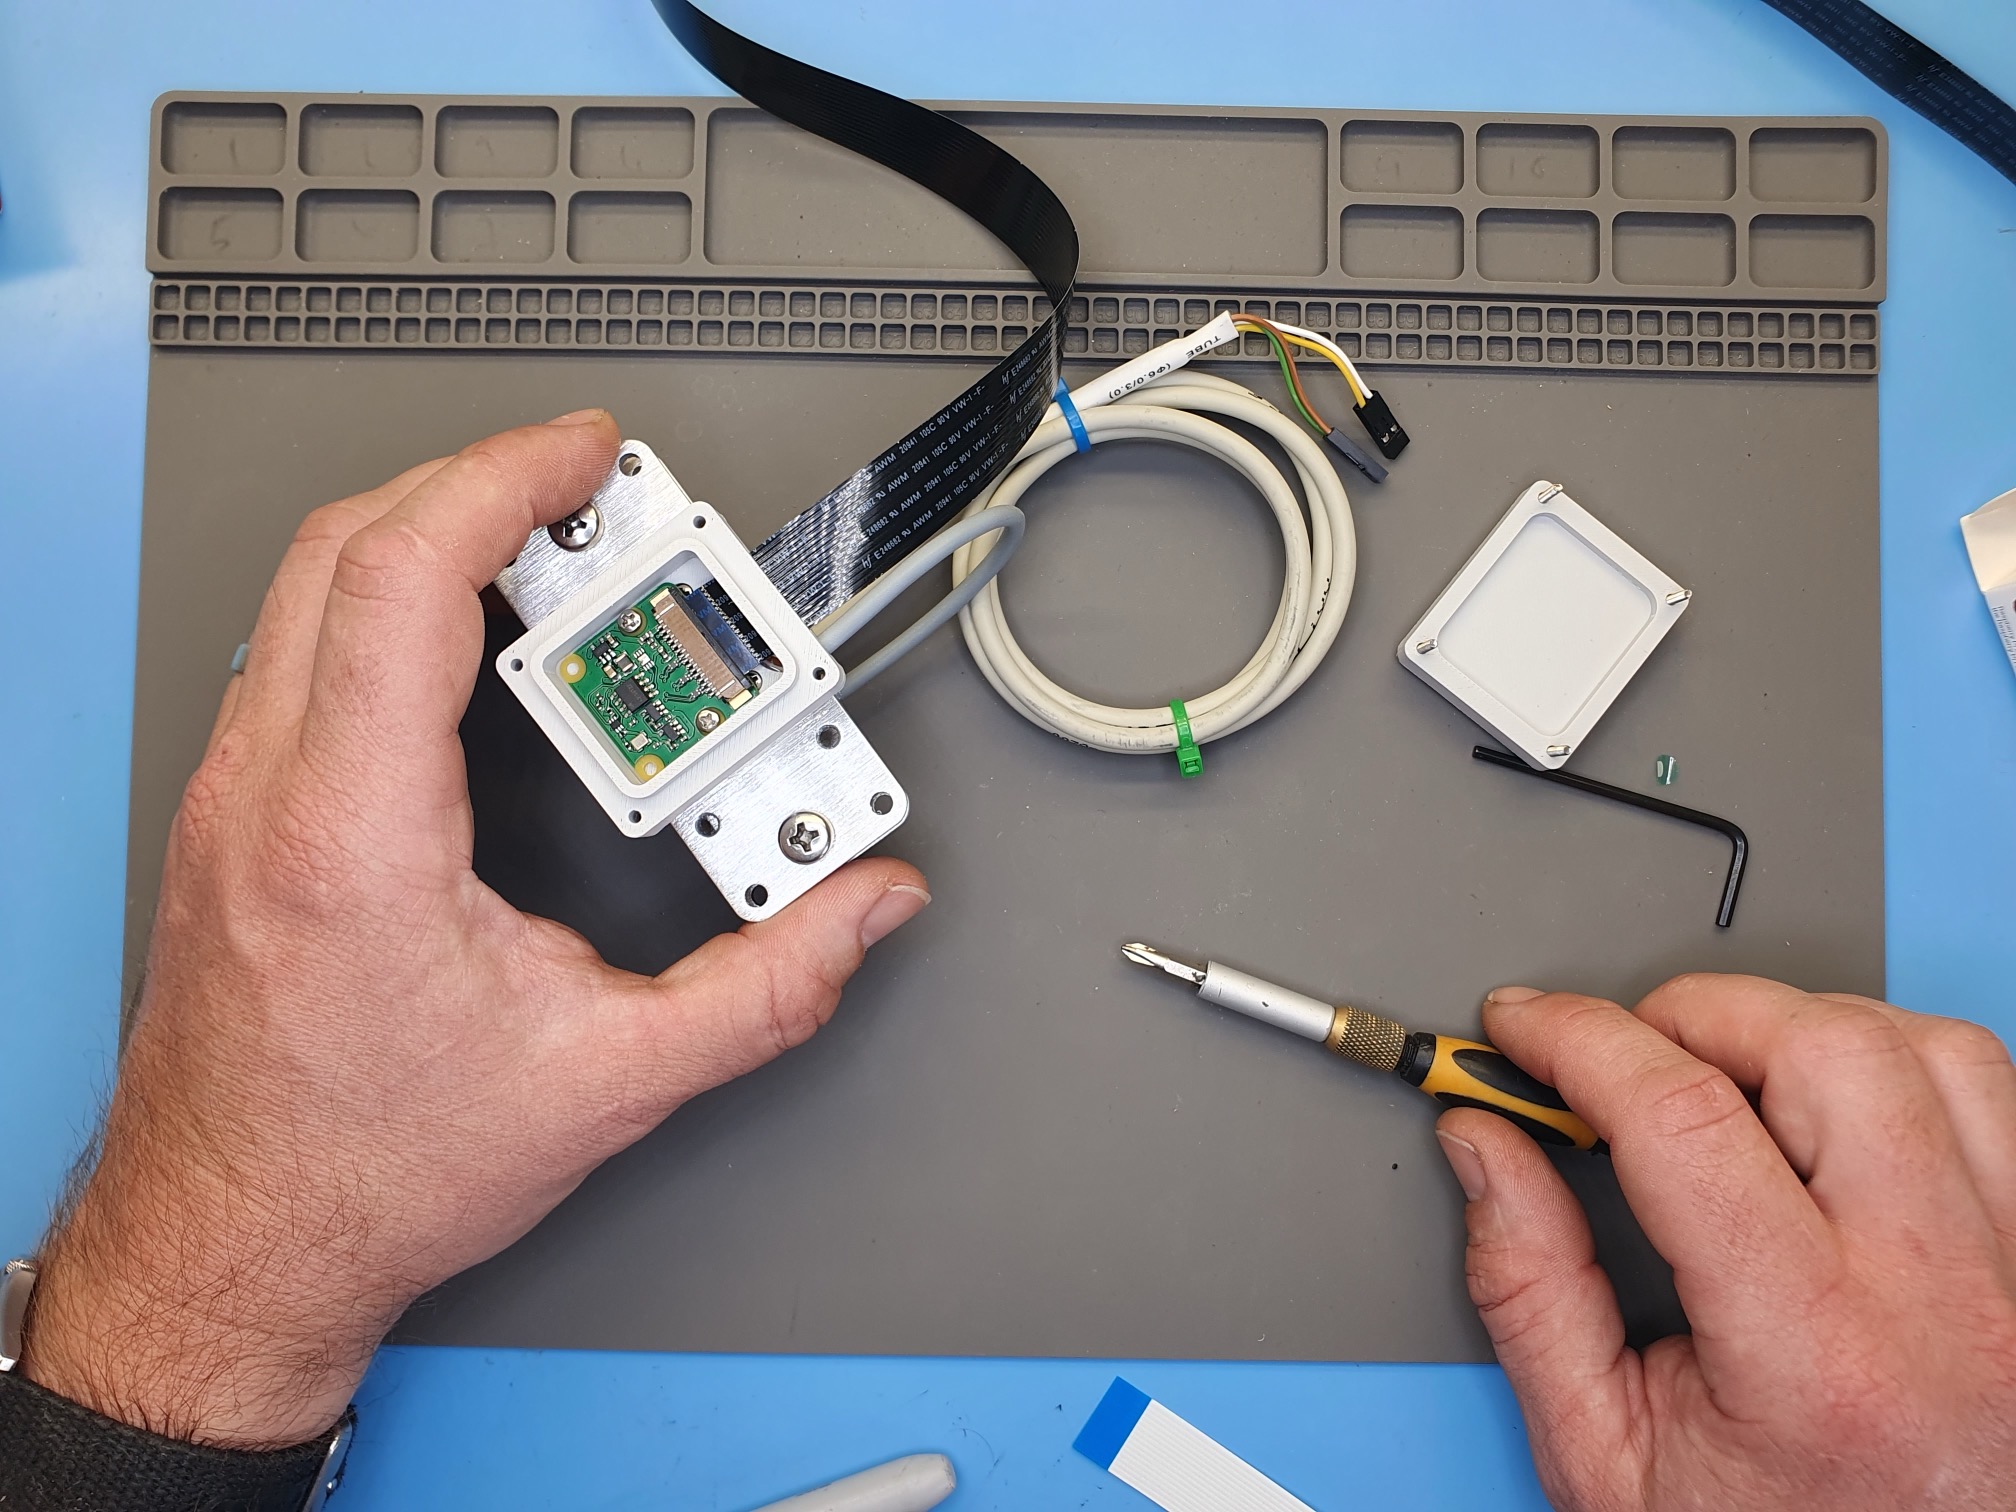
Step 7 - Attach Camera
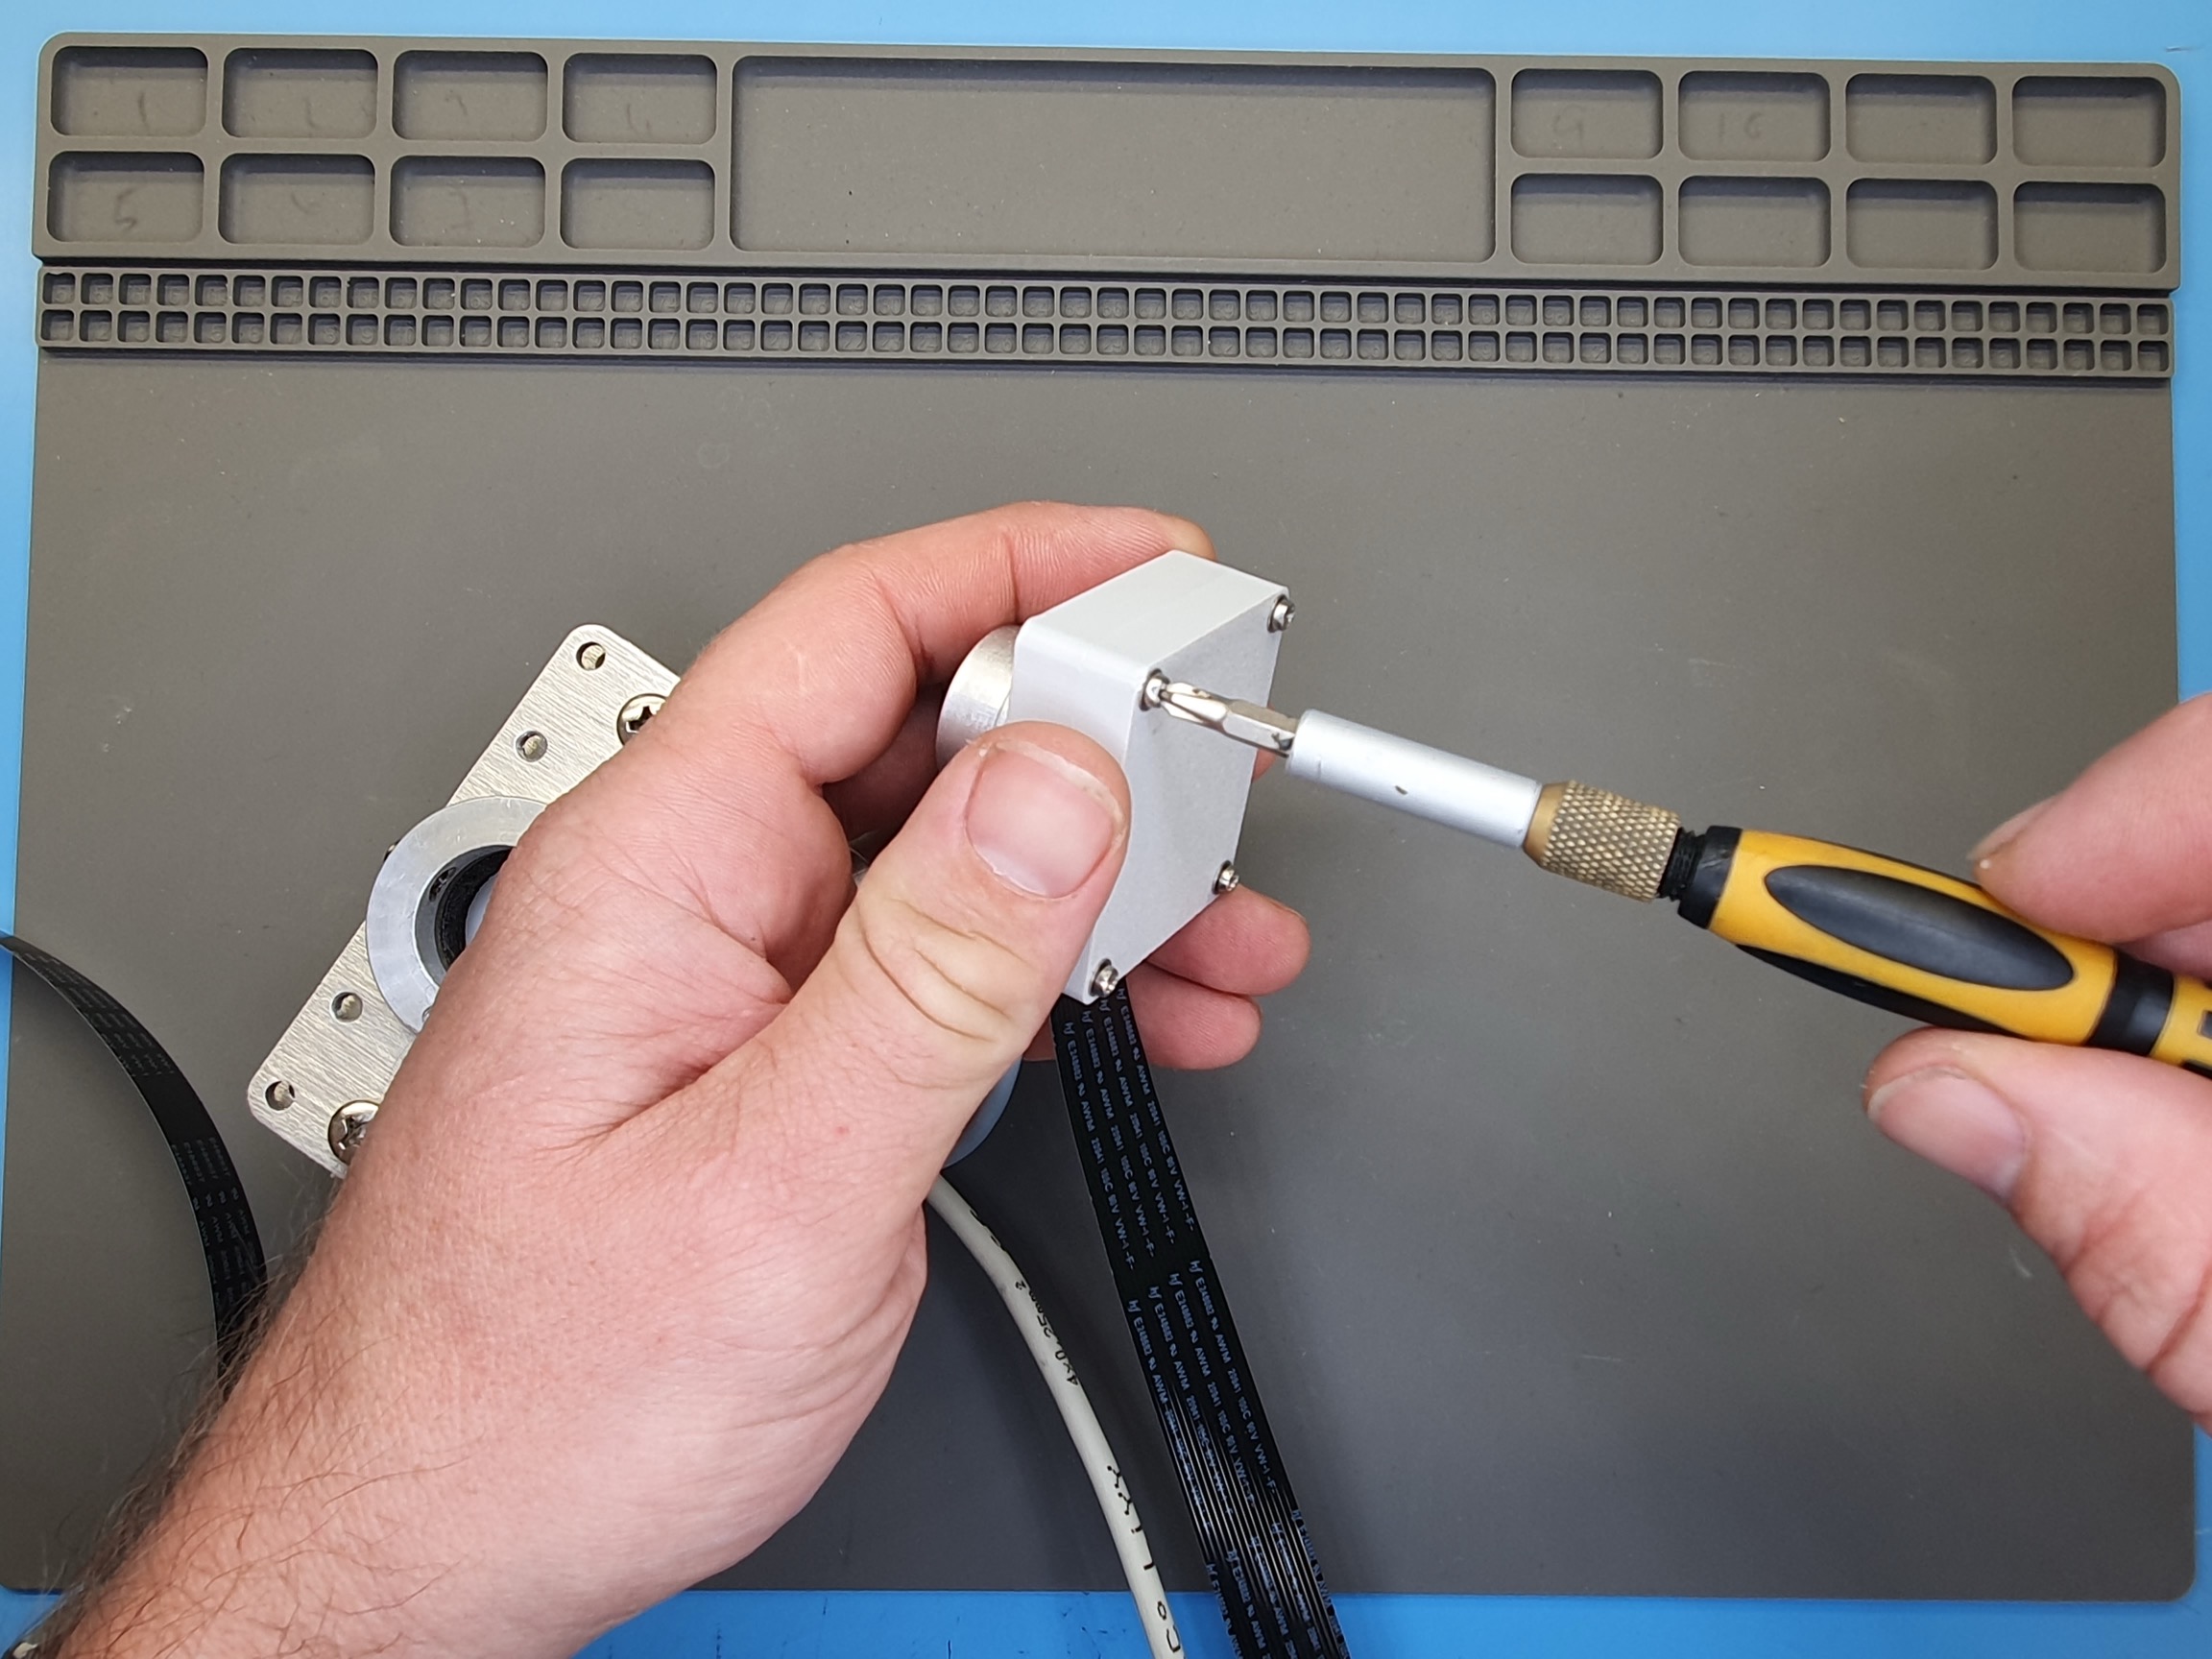
Push the camera down if it isn’t sitting flat. Attach the camera using the two M2 screws.
Tip: hold the screw and screwdrive against your finger to guide the screw in place:
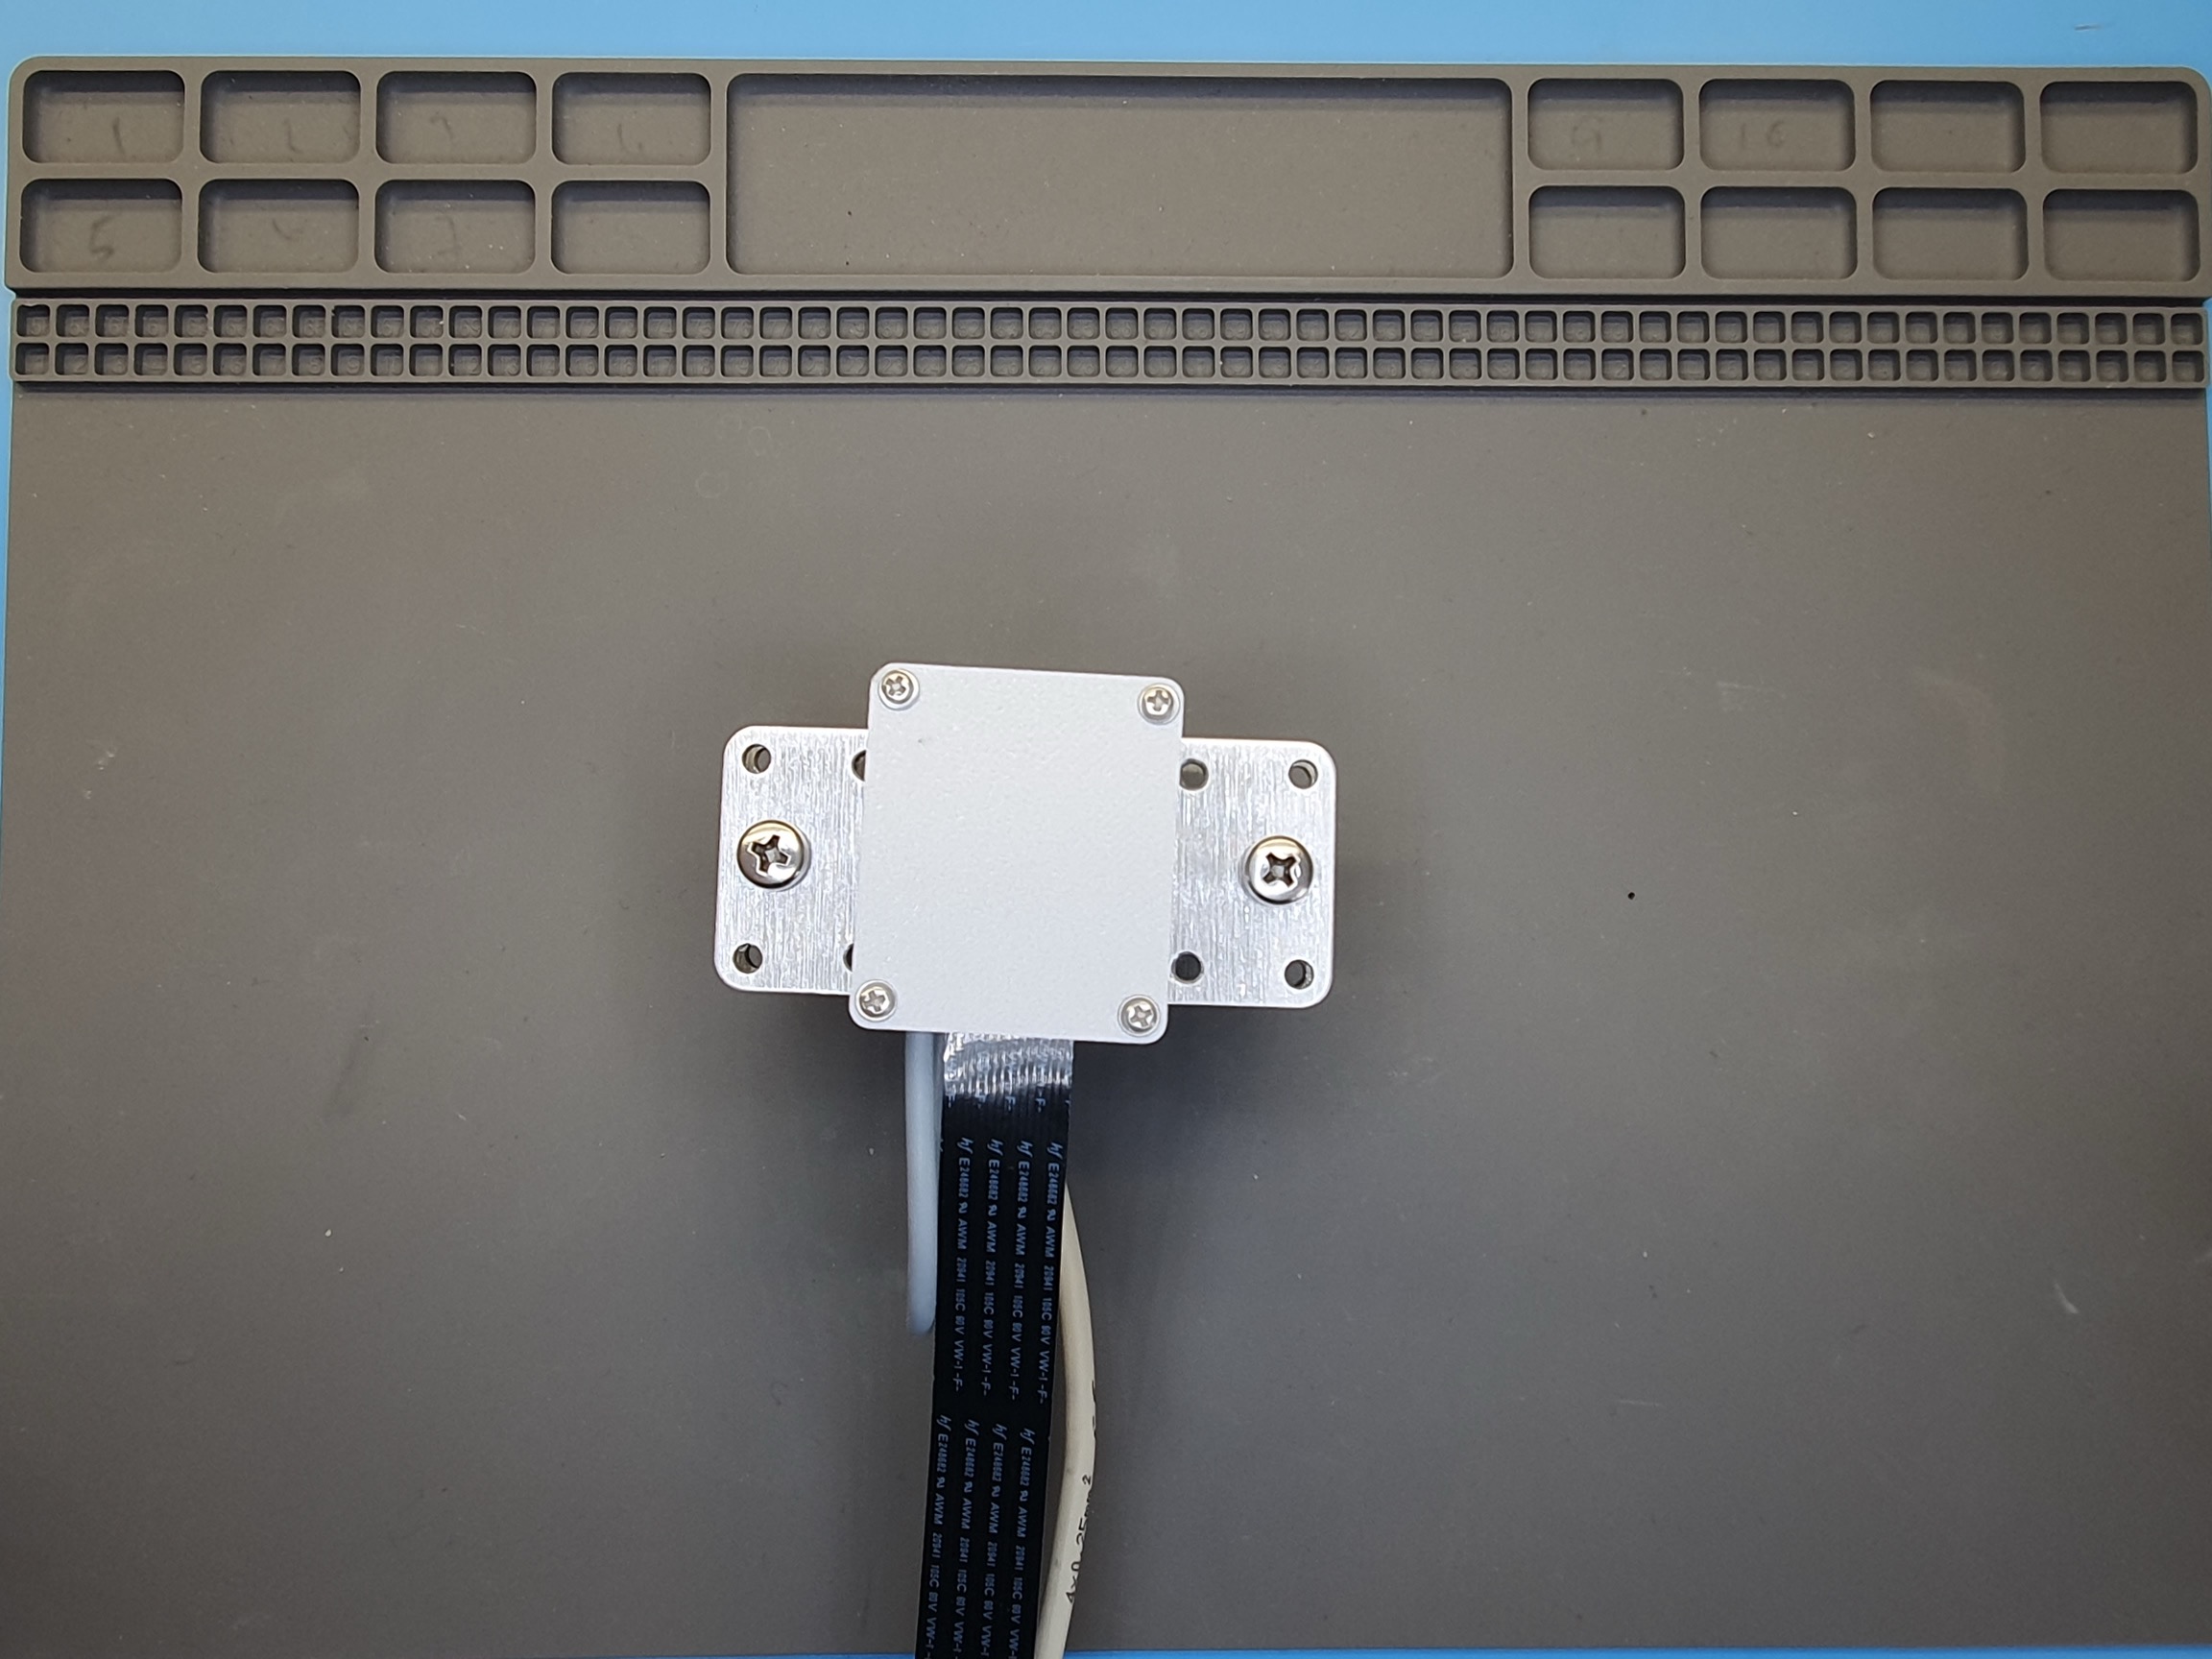
Step 8 - Re-attach Cover
Reattach the cover using the four M2 screws. You may need to re-insert the nuts at the bottom of the assembly if they have fallen out.
Step 9 - Re-attach Camera Assembly
Insert the camera assembly into the metal collar and secure (clockwise) with the grub screw.
Cavicam v2 Instructions
See the legacy instructions.