Adjusting the Pi Camera Focal Length
The ball lens on the Raspberry Pi Camera must be adjusted to set a shorter focal length and provide greater sample magnification. The procedure involves unscrewing the ball lens using a lens adjustment tool.
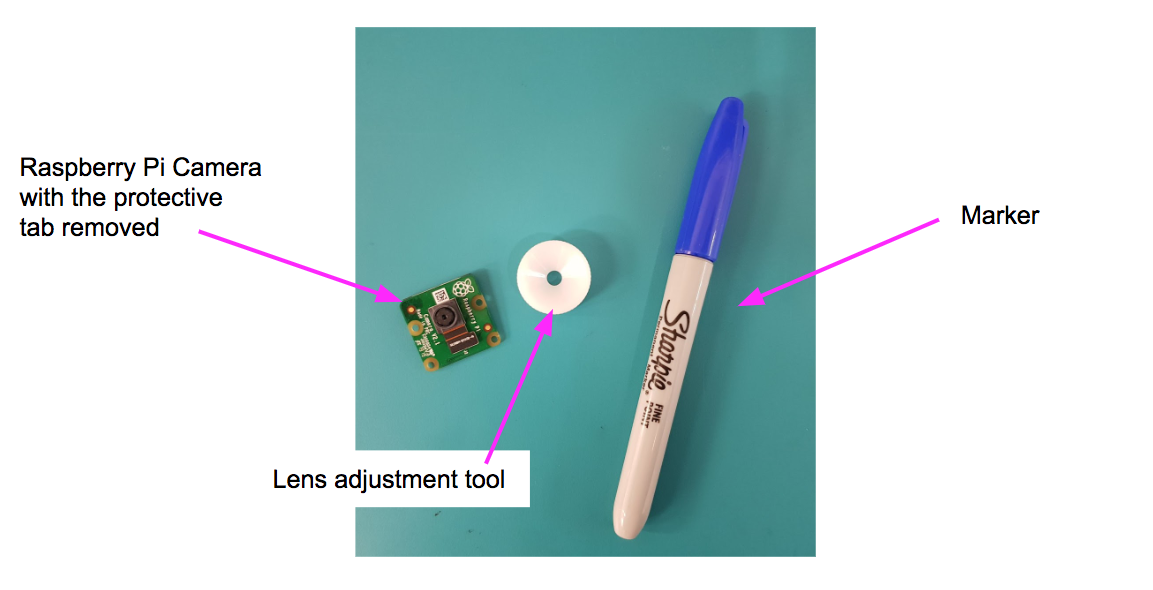
You will need
Raspberry Pi Camera v2 with the protective tab removed
Lens Adjustment Tool (comes with the Raspberry Pi Camera)
Marker Pen
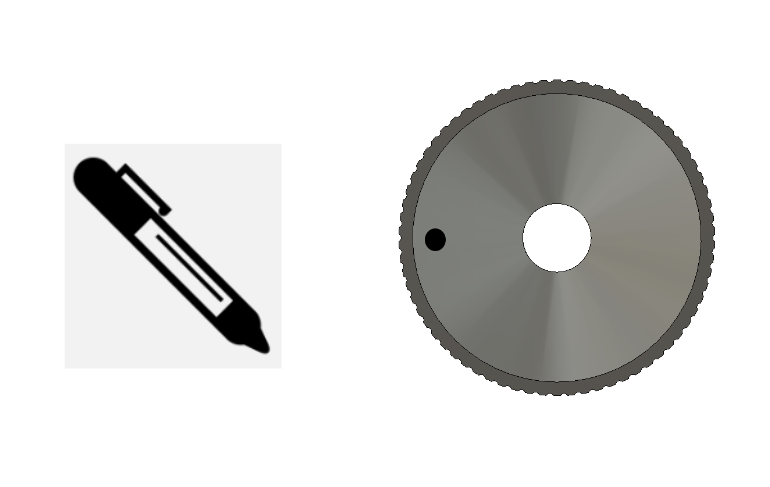
Step 1
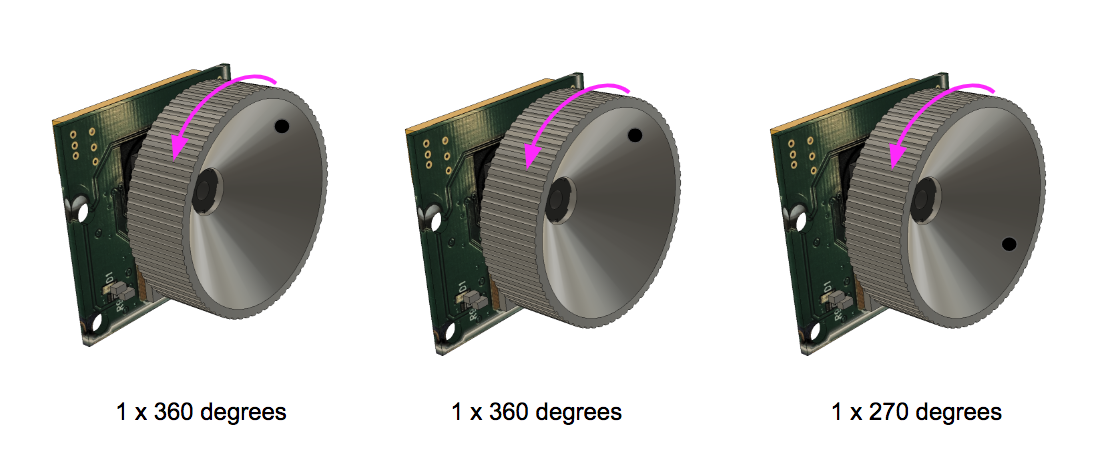
Mark the lens adjustment tool with a single dot and two dots as shown. This will help keep track of the number of rotations.
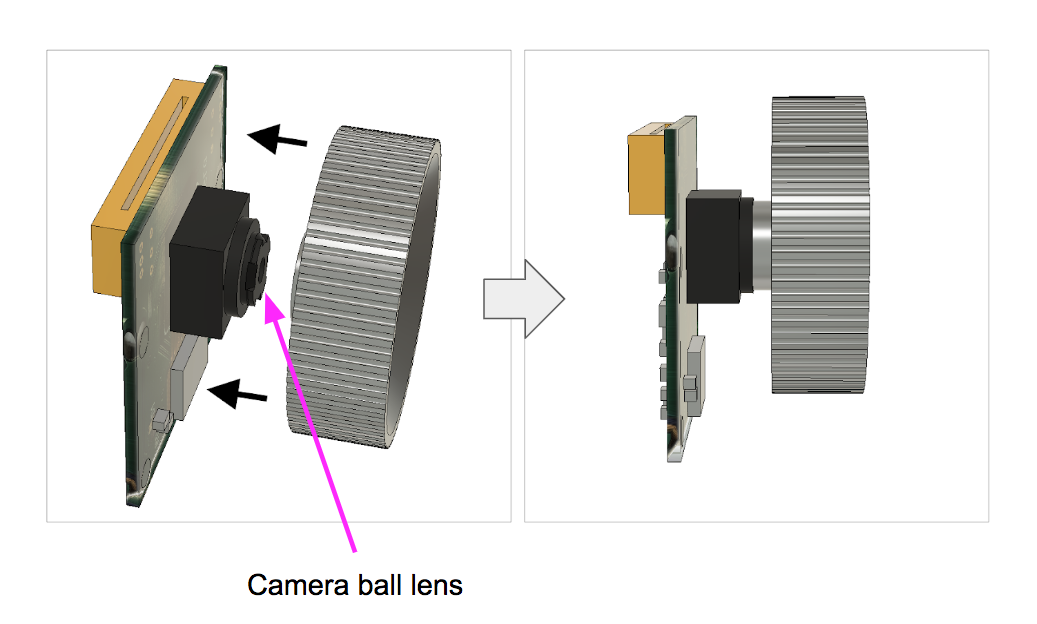
Step 2
Attach and hold the lens adjustment tool against the camera ball lens.
Step 3
Unscrew (anti-clockwise) the ball lens 2 full turns and 1 3/4 turn to set an appropriate focal length. Use the mark as a guide.