Accessing the Caviconsole
The caviconsole is a web-based app used to setup and control image capture and processed.
You will need
A cavicam that has completed the setup procedure. See Getting Started section for more information.
A computer with wifi capability e.g. a laptop.
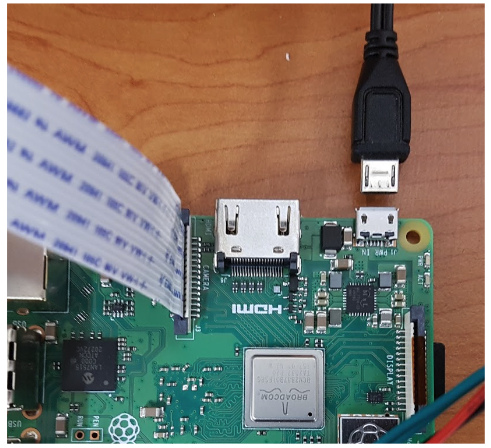
Step 1 - Turn ON the Raspberry Pi
Turn on the Raspberry Pi by connecting the power supply (either a micro USB or USB-C connector cable).
Step 2 - Join the Cavicam Network
From an external computer with wifi capability, select cavicam or cavicam-x from the list of available wifi networks and connect using the default password raspberrypi123!.
Cavicam not appearing in the wifi list?
See troubleshooting for possible causes and solutions.

Note
To clarify, this screenshot shows the list of available wifi networks on an Apple Macbook and shows that the computer is currently connected to the network “Telstra…”. This shows the system before it has connected to the cavicam network, we want to connect to the “cavicam” network to access the caviconsole.
Step 3 - Access the Cavicam web app (called the Caviconsole)
Note
This step should be completed on the device connected to the cavicam wifi network. For example, if you connected to the cavicam network using your laptop, on your laptop open the browser and connect to the address below.
In a browser (preferably chrome), enter the address http://caviconsole.wlan:6060 to access the remote control software on the Pi (called the “caviconsole”).
If unable to connect, try http://192.168.44.1:6060.