Restart After Error
Random camera errors occassionally occur and when they do they will cause the image capture sequence to stop and the only way to fix the camera is to restart the Pi. This can be a pain if your sequence stops in the middle of the night and you only realise in the morning, losing several hours of captures.
A way around this is to enable options within the cavicam software to automatically restart after an error and to automatically restart image capture when the system starts up.
The option to enable auto-restart after error is not currently available through the caviconsole interface (but will be!) and has to be manually enabled through a configuration file on the Pi.
Note that using the restart after error option changes the procedure for starting and stopping image capture. This will process will be simplified in future versions!
You will need
A cavicam that has completed the setup procedure. See Getting Started section for more information.
A computer with wifi capability e.g. a laptop.
The cavicam should not be capturing images
Step 1 - Install FTP Client
See Install an FTP Client step of the Accessing Images and Data user guide for details.
Step 2 - Create Wifi Connection to Cavicam
See Accessing the Caviconsole for instructions on connecting to the Pi (skip the step to to access the caviconsole itself).
Step 3 - Edit the config.ini file
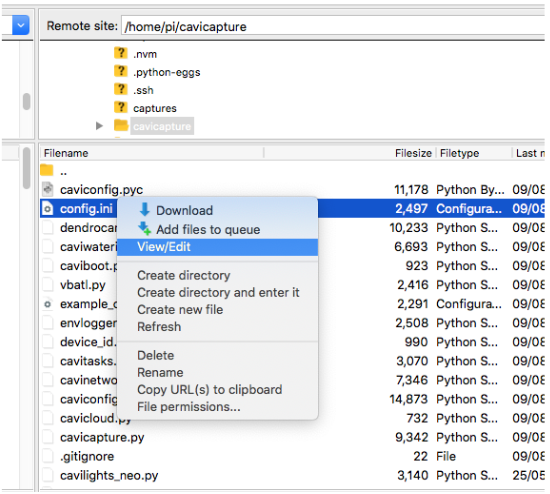
Once connected to the Pi through FileZilla, navigate to the /home/pi/cavicapture folder. Find and right-click the file config.ini and click View/Edit. If asked, choose an appropriate text editor to edit the file e.g. notepad.
Step 4 - Set the Error Restart Option
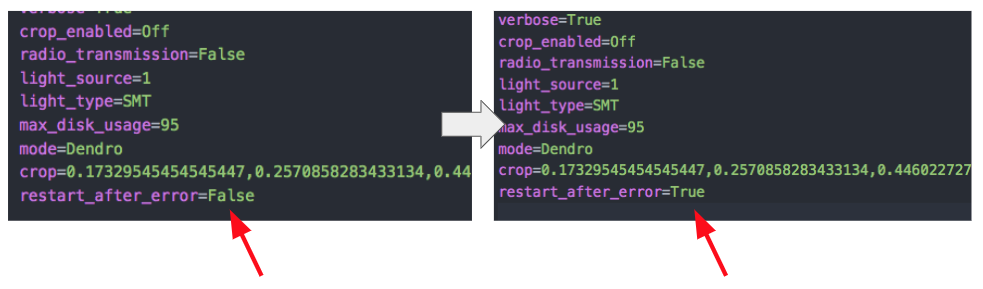
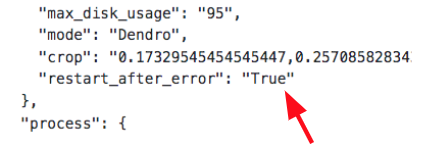
In your text editor, find the option restart_after_error and set the value to True:
Step 5 - Save the config.ini File
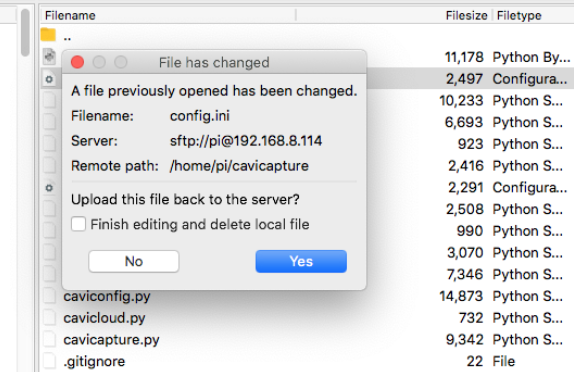
Save the file (from your text editor).
Once saved, FileZilla will automatically provide an option to upload the file back to the server. Select Yes and the file will upload back to the Pi.
Step 6 - Restart the Pi
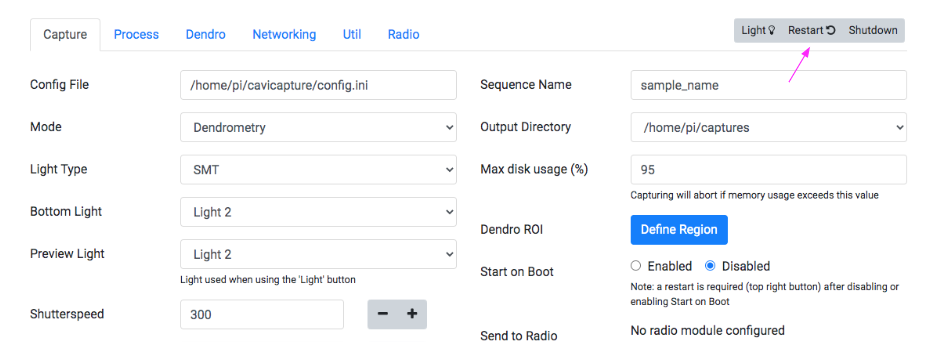
Click the Restart button at the top right of the caviconsole to restart the Pi.
Step 7 - Checking the config.ini file
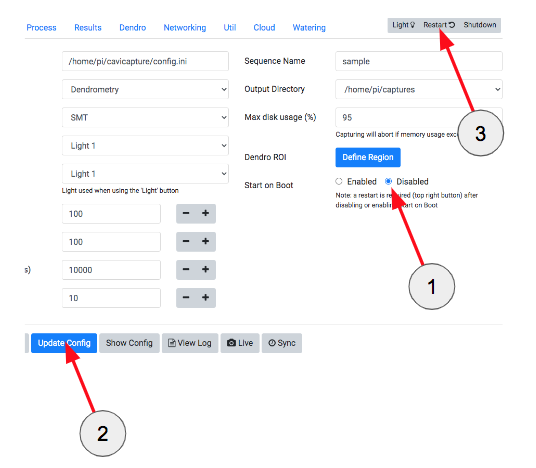
Access the caviconsole and from the Capture tab, click the Show Config button to view the current configuration:
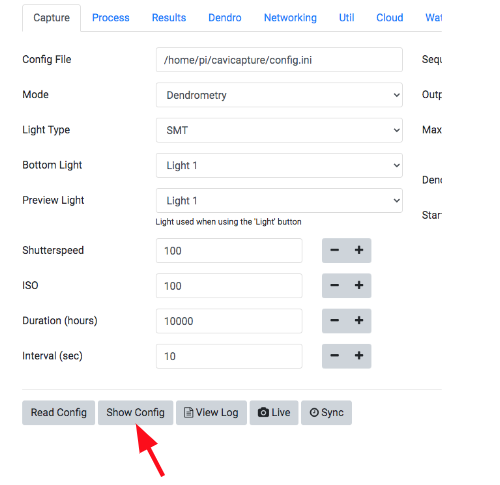
In the text that appears below, check the restart_after_error option is set to True:
Step 8 - Starting Image Capture
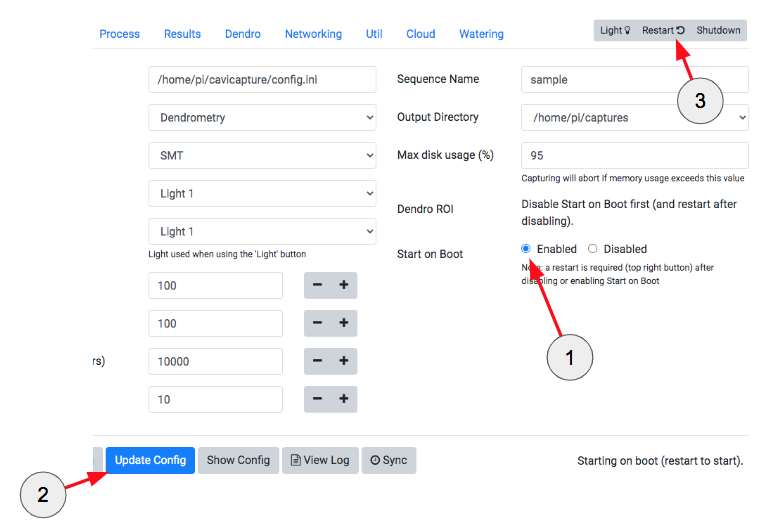
To start image capture, the procedure is as follows:
Enable the Start on Boot option and
Click Update/Save to save the setting
Click Restart to restart the Pi.
Once the Pi restarts, image capture will automatically begin in a background process.
Step 9 - Stopping Image Capture
To stop image capture and end the sequence, or to change settings, the procedure is as follows:
Disable the Start on Boot option and
Click Update/Save to save the setting
Click Restart to restart the Pi.
Once the Pi restarts, use the caviconsole as normal. Follow Step 8 to restart image capture.